How to Reset your Password through Tyfoom Website
Overview: How to reset your Tyfoom password on the Tyfoom website.
Go to www.tyfoom.com
1. Click "LOGIN"
Go to www.tyfoom.com and click "Login".

2. Enter "Email"
Enter correct email address.
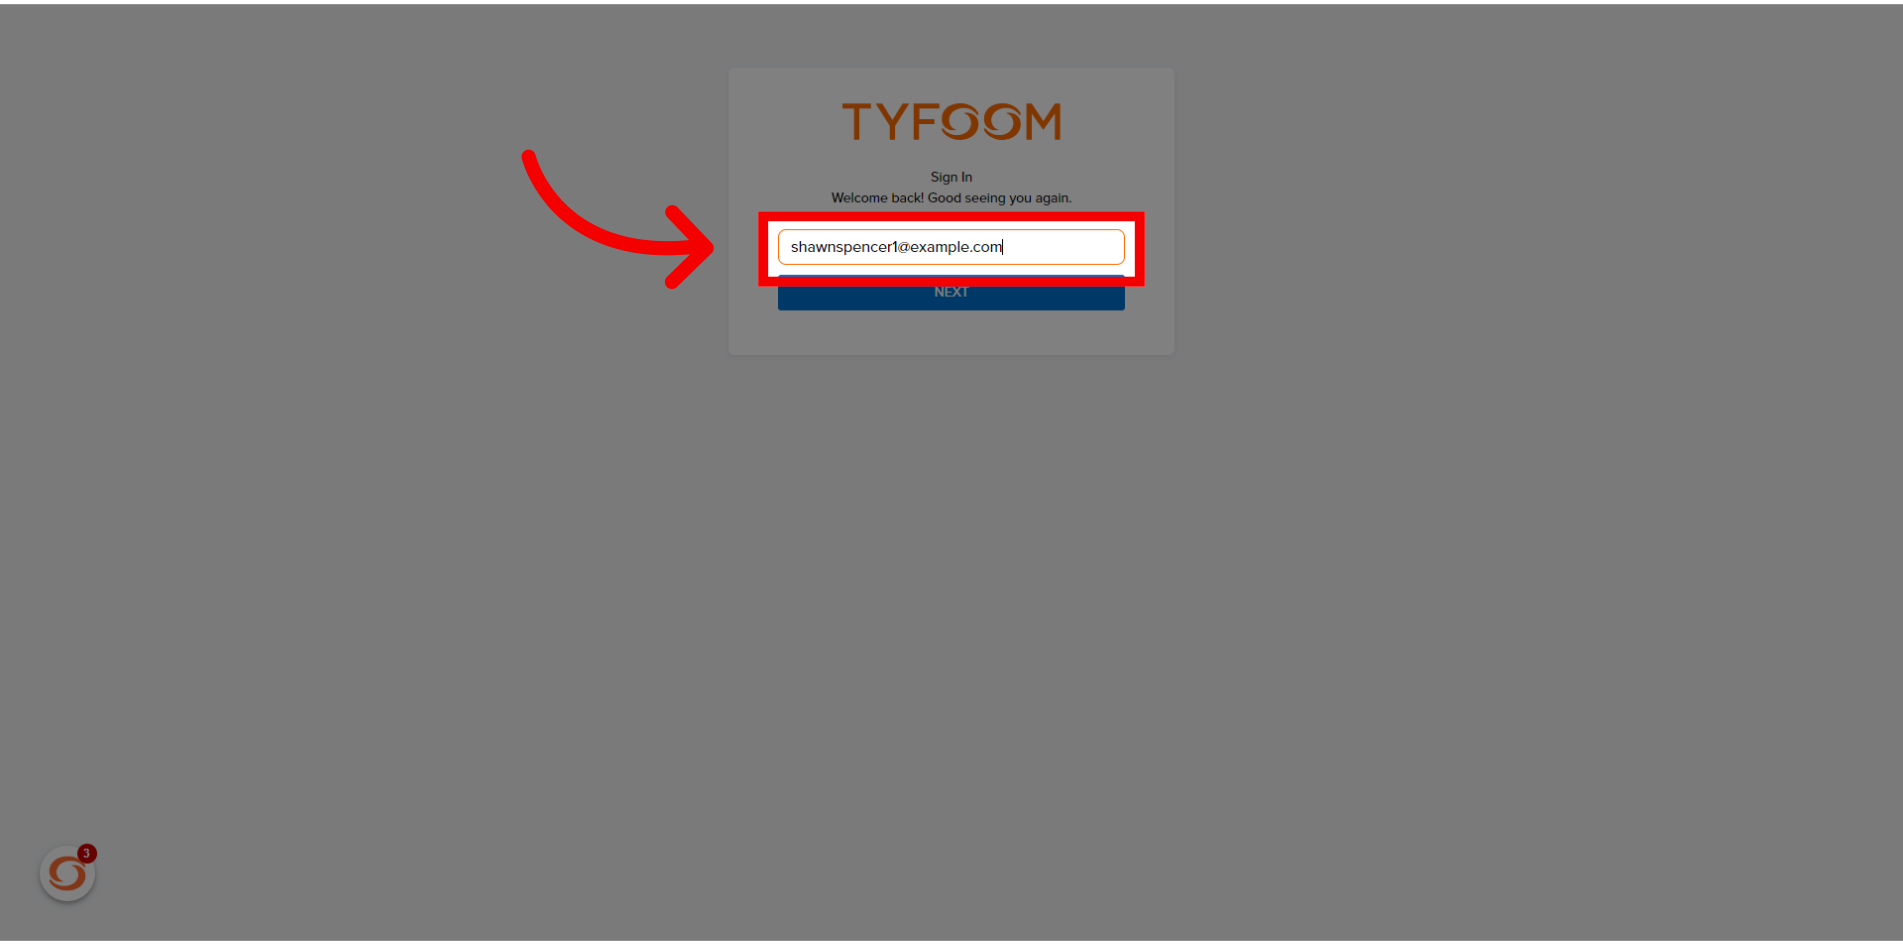
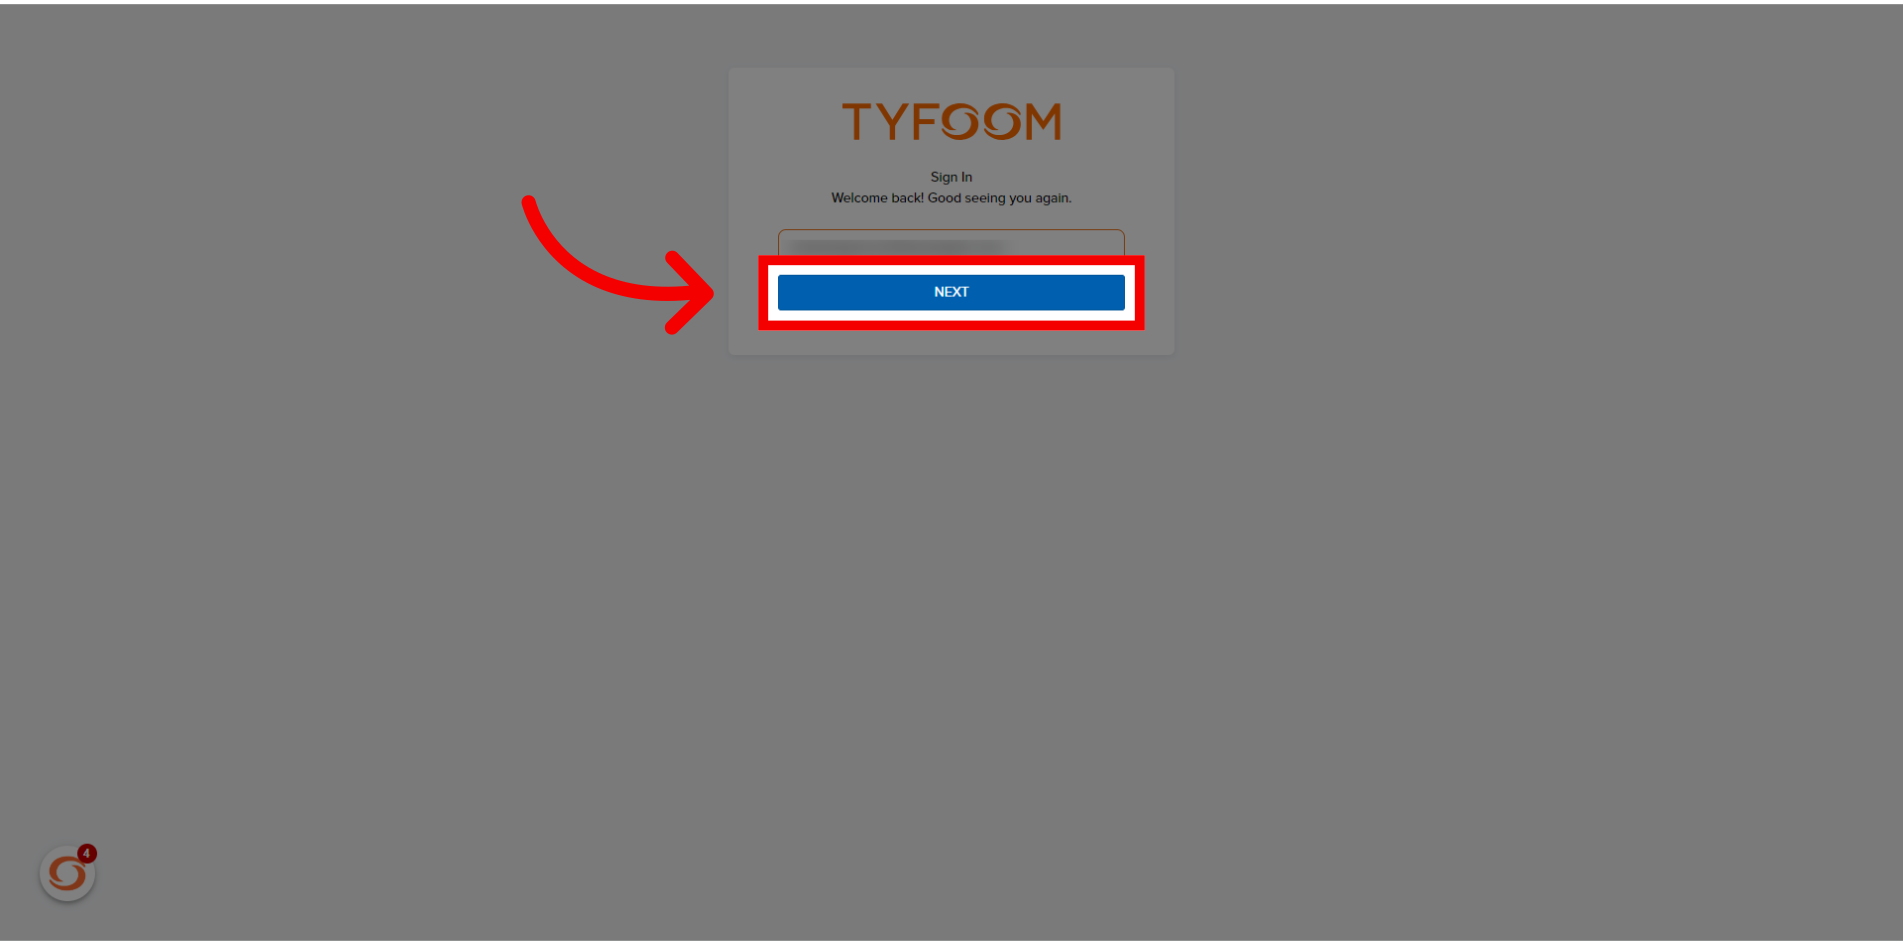
3. Click "NEXT"
Click "Next".
4. Click "Forgot?"
To the right of Password click "Forgot?".

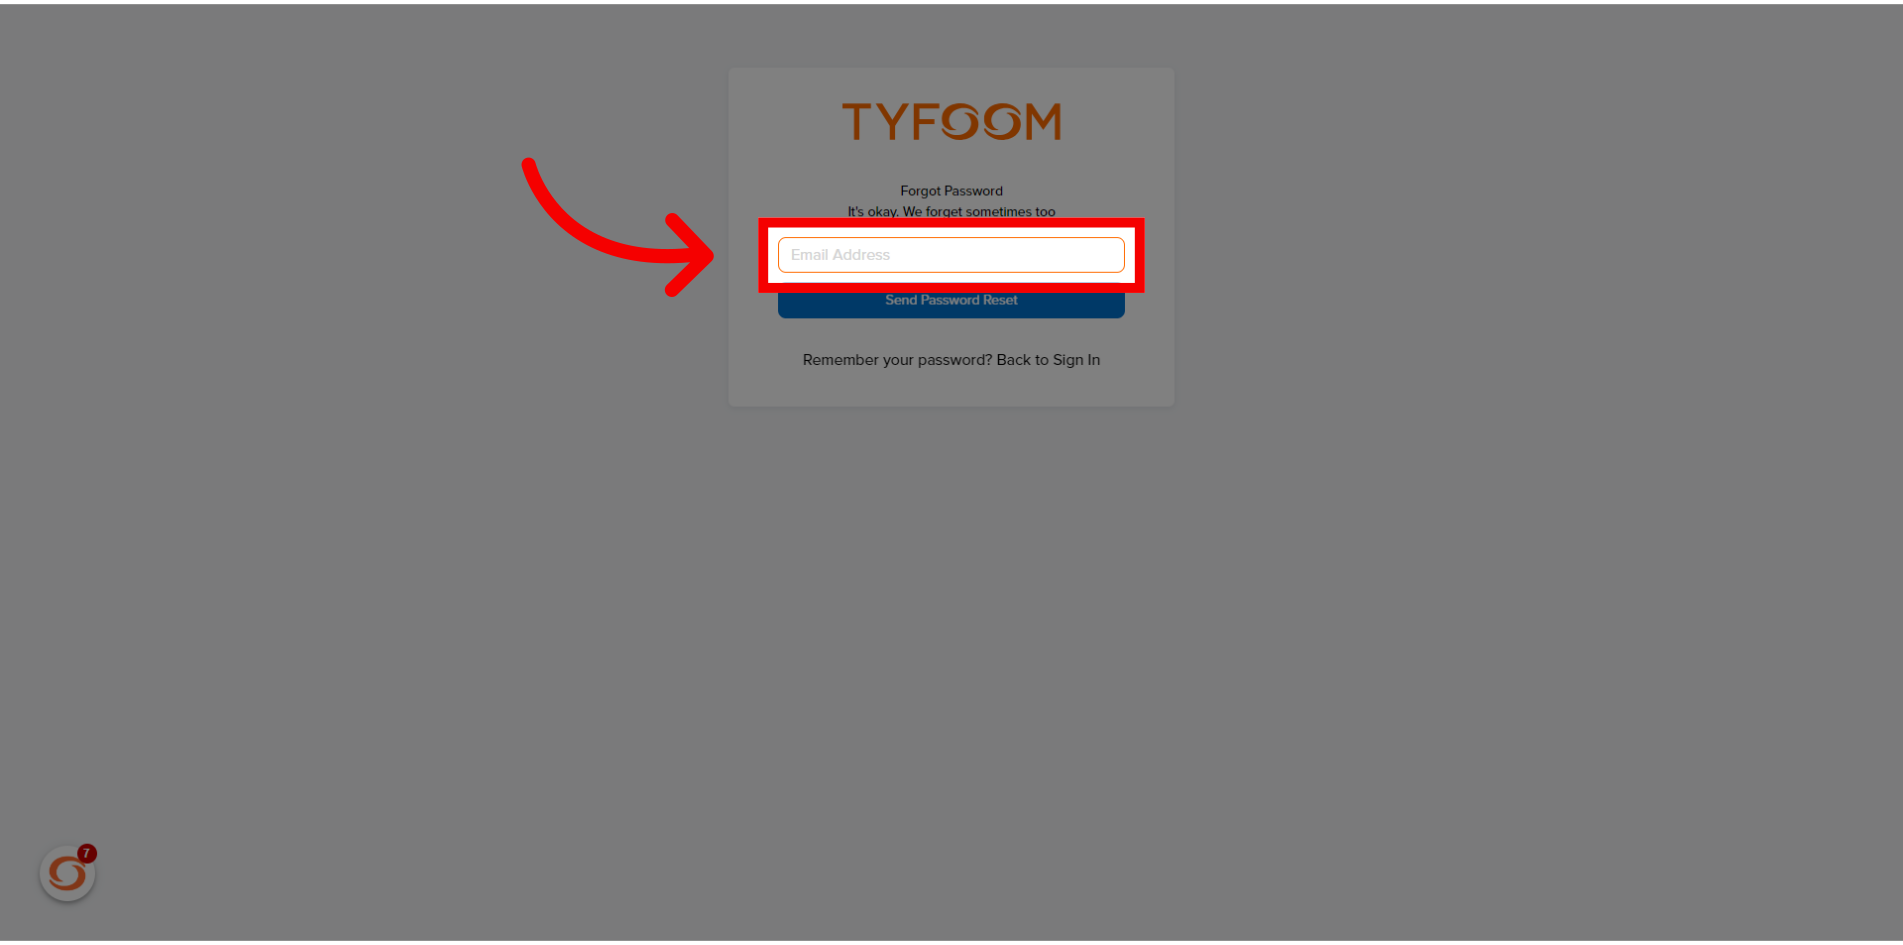
5. Re-Enter "Email Address"
Re-enter email addess.
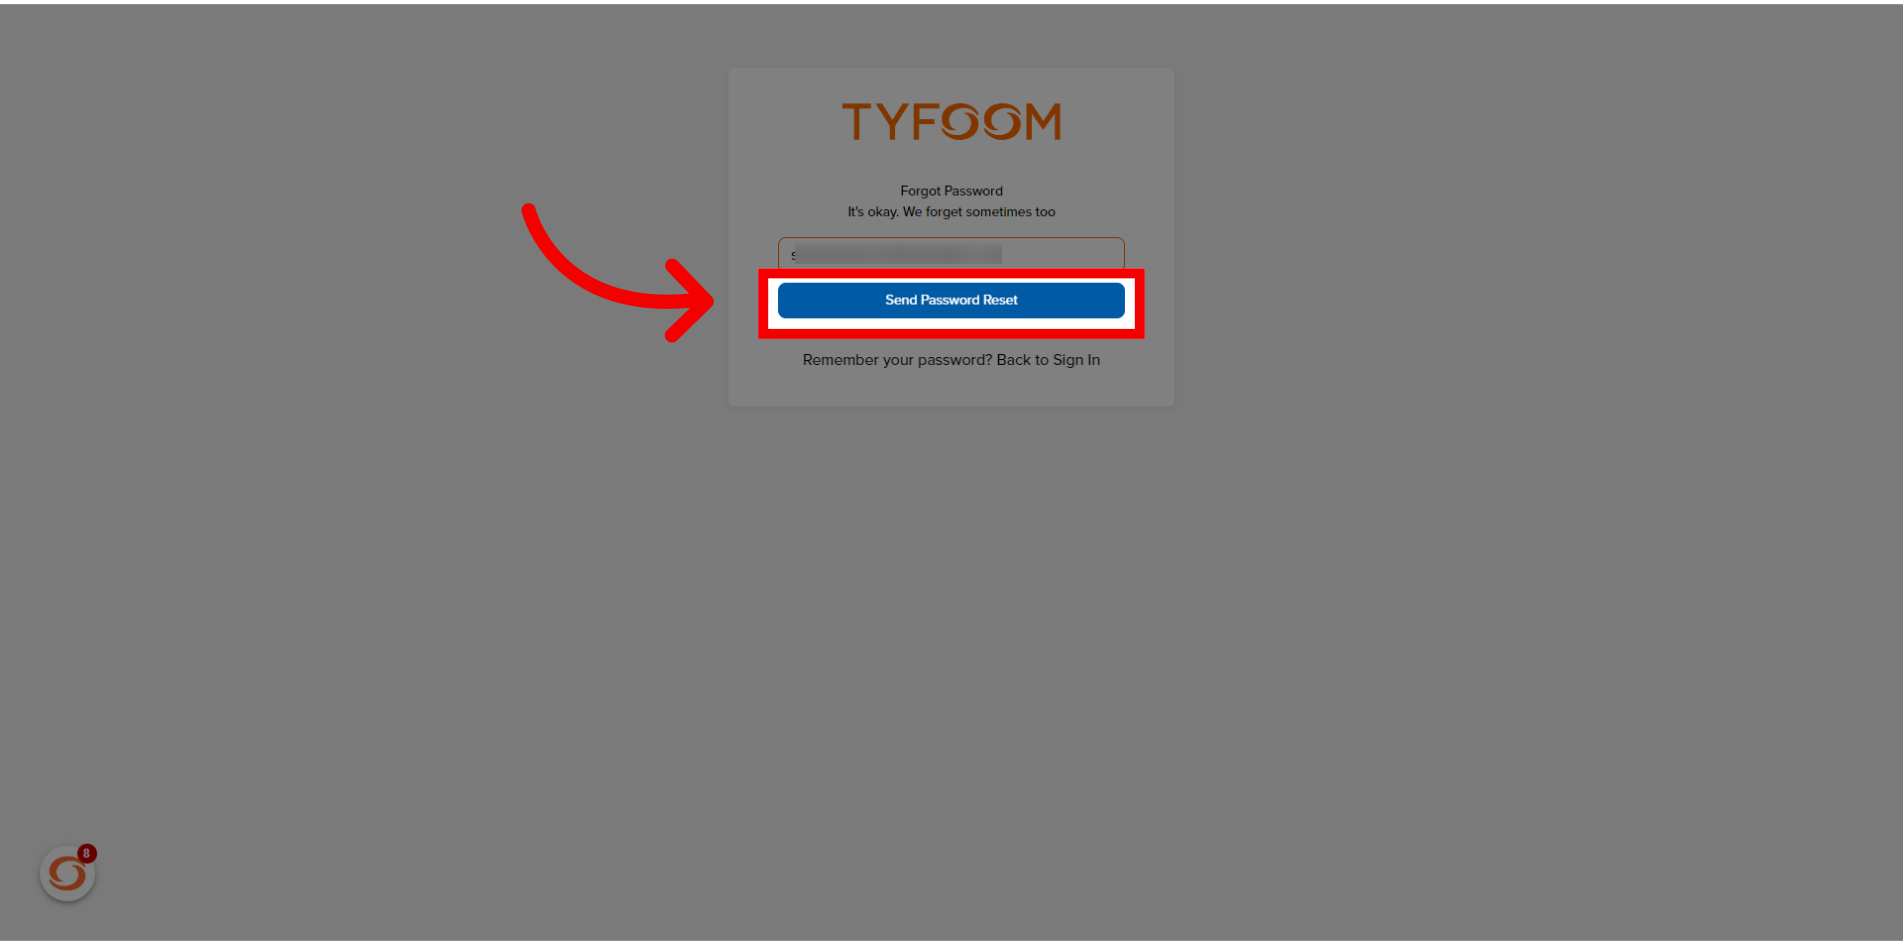
6. Click "Send Password Reset"
Click "Send Password Reset".
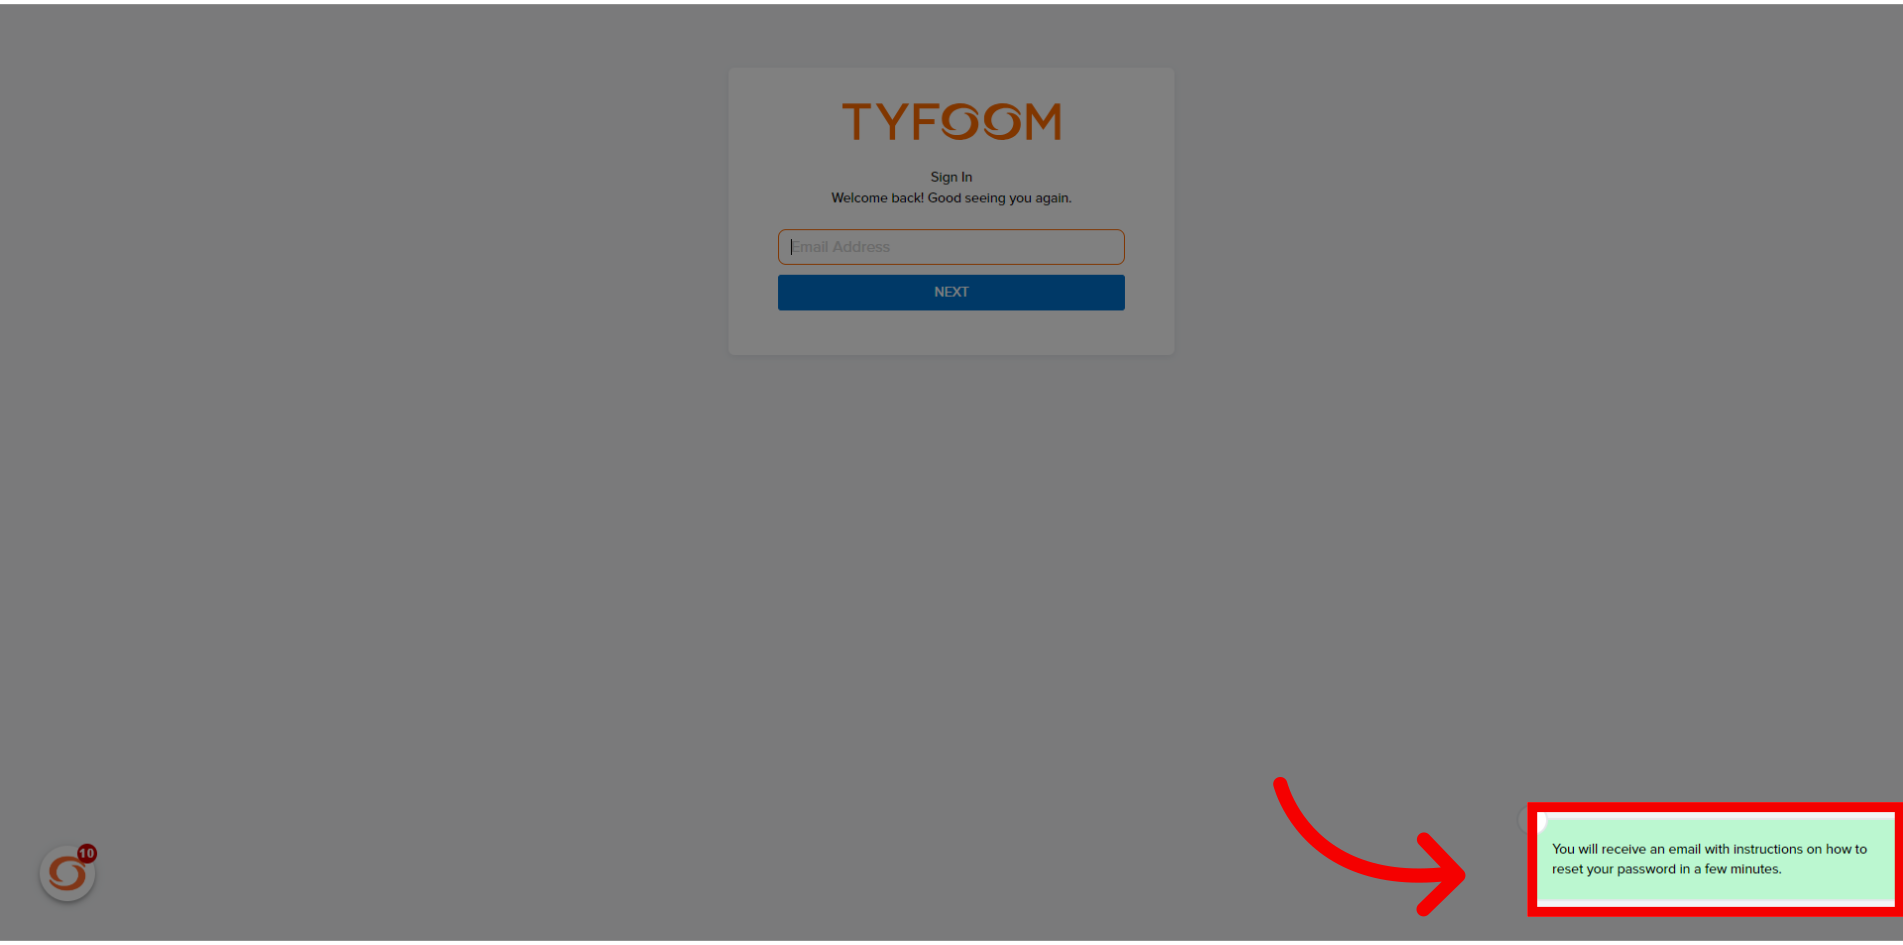
7. Message sent
Email or text message will be sent with steps to reset password.
Contact us at customercare@tyfoom.com
Related Articles
Company Rewards in Tyfoom
<br> In this guide, we're going over company rewards in Tyfoom. Go to app.tyfoom.com 1. Company Rewards Company rewards let you create your own point-based incentive program to recognize and drive Employee Engagement. 2. Open Company Rewards To ...Uploading Users to Tyfoom
Watch the short tutorial on how to upload your users into Tyfoom. Note: When you upload the users into Tyfoom, it will automatically send them an invite to join Tyfoom.Report Video in Tyfoom
In this guide we will go over how to report a video in the Tyfoom app. 1. Open the Library Tab in the Tyfoom app. 2. Then open your Video Library. 3. Select the video you want to report. 4. Tap "Report Video". 5. Choose the appropriate reason for the ...Tyfoom + Procore Integration
Integration Overview This integration allows you to automatically upload form responses as PDF files to a Procore project. Adding Tyfoom to Procore In this guide, we’re going to go over how to add Tyfoom to your Procore account. Go to procore.com 1. ...Prioritized Badges in Tyfoom
A prioritized badge ensures employees complete required training by automatically placing all videos from that badge into their video queue until the badge is earned. In this video, we’ll walk you through how to set it up. <br> 1. Go to Custom ...