Manage Folders and Documents in Tyfoom
1. Documents and Folders
Folders and documents give you a place to organize reference materials — handbooks, SOPs, benefit guides — so employees can find what they need fast.
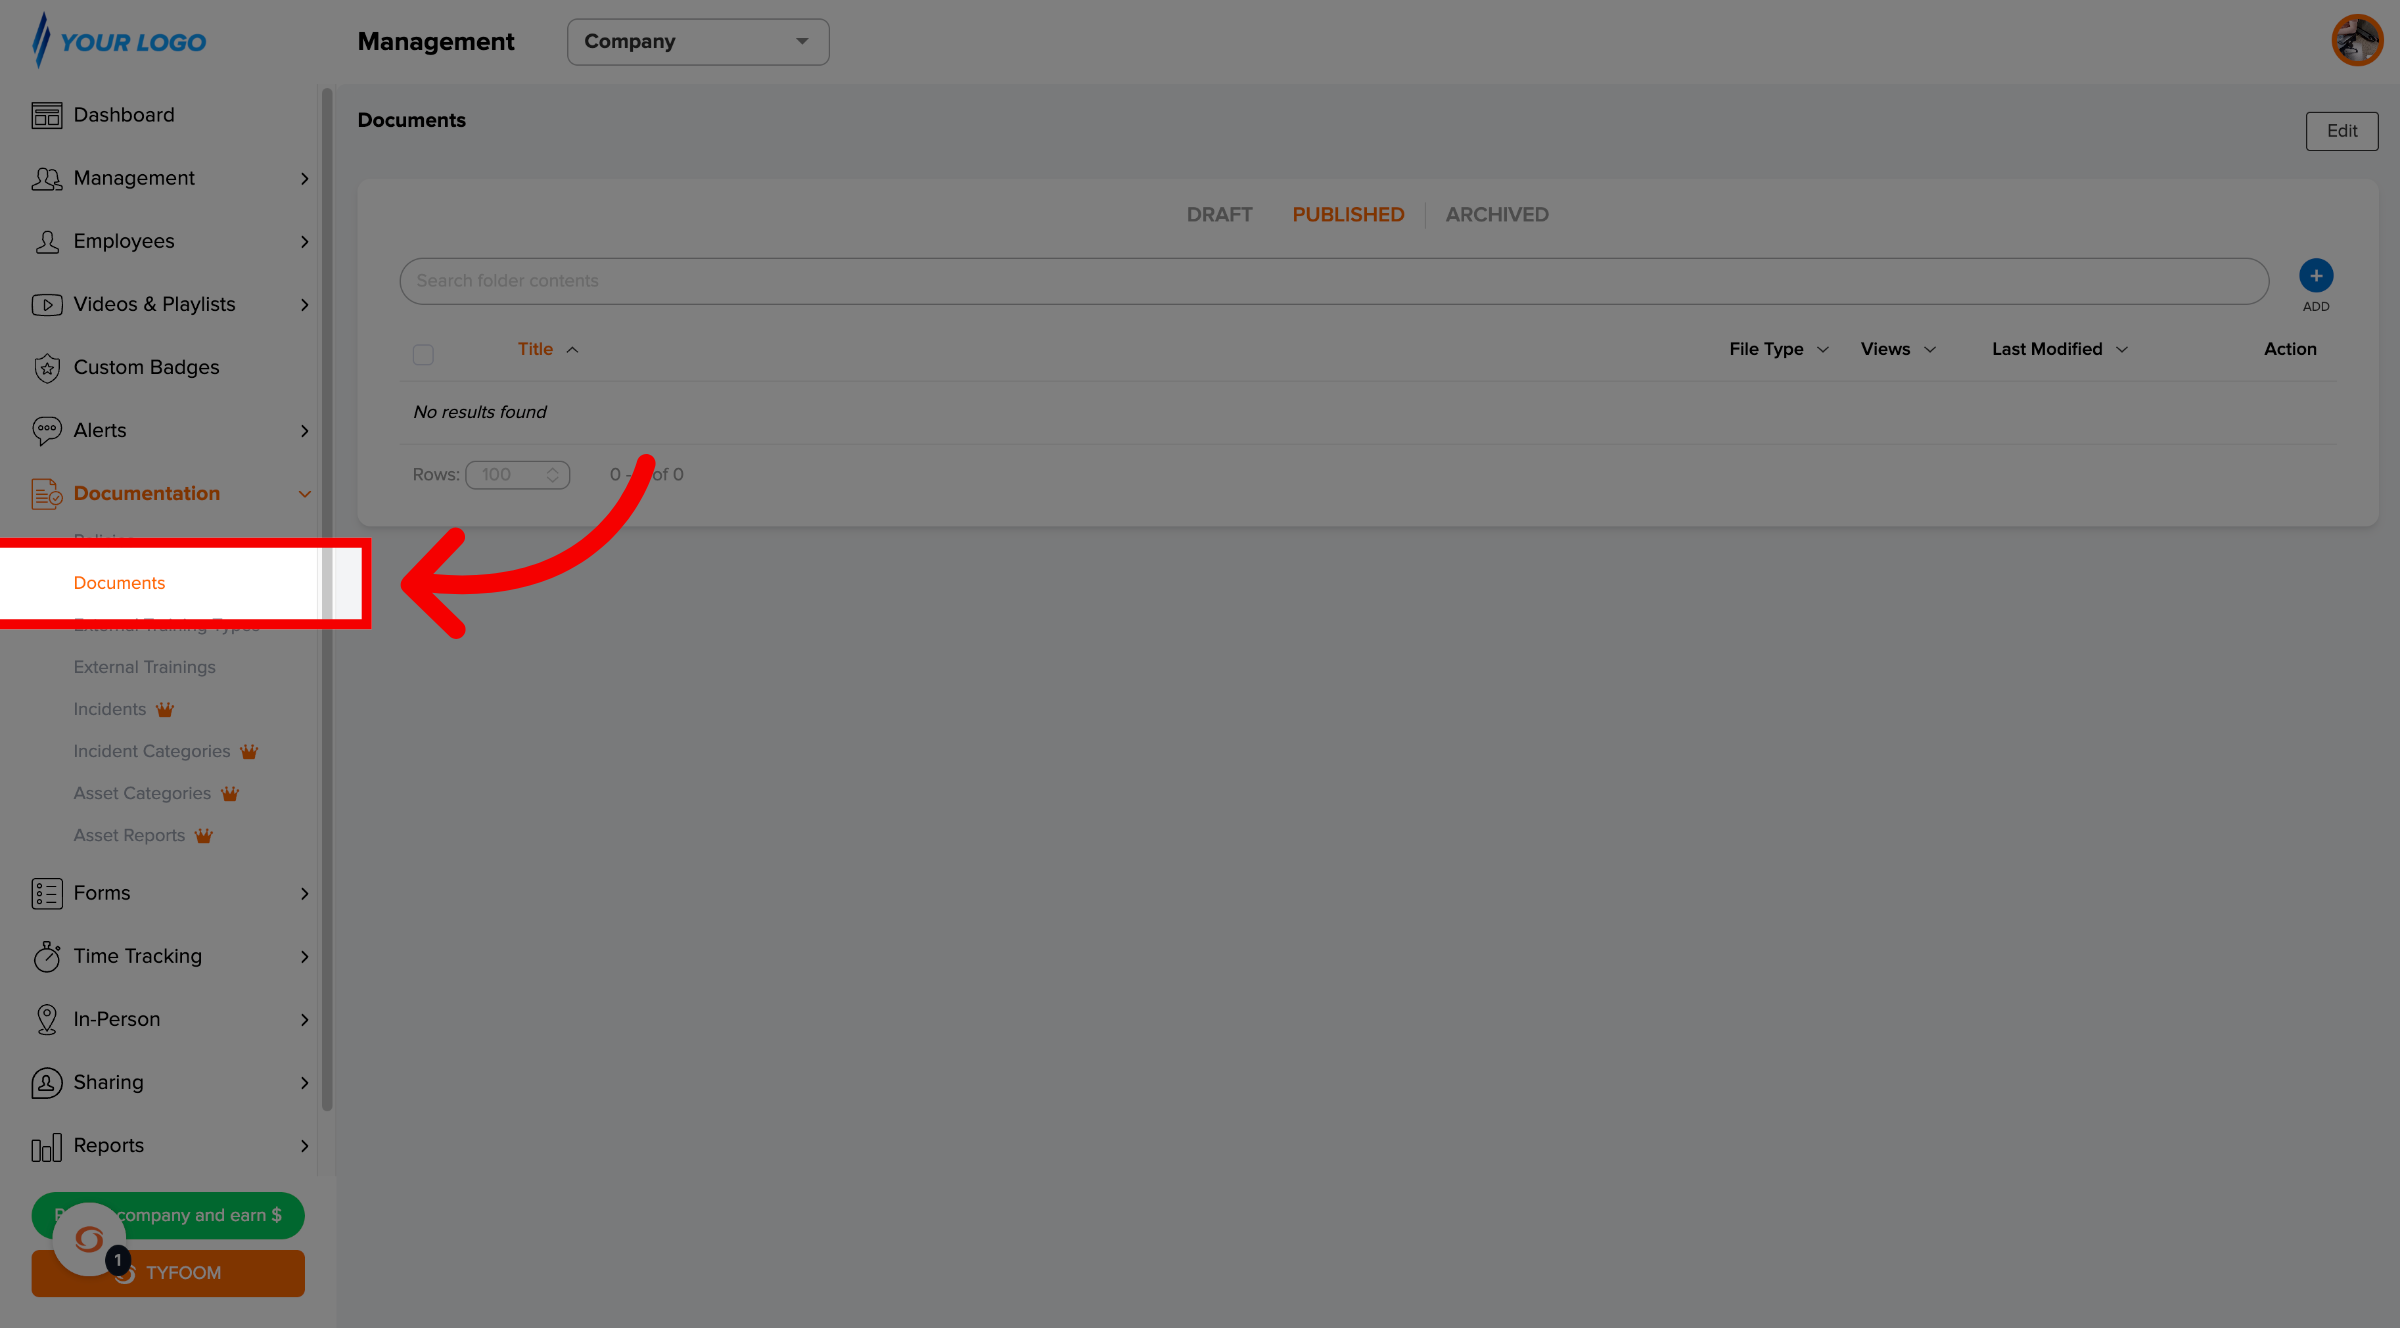
2. Go to Documentation > Documents
Open the Documentation section in the left sidebar and click Documents. This is the main folder of your document library.
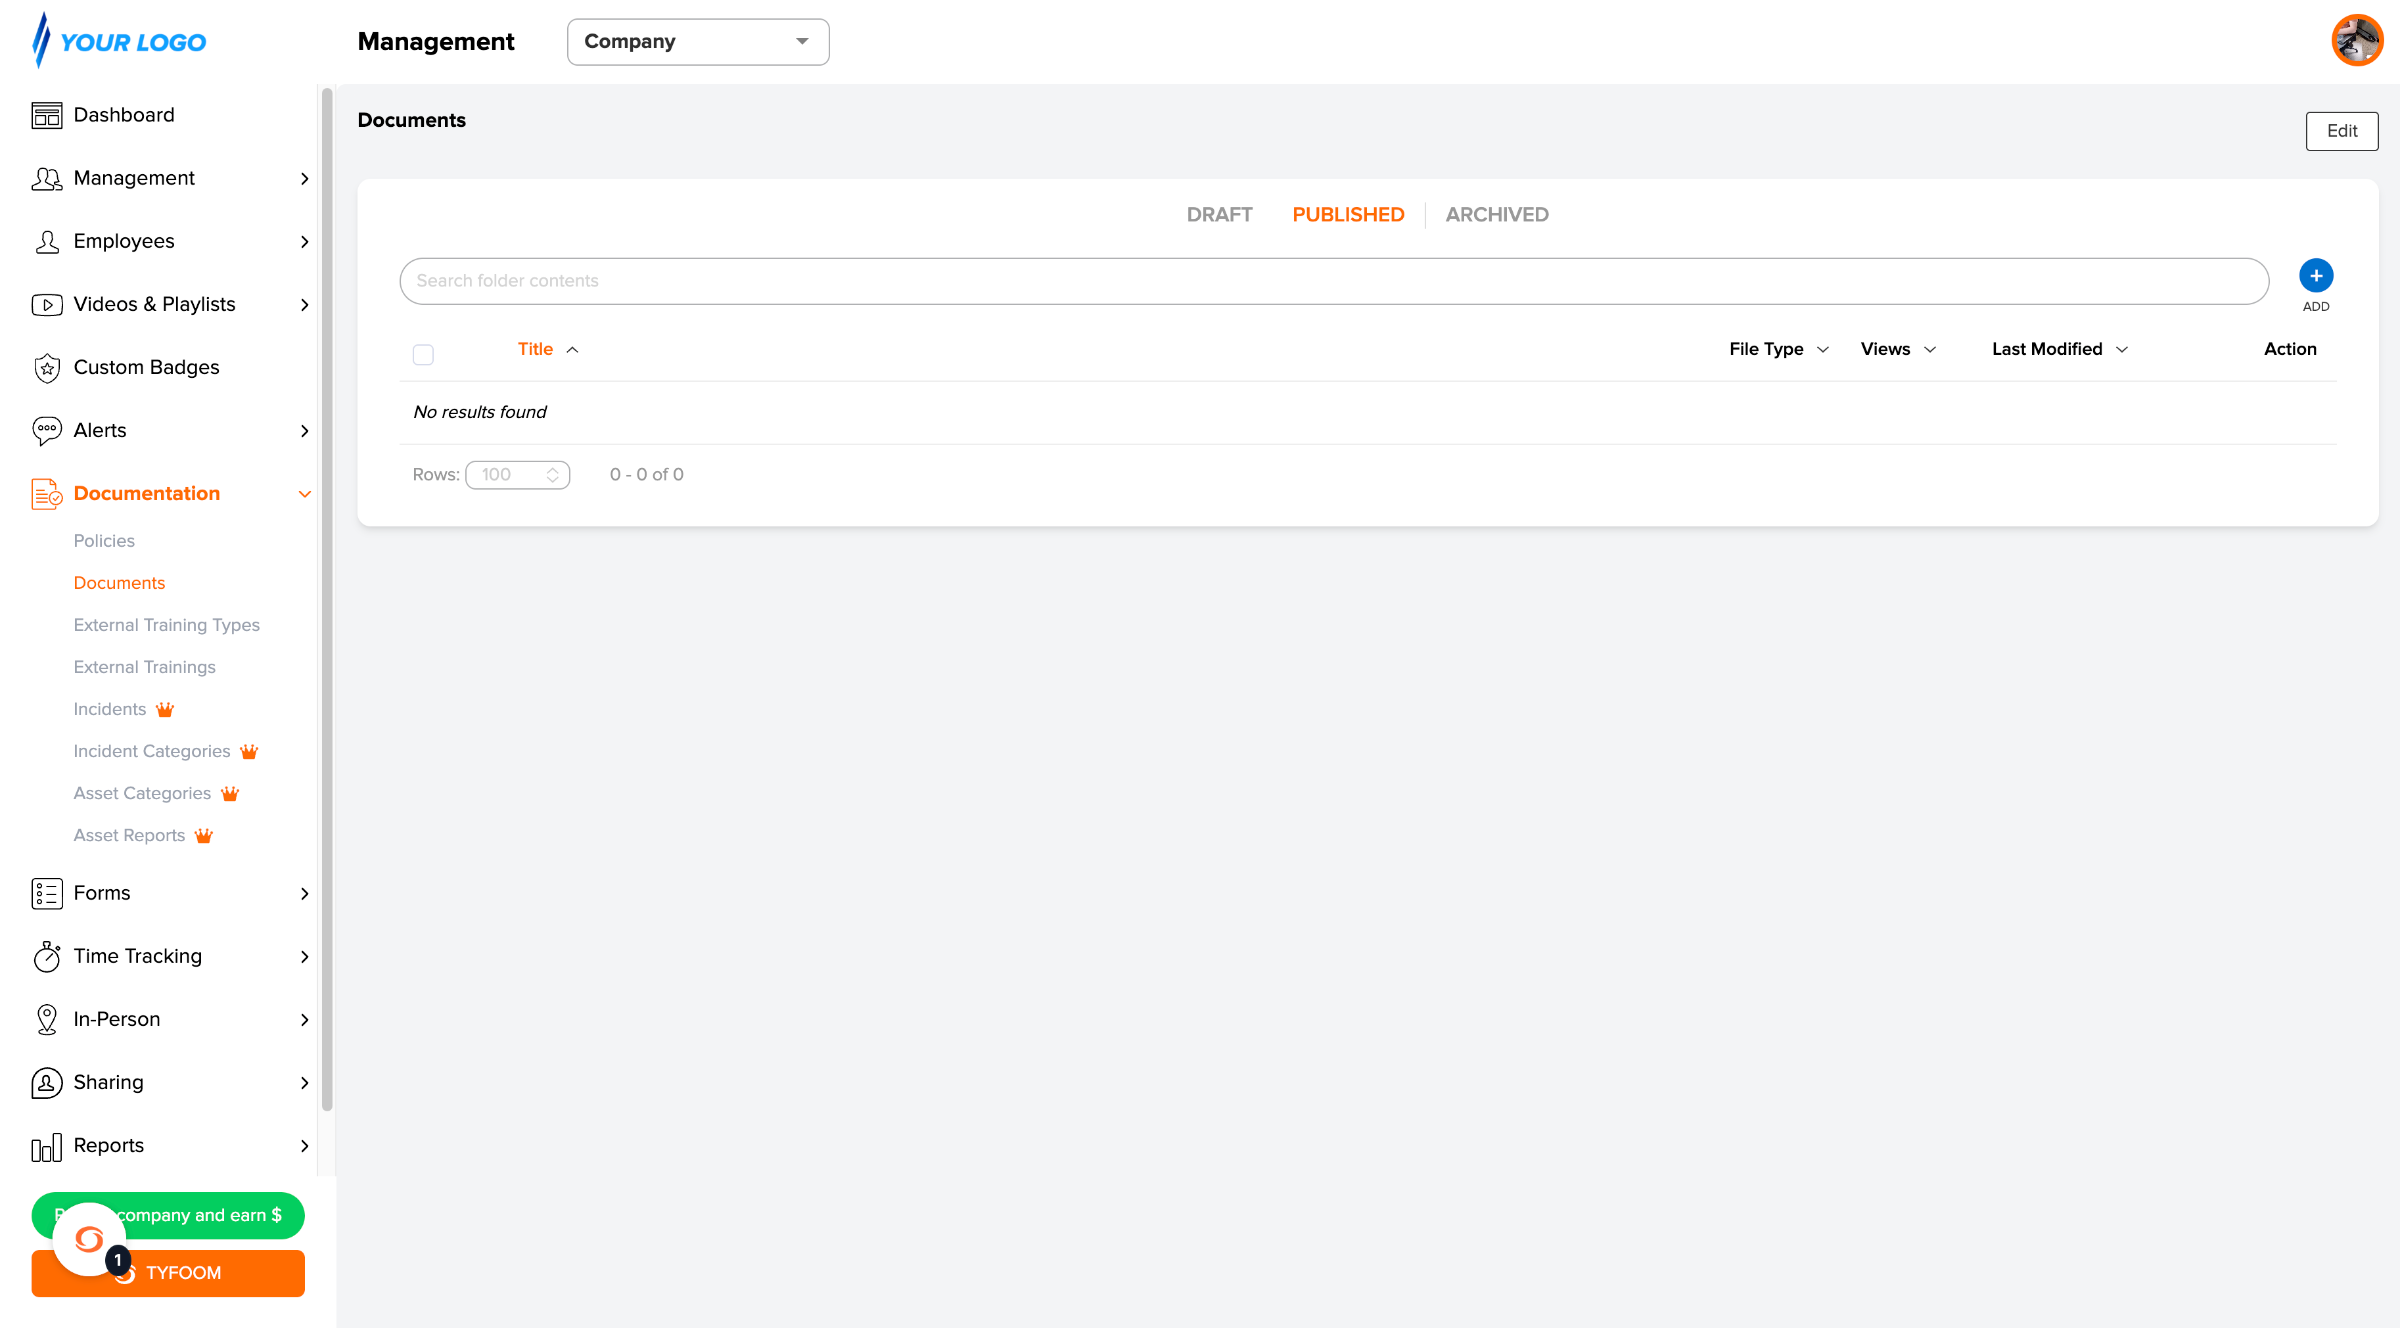
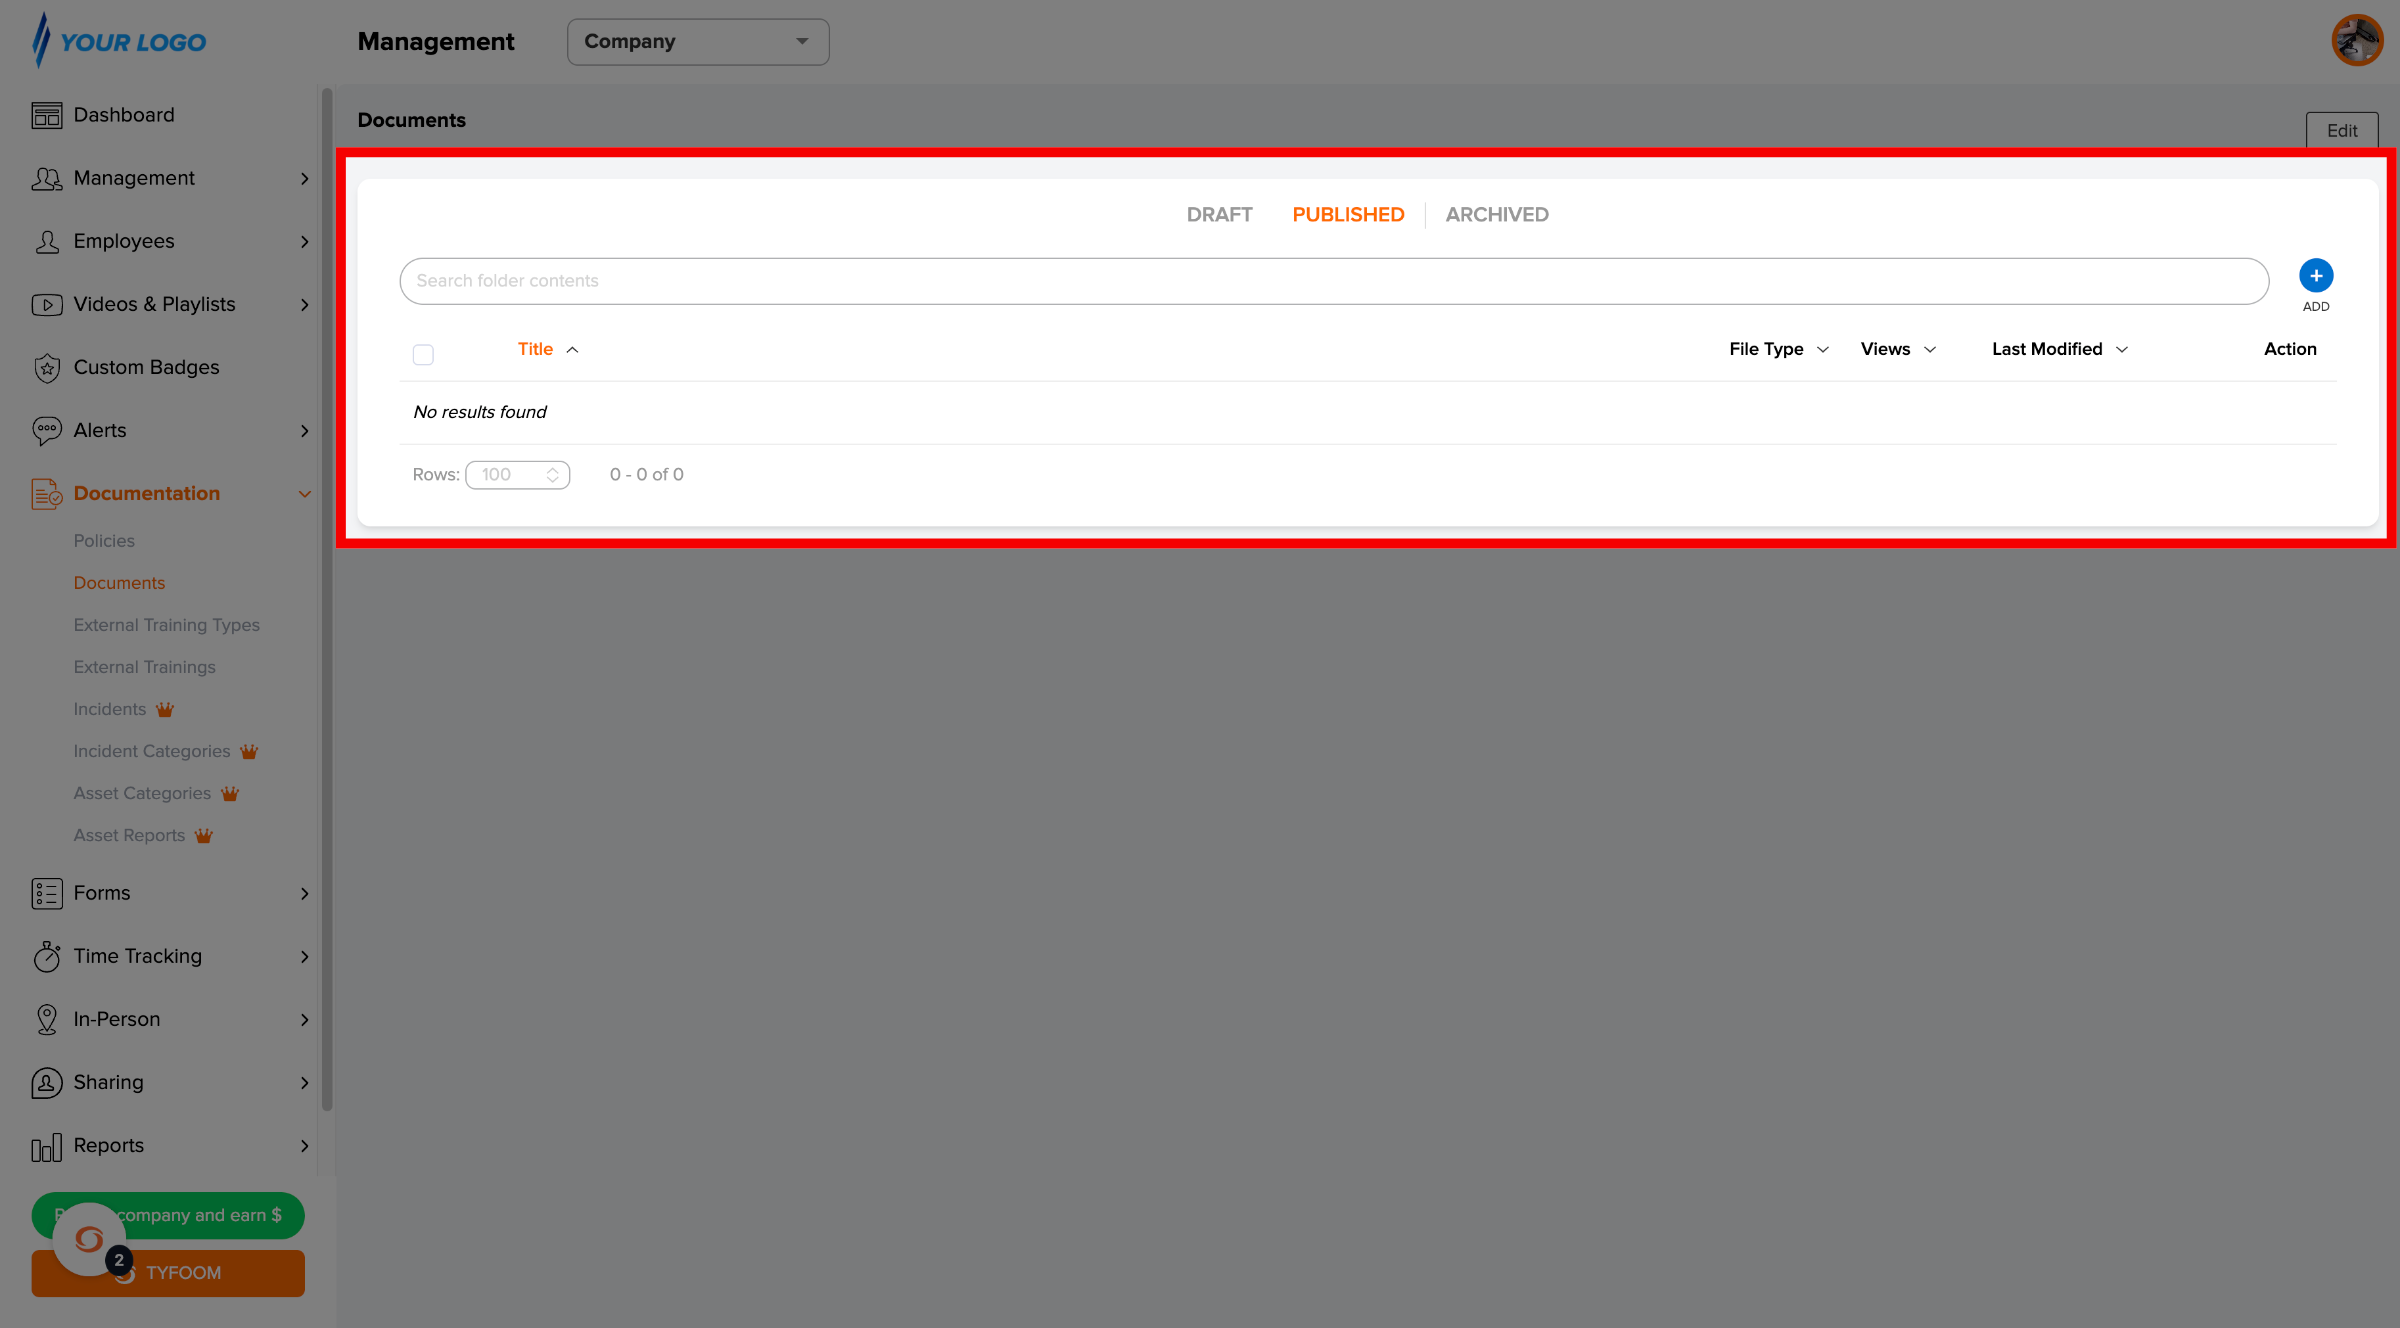
3. Get Familiar with the Layout
Across the top you'll see three tabs — DRAFT, PUBLISHED, and ARCHIVED — with PUBLISHED open by default. Below the tabs is a search bar and a blue ADD button on the right.
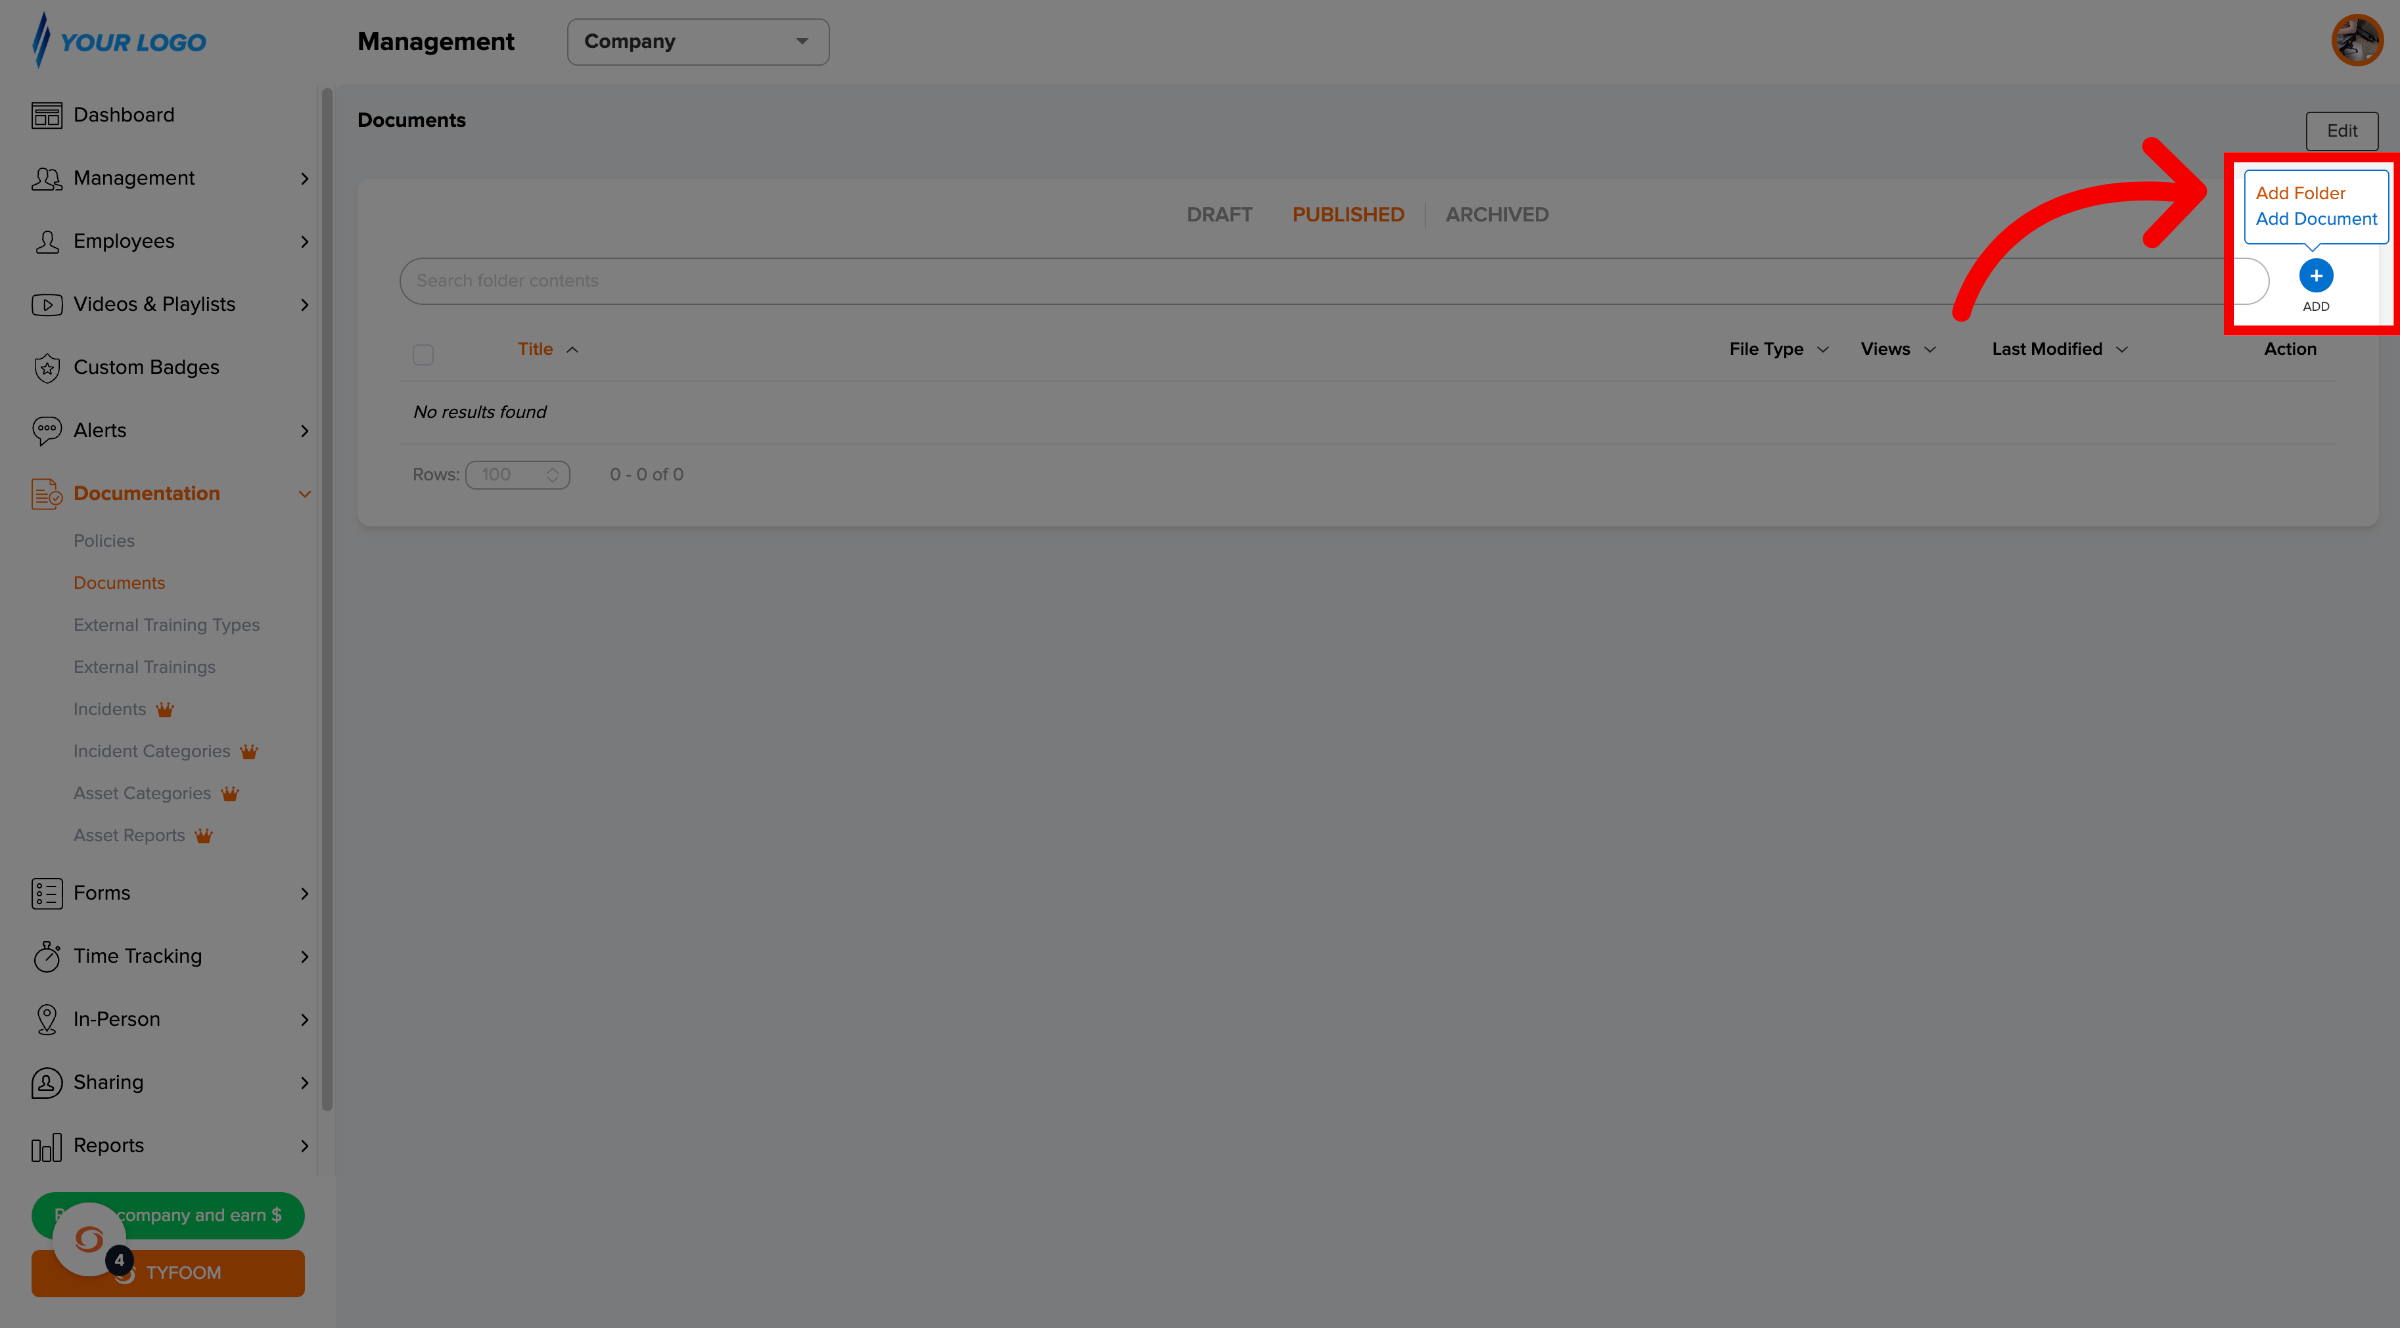
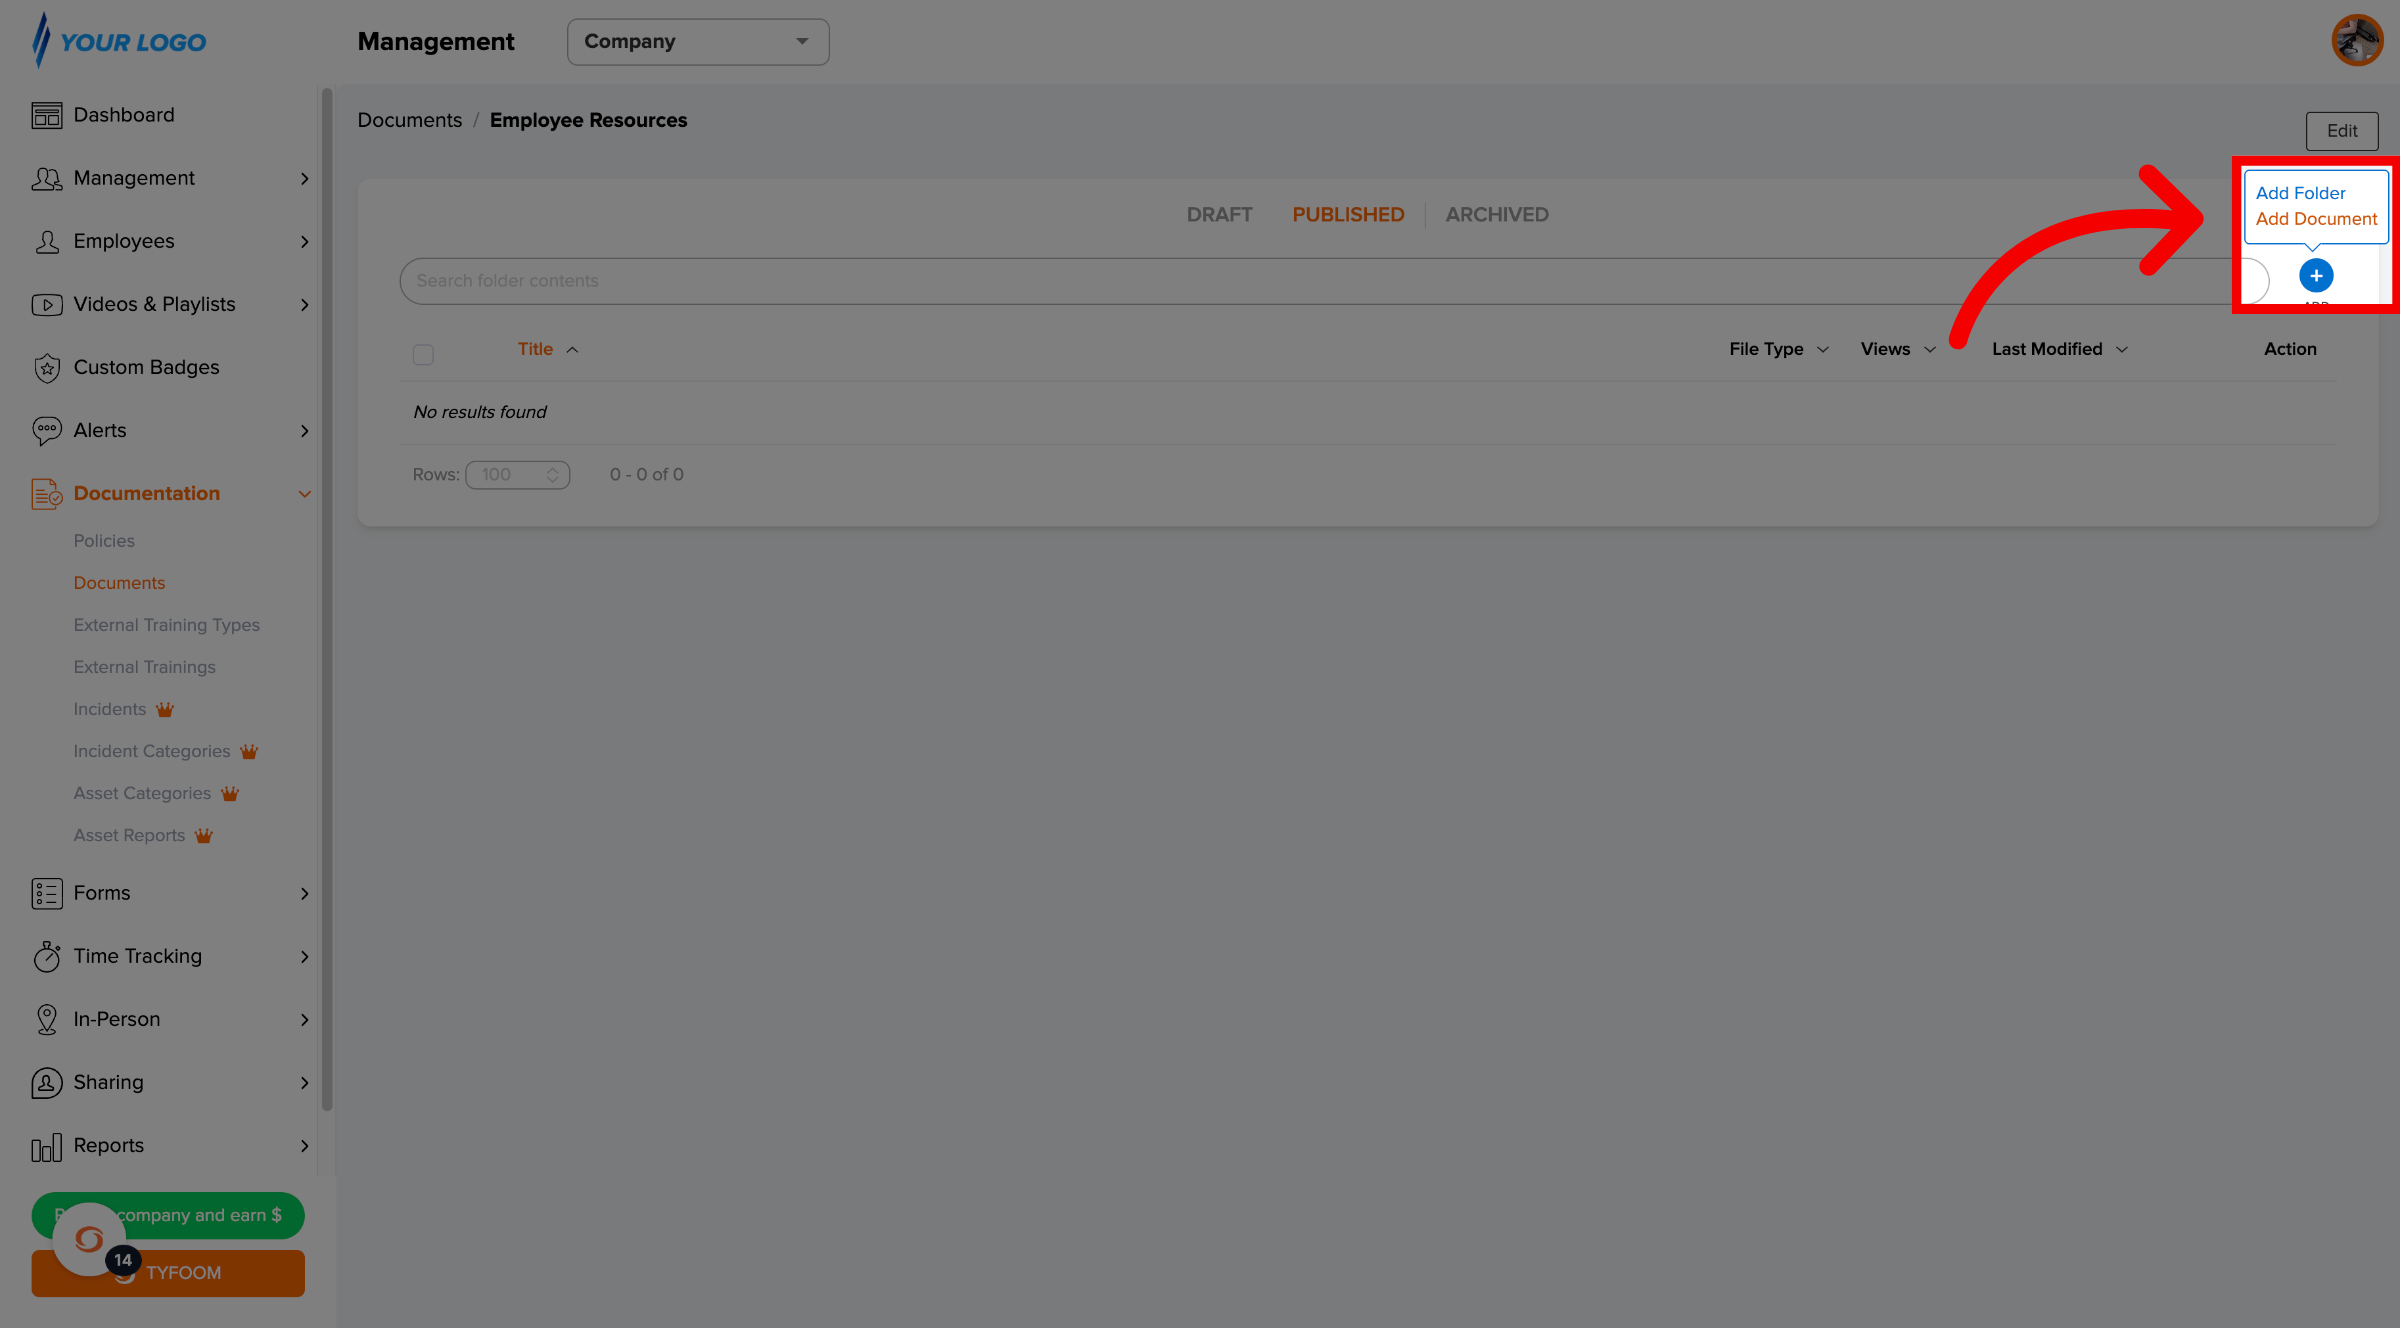
4. Add New Folder
Click + ADD — you'll see two options: Add Folder and Add Document. Select Add Folder to start.
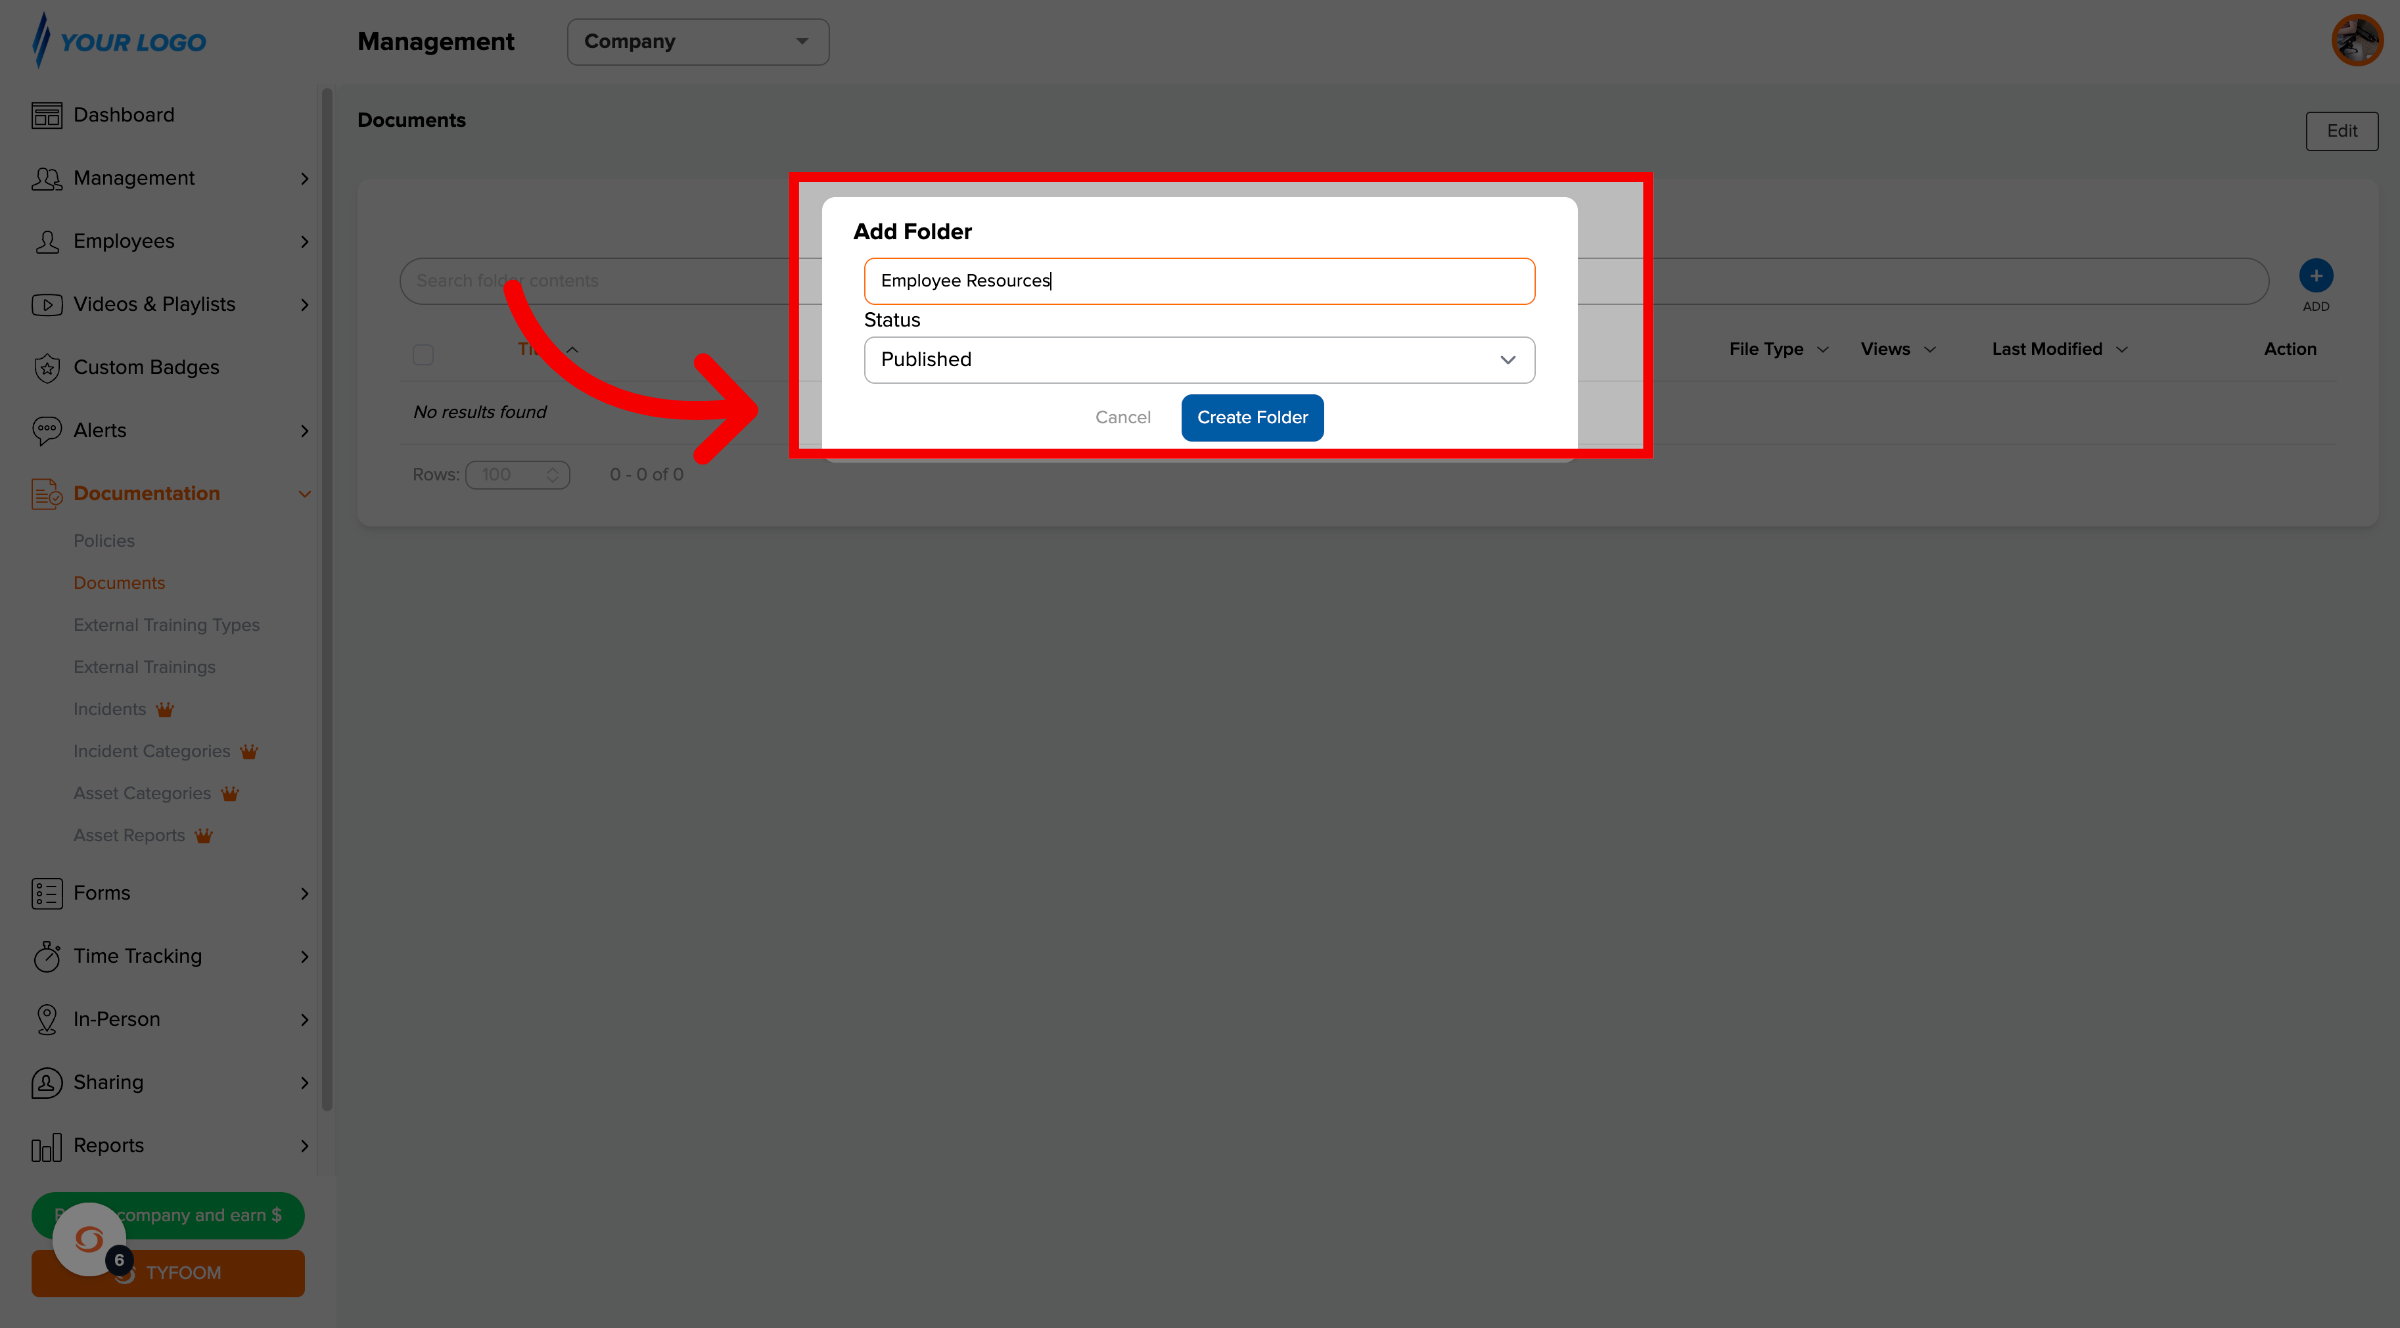
5. Name Folder
In the pop-up, give the folder a name, leave the status as Published, and click Create Folder.
6. Open Your Folder
Your folder is now created. Click the folder's name in the list to go inside it.

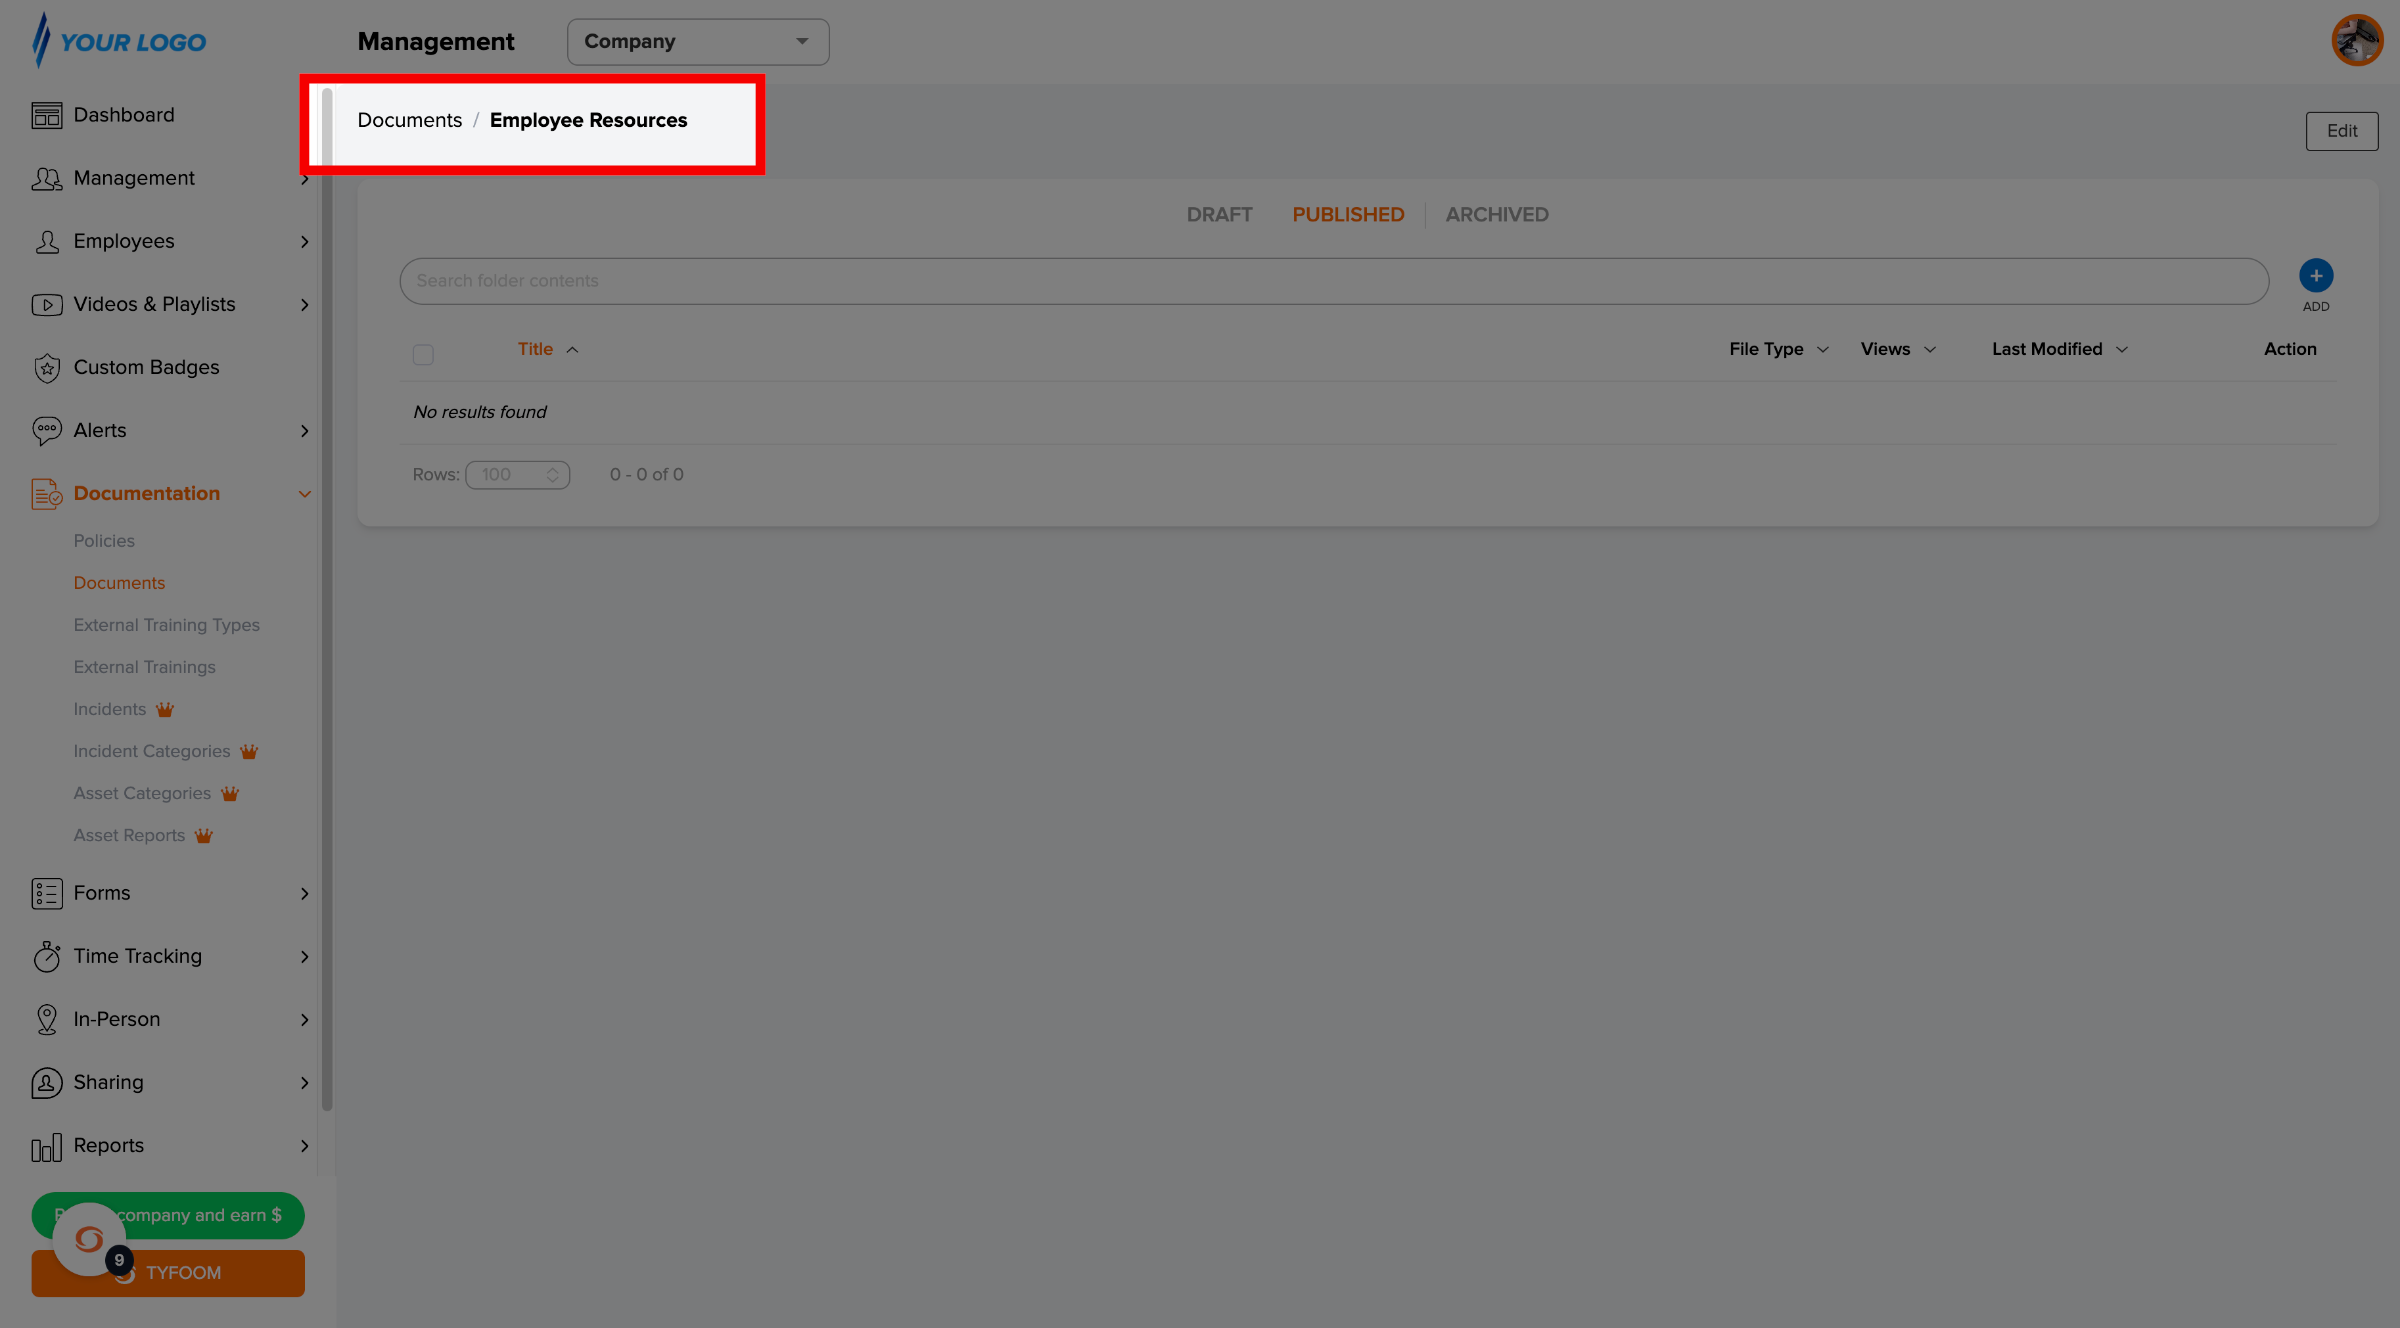
7. View Breadcrumbs
The breadcrumb at the top updates to show where you are, like "Documents / Employee Resources."
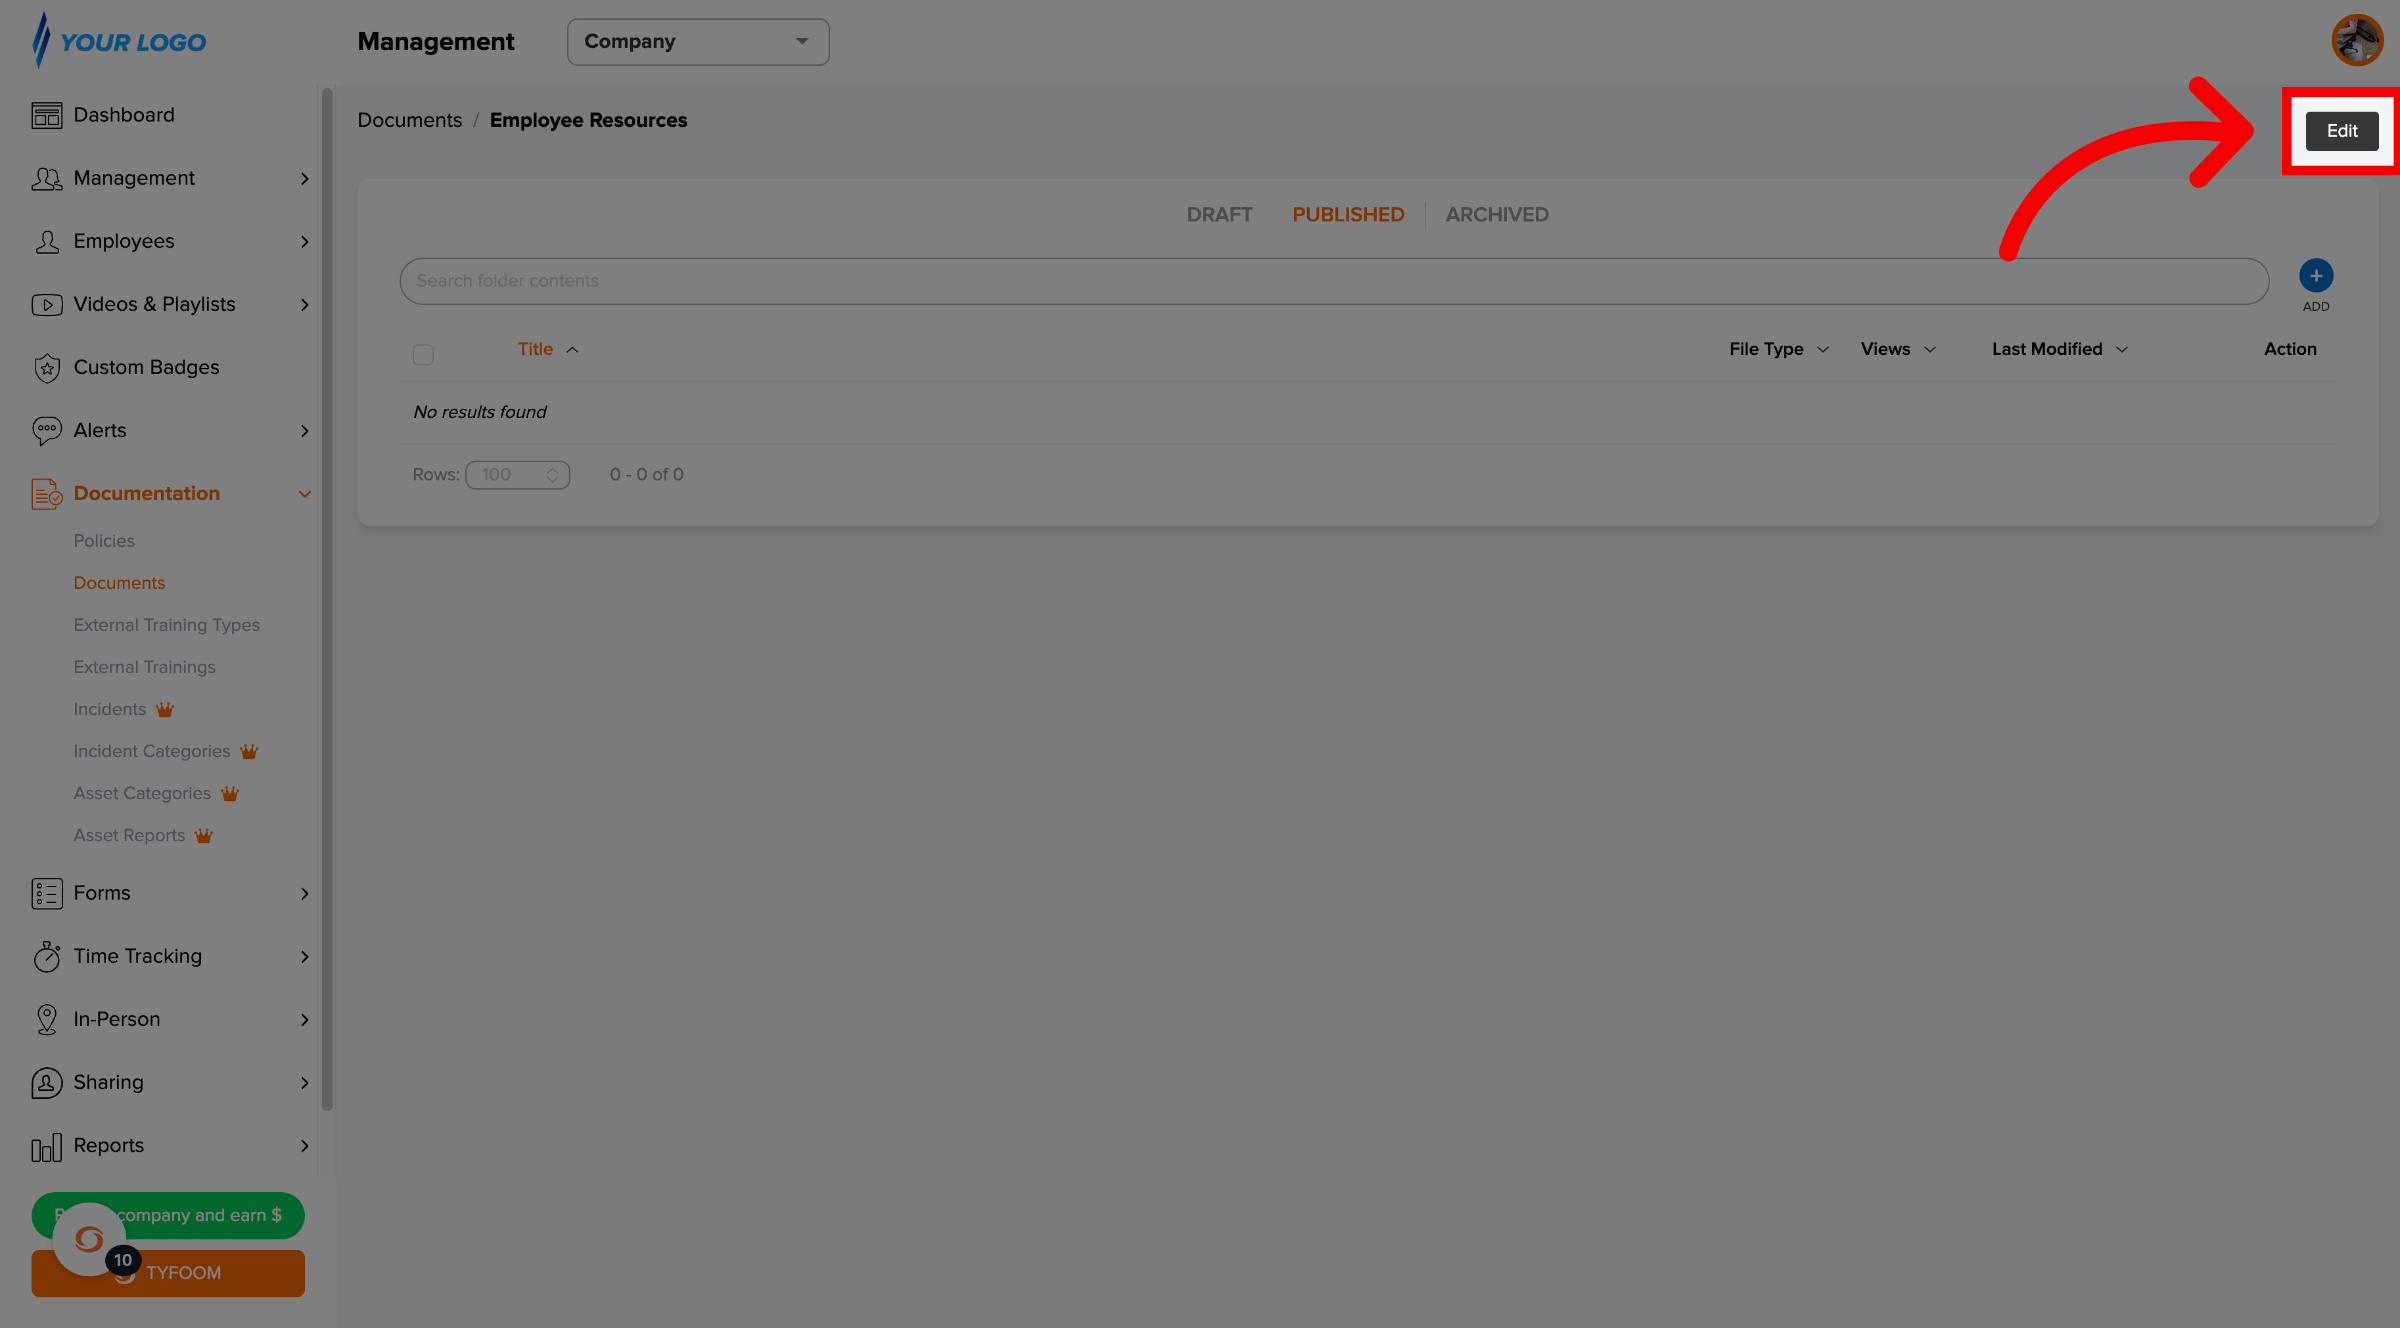
8. Set Who Can See the Folder
To set who has access to the folder, click "edit" in the top right corner of the folder.
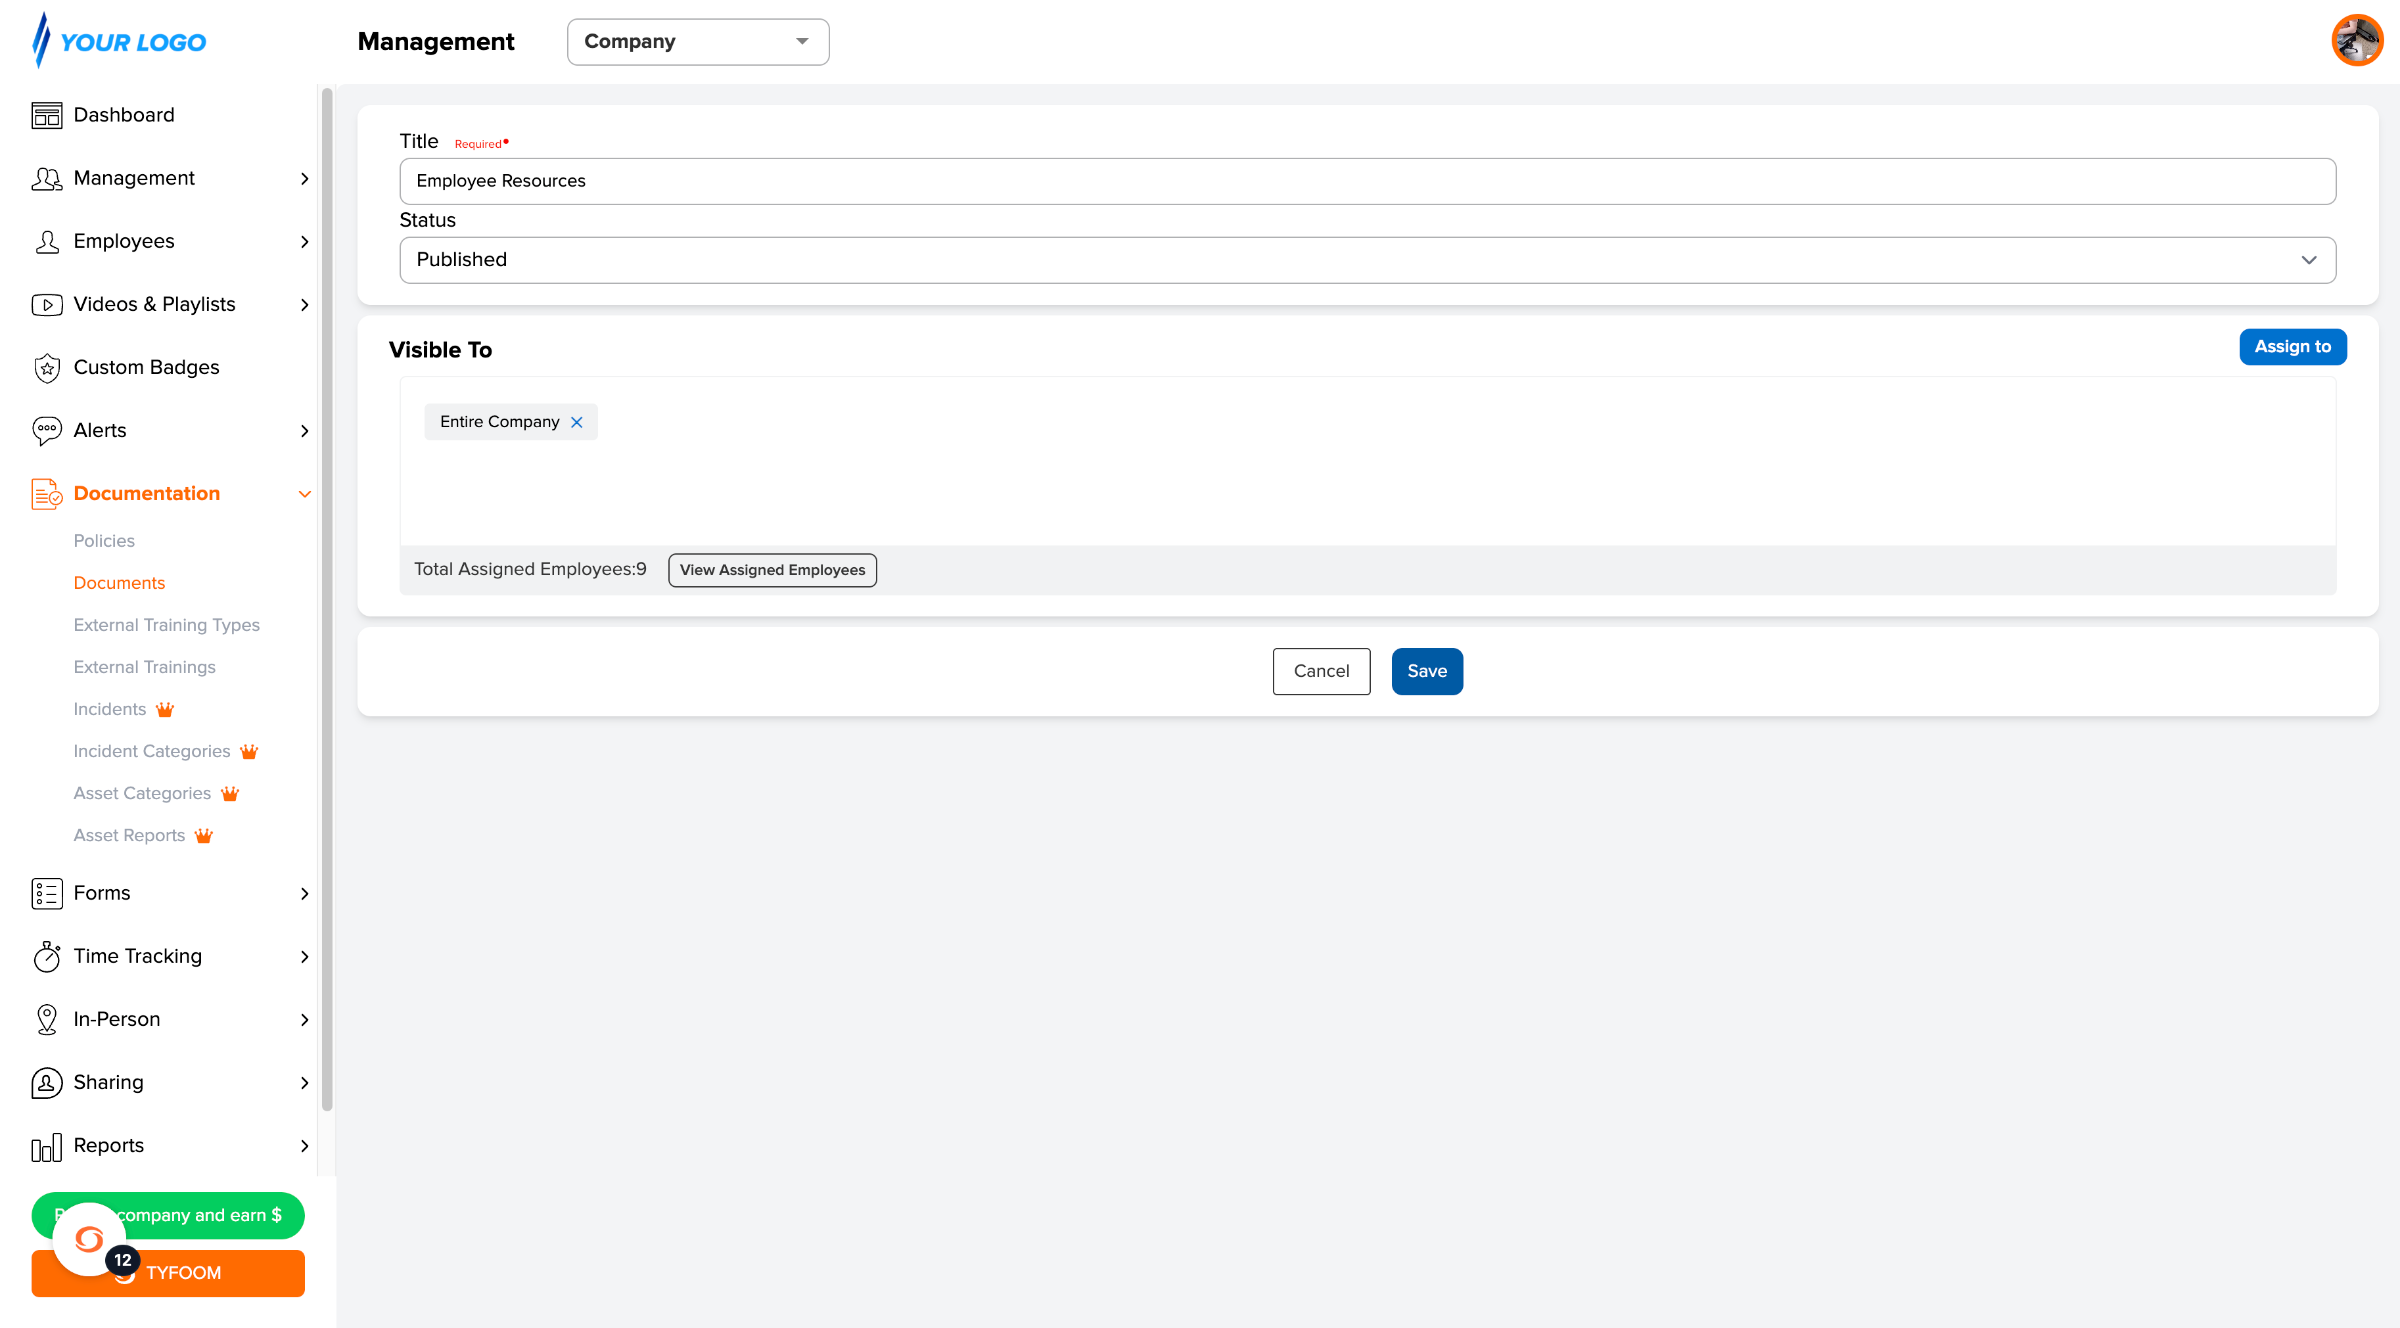
9. Save Folder Setting
Select which employees, then click save. Employees assigned to a folder can see everything inside it, including any sub-folders.
10. Add New Document in Folder
Inside your folder, click add and then choose add document.
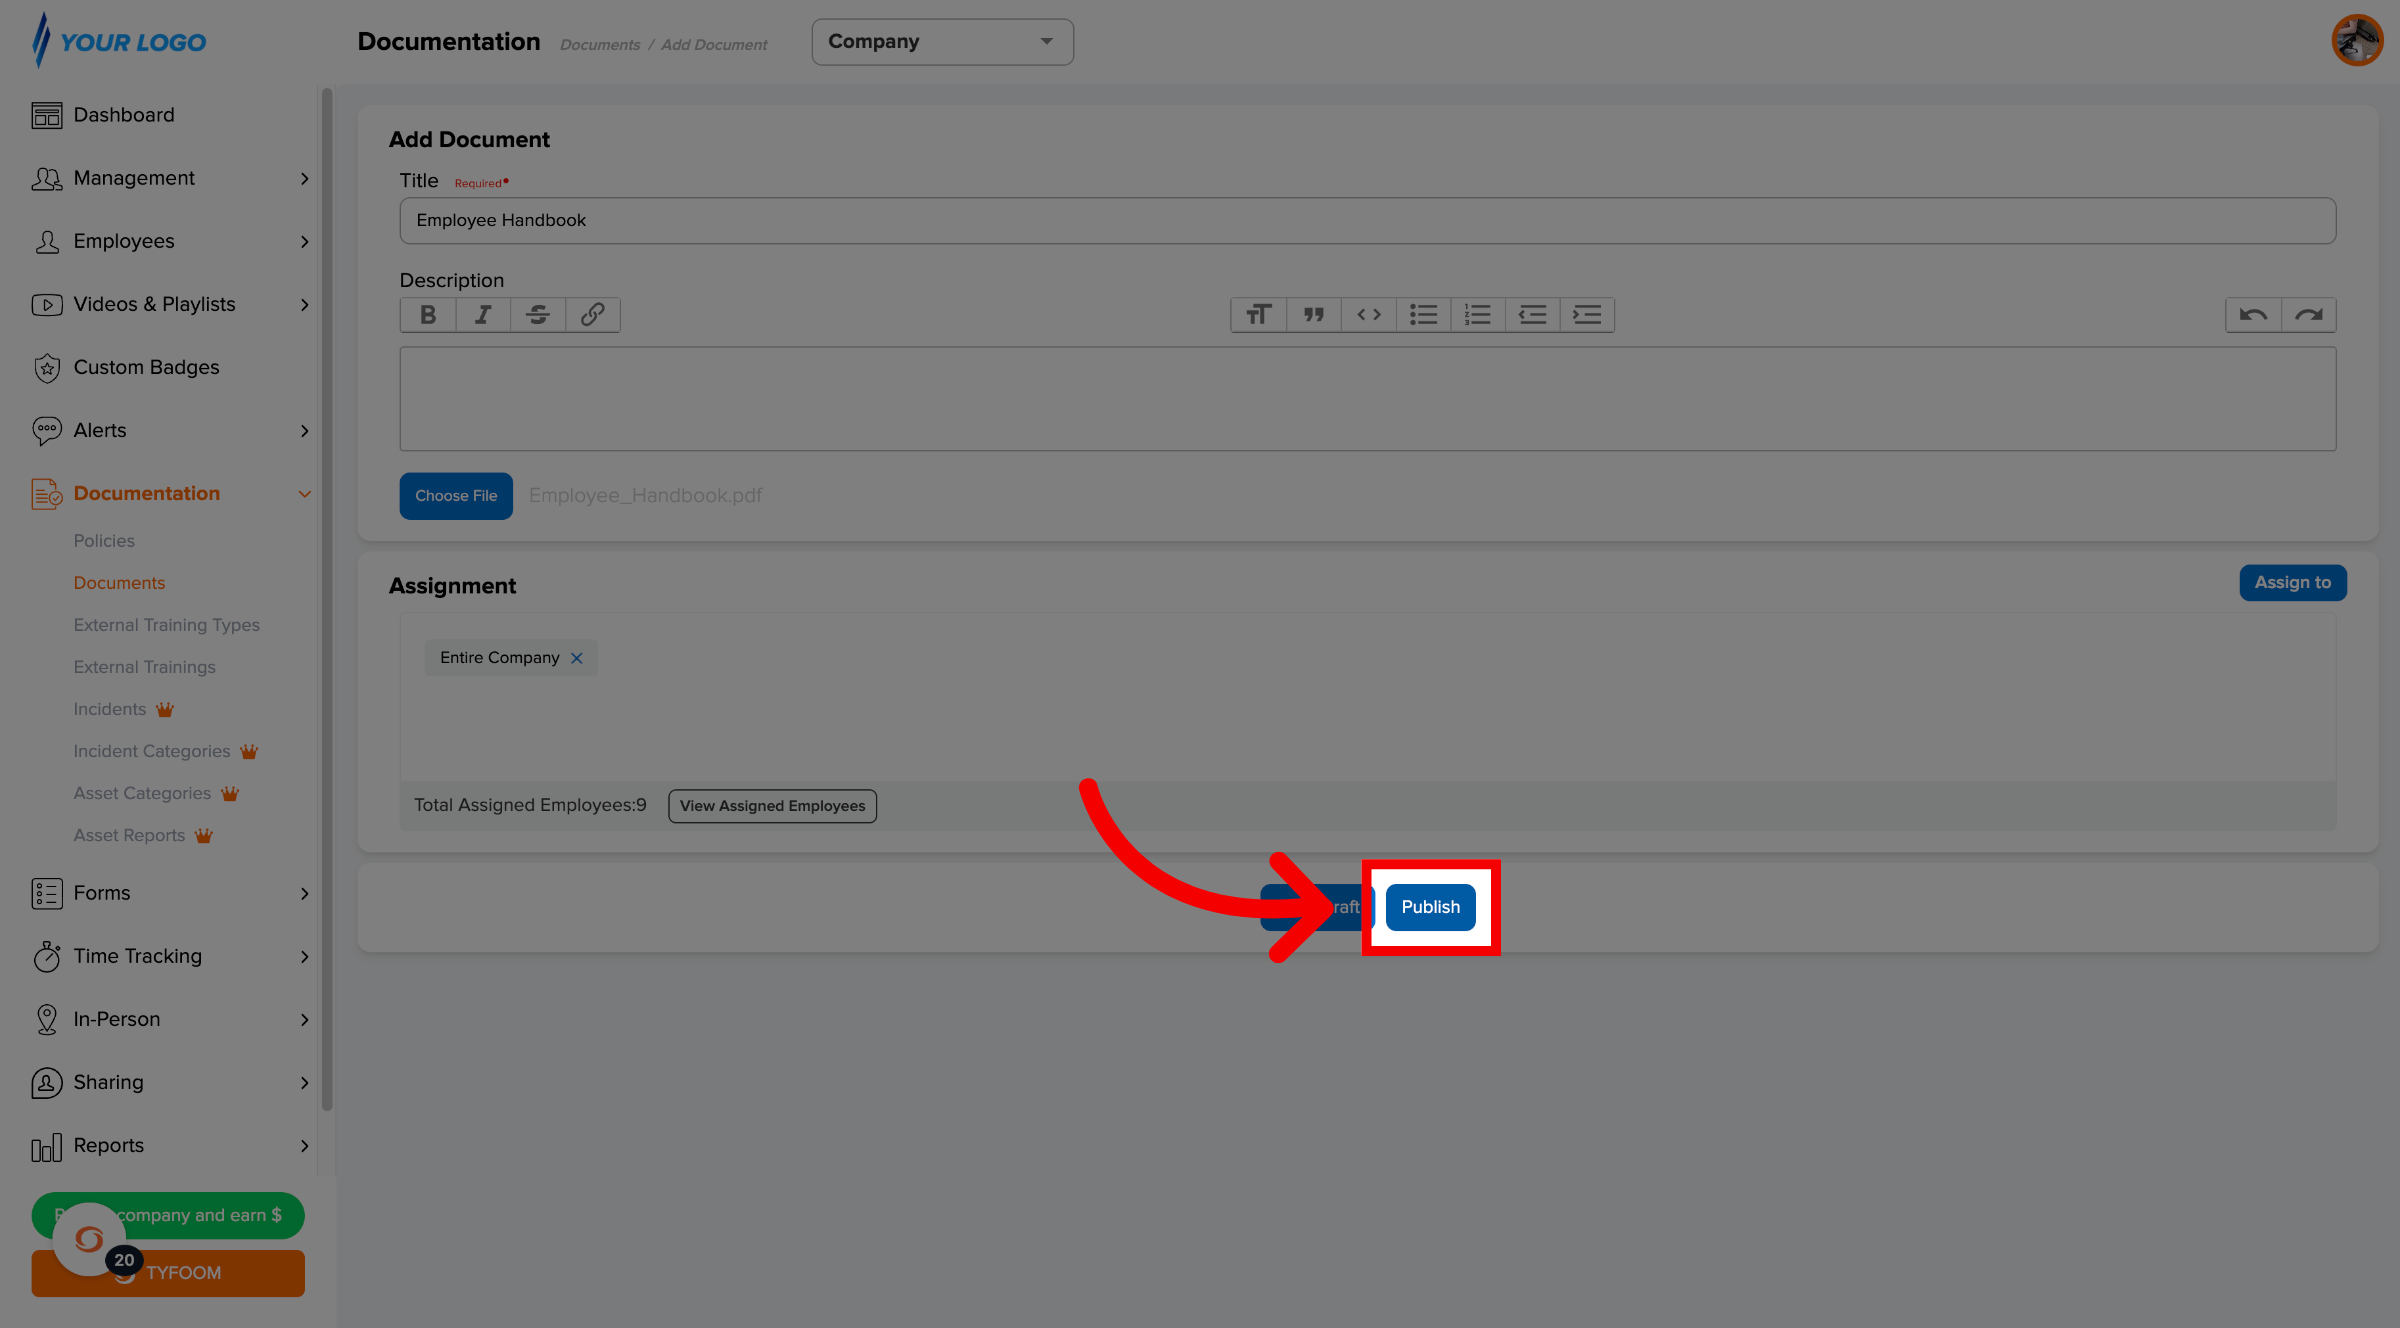
11. Publish Document
Give it a clear title like "2026 Benefits Summary" — this is exactly what employees will see in their Library.
Add your document details, including a title and the file, and then click Publish. Note: if an employee already has access to the folder, they have access to all documents inside the folder.
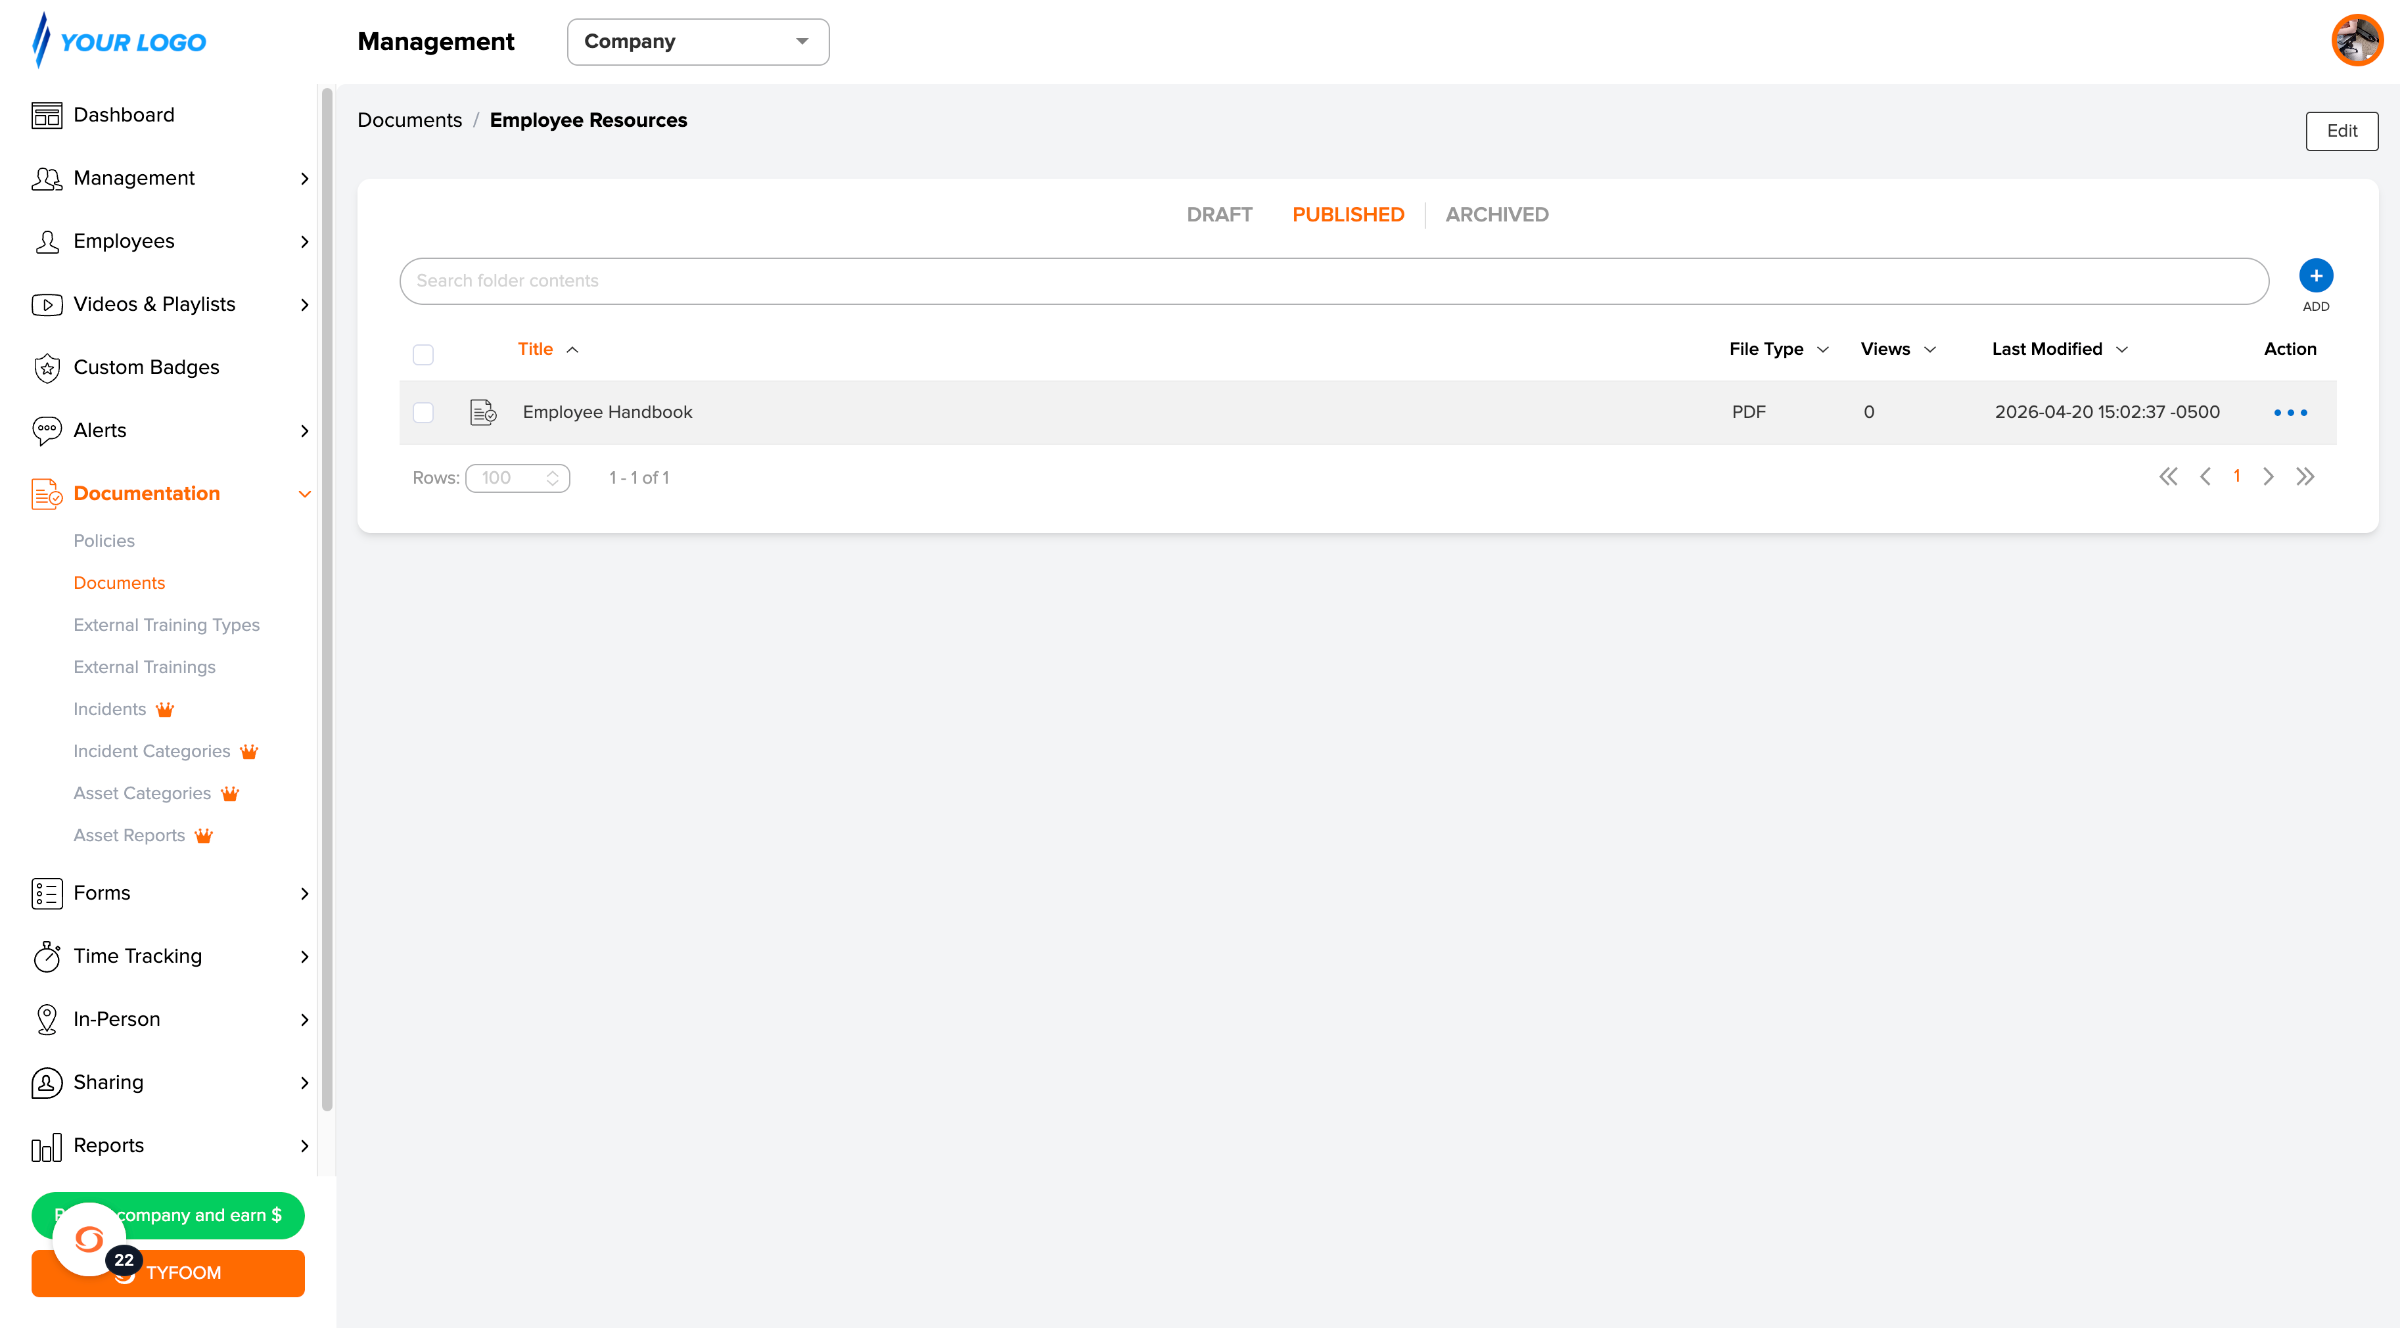
12. View Documents Within Folder
Published documents appear for selected employees right away in their Library.
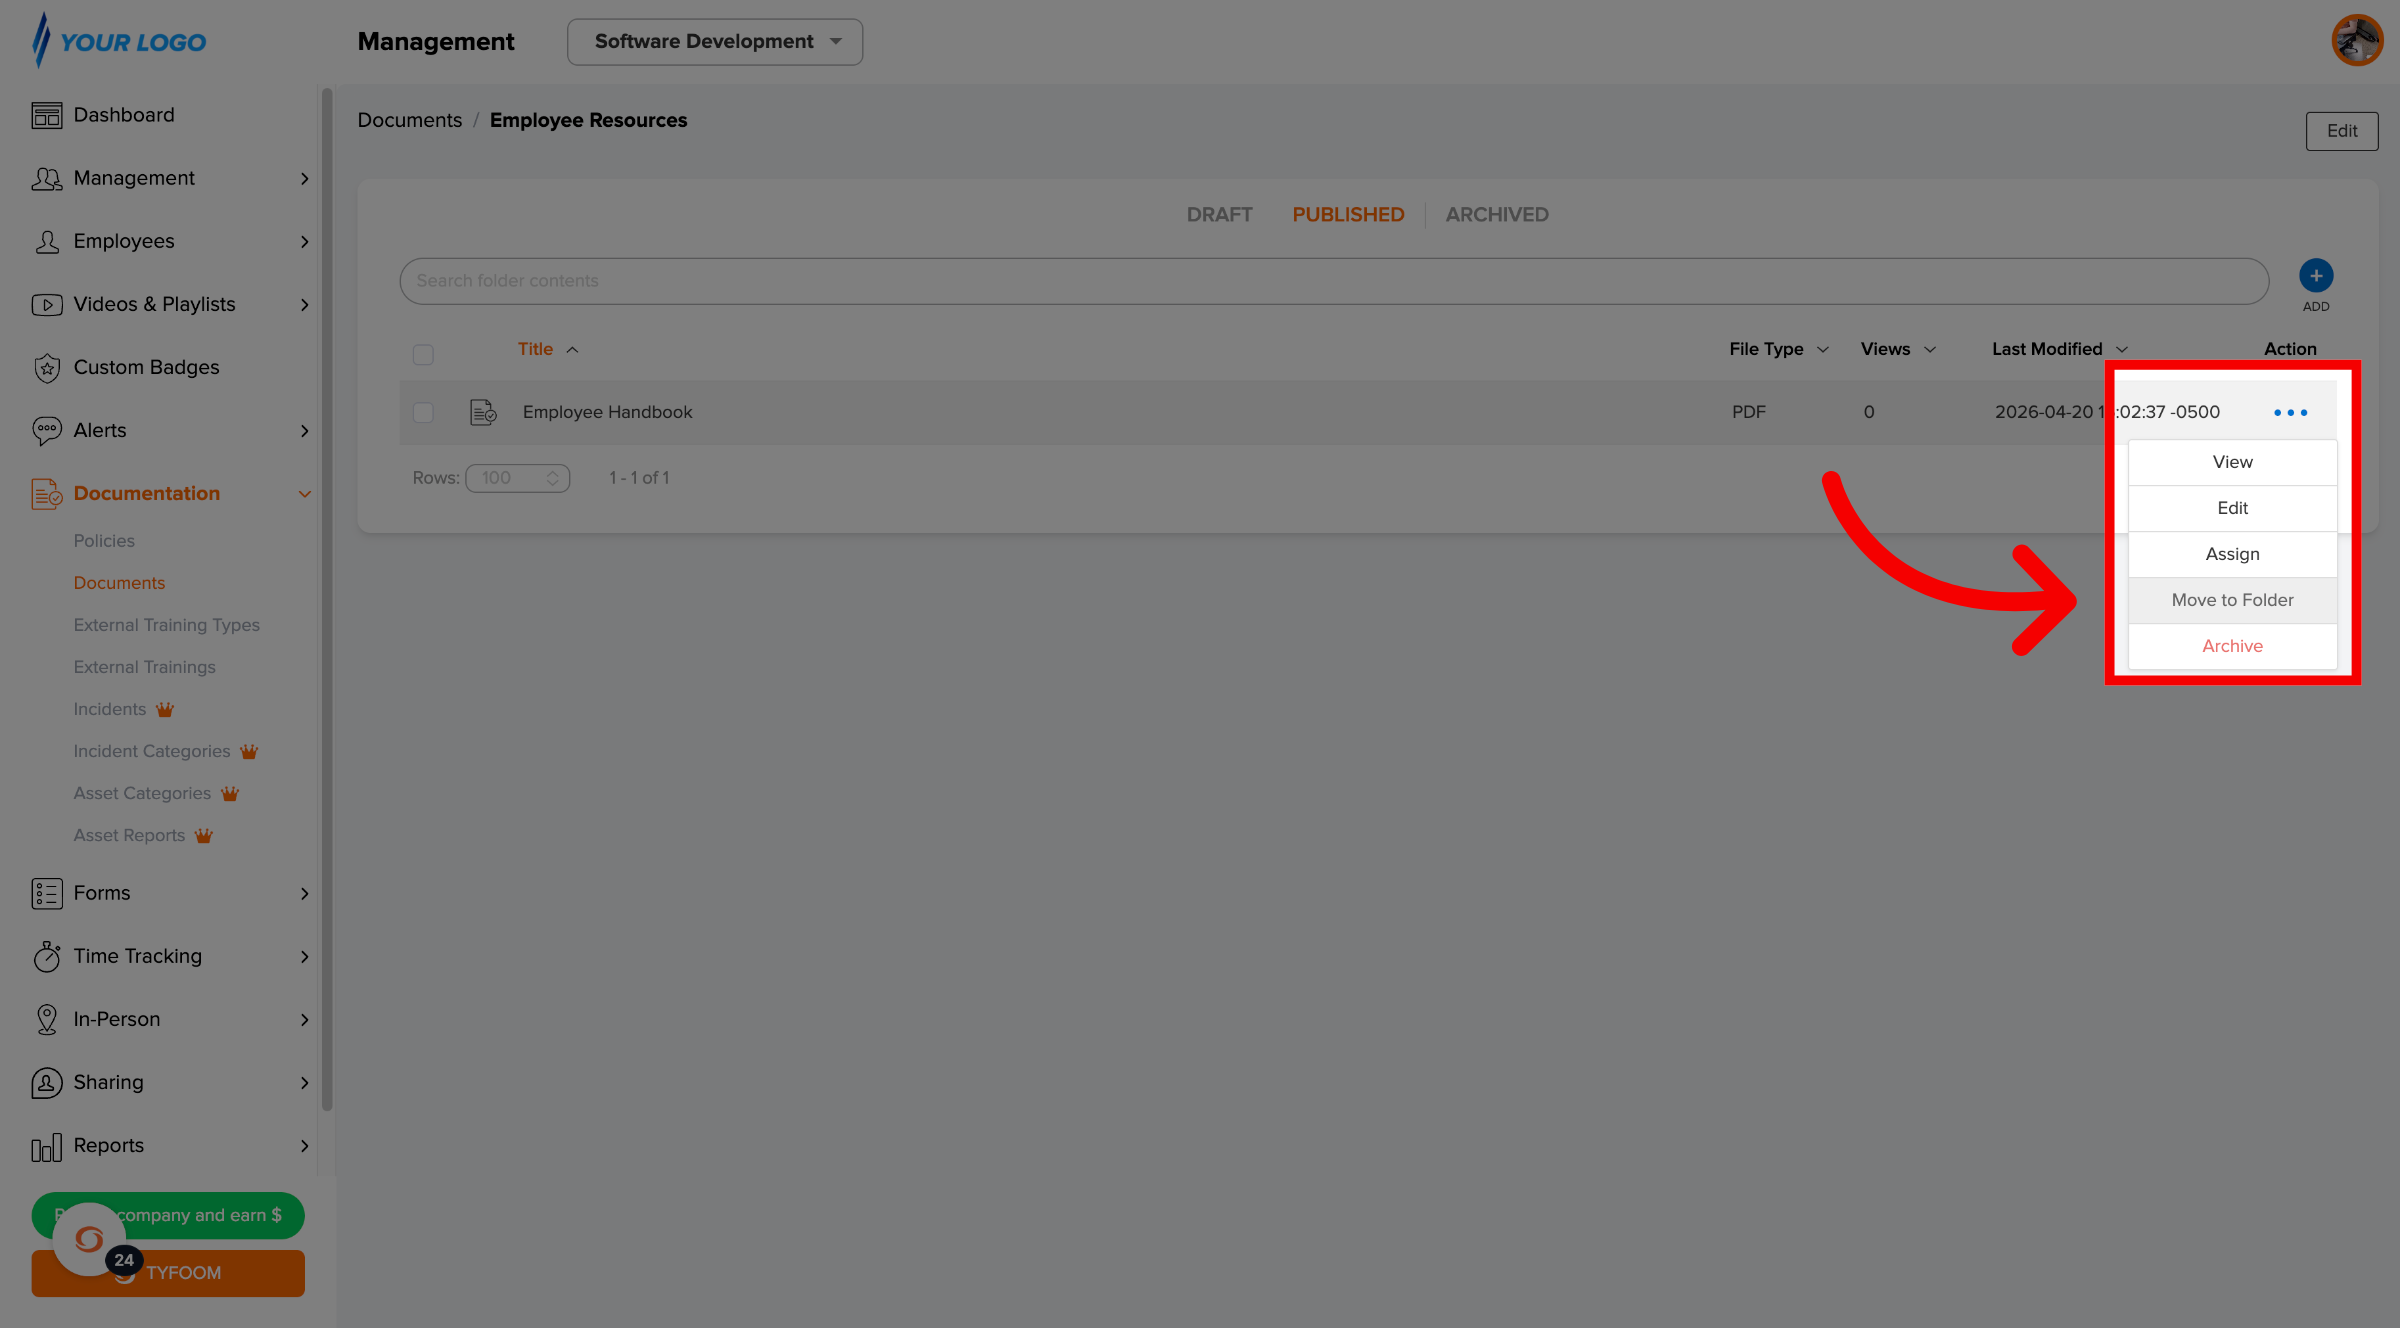
13. Move, Edit, or Archive Anytime
To move a document or folder to another folder, click the three-dot action menu and select Move to Folder.
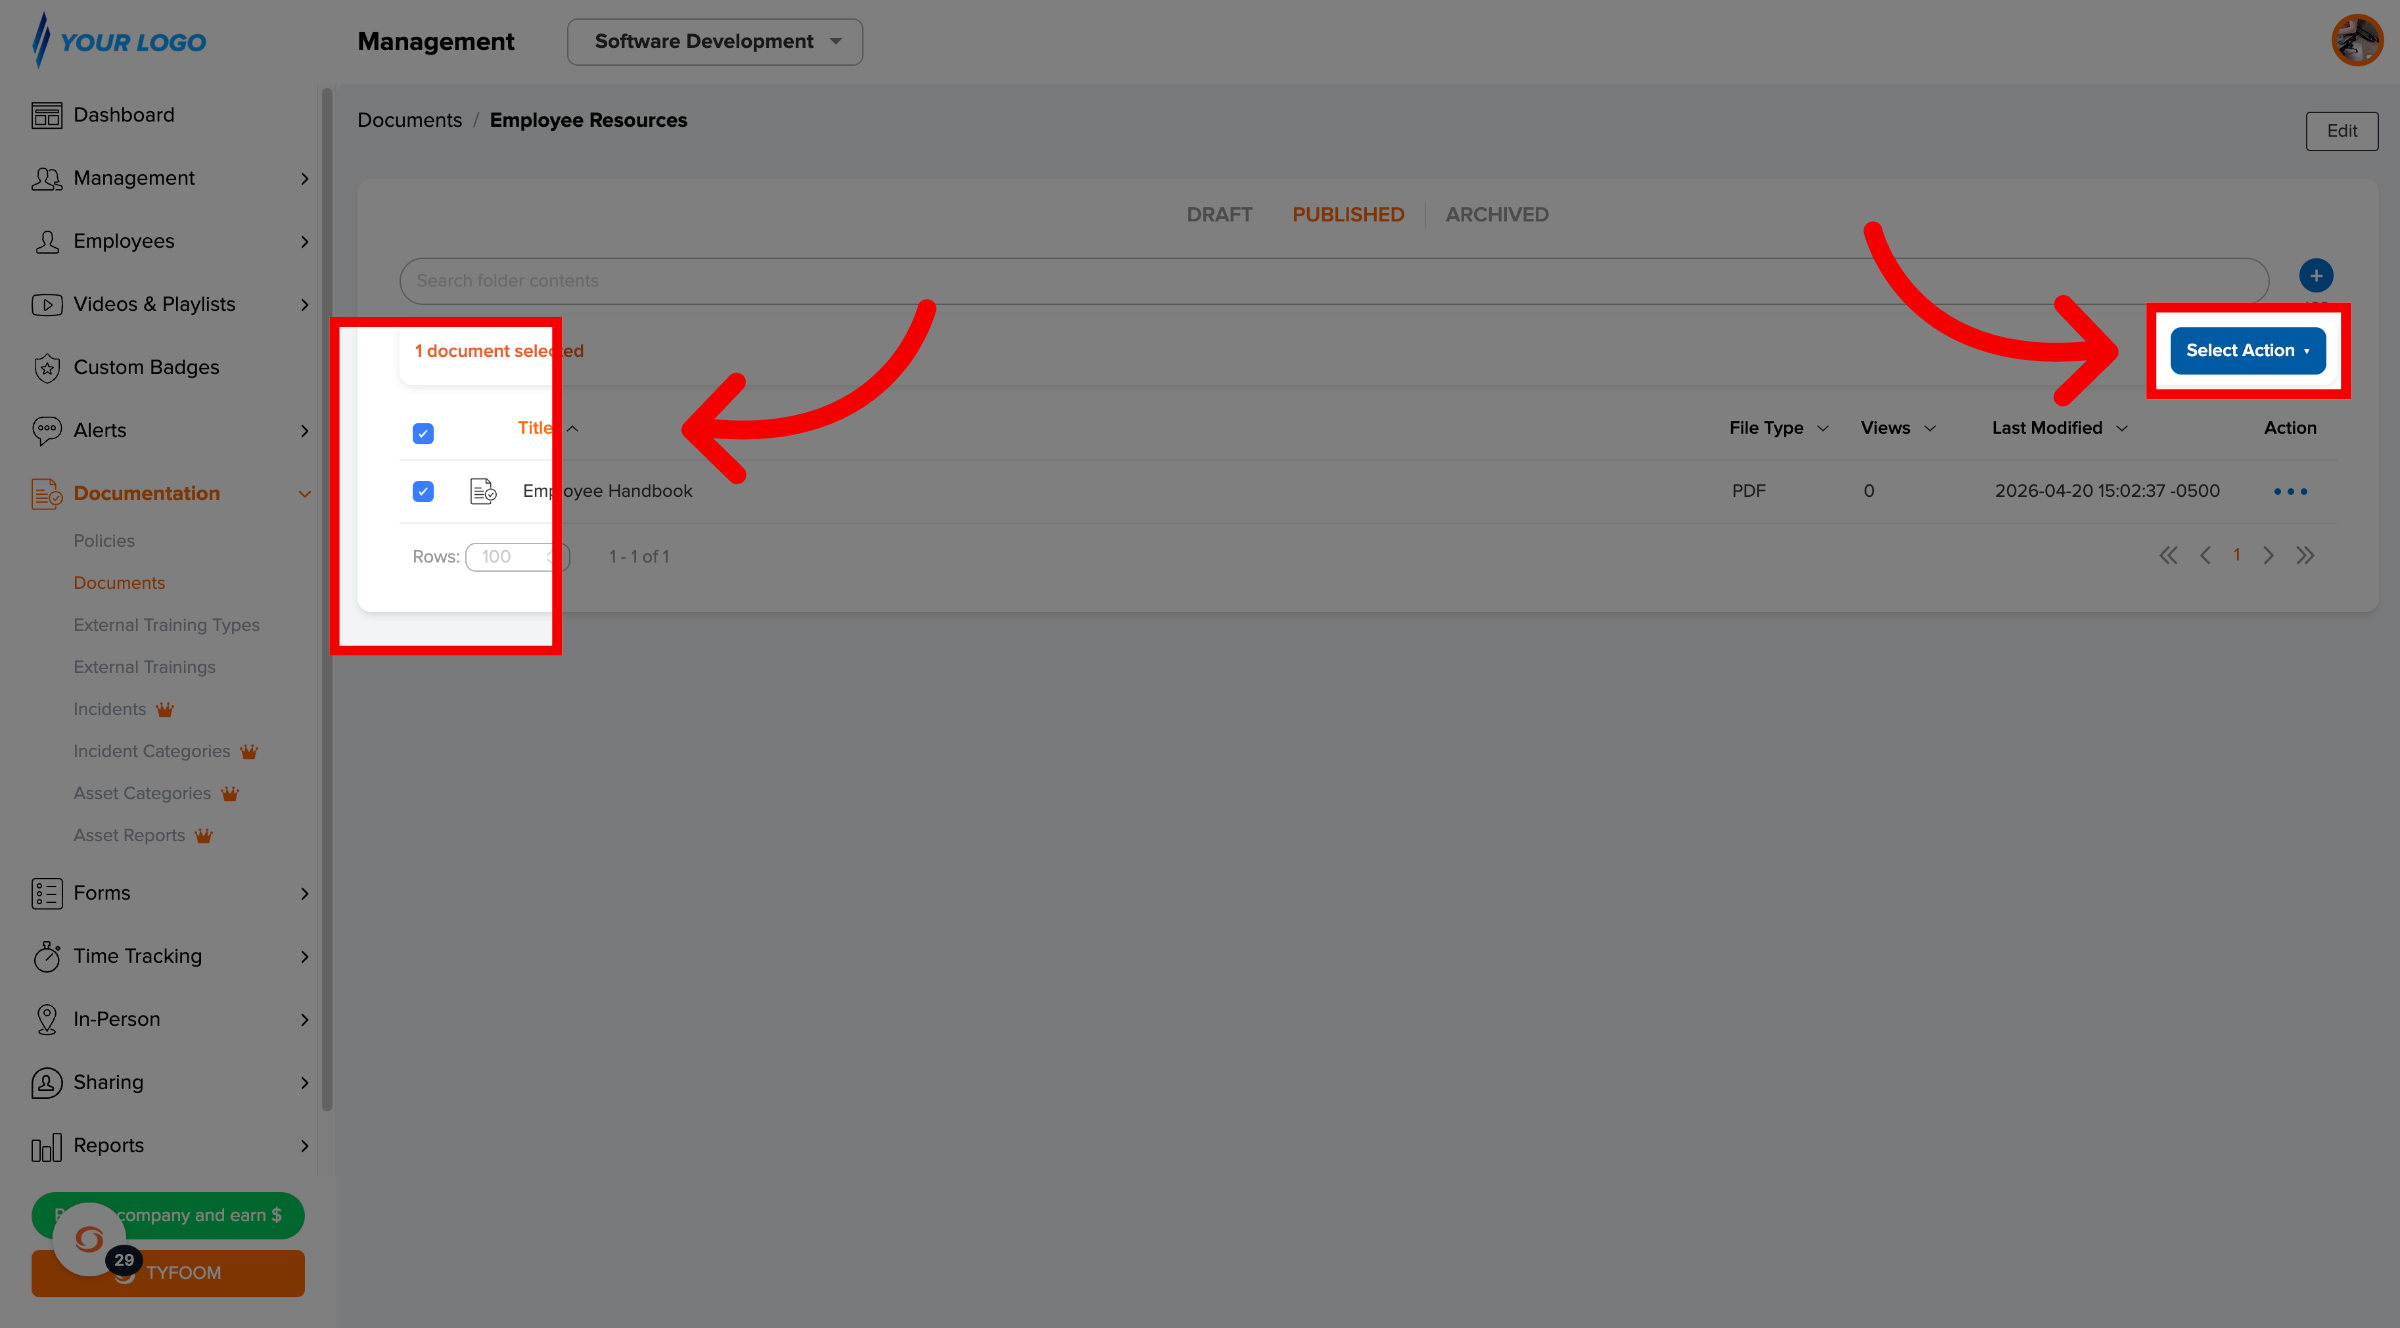
14. Bulk Move and Archive
To move or archive multiple items at once, check the box on the left of any you want to select, then click Action to choose what to do.
If you have any questions, please contact us at customercare@tyfoom.com.
Related Articles
Company Documents Overview and How To
A company document in Tyfoom is any document that you give access to your employees. It does not require that they sign or read it, gives them mobile access to it. Company Documents are found on the Management Tab, and then clicking "Documents" from ...Tyfoom + Procore Integration
Integration Overview This integration allows you to automatically upload form responses as PDF files to a Procore project. Adding Tyfoom to Procore In this guide, we’re going to go over how to add Tyfoom to your Procore account. Go to procore.com 1. ...Company Rewards in Tyfoom
<br> In this guide, we're going over company rewards in Tyfoom. Go to app.tyfoom.com 1. Company Rewards Company rewards let you create your own point-based incentive program to recognize and drive Employee Engagement. 2. Open Company Rewards To ...Quick Guide for using Events in Tyfoom
This guide covers using Events in Tyfoom from an admin’s perspective from both the web and our mobile app. Creating a New Event Creating an event (Web) Step 1: Access the Events Feature Open Tyfoom. Under “Management” click on “Events”. Step 2: ...Report Video in Tyfoom
In this guide we will go over how to report a video in the Tyfoom app. 1. Open the Library Tab in the Tyfoom app. 2. Then open your Video Library. 3. Select the video you want to report. 4. Tap "Report Video". 5. Choose the appropriate reason for the ...