Incident Tracking Overview
This guide will walk you through the process of incident tracking on Tyfoom
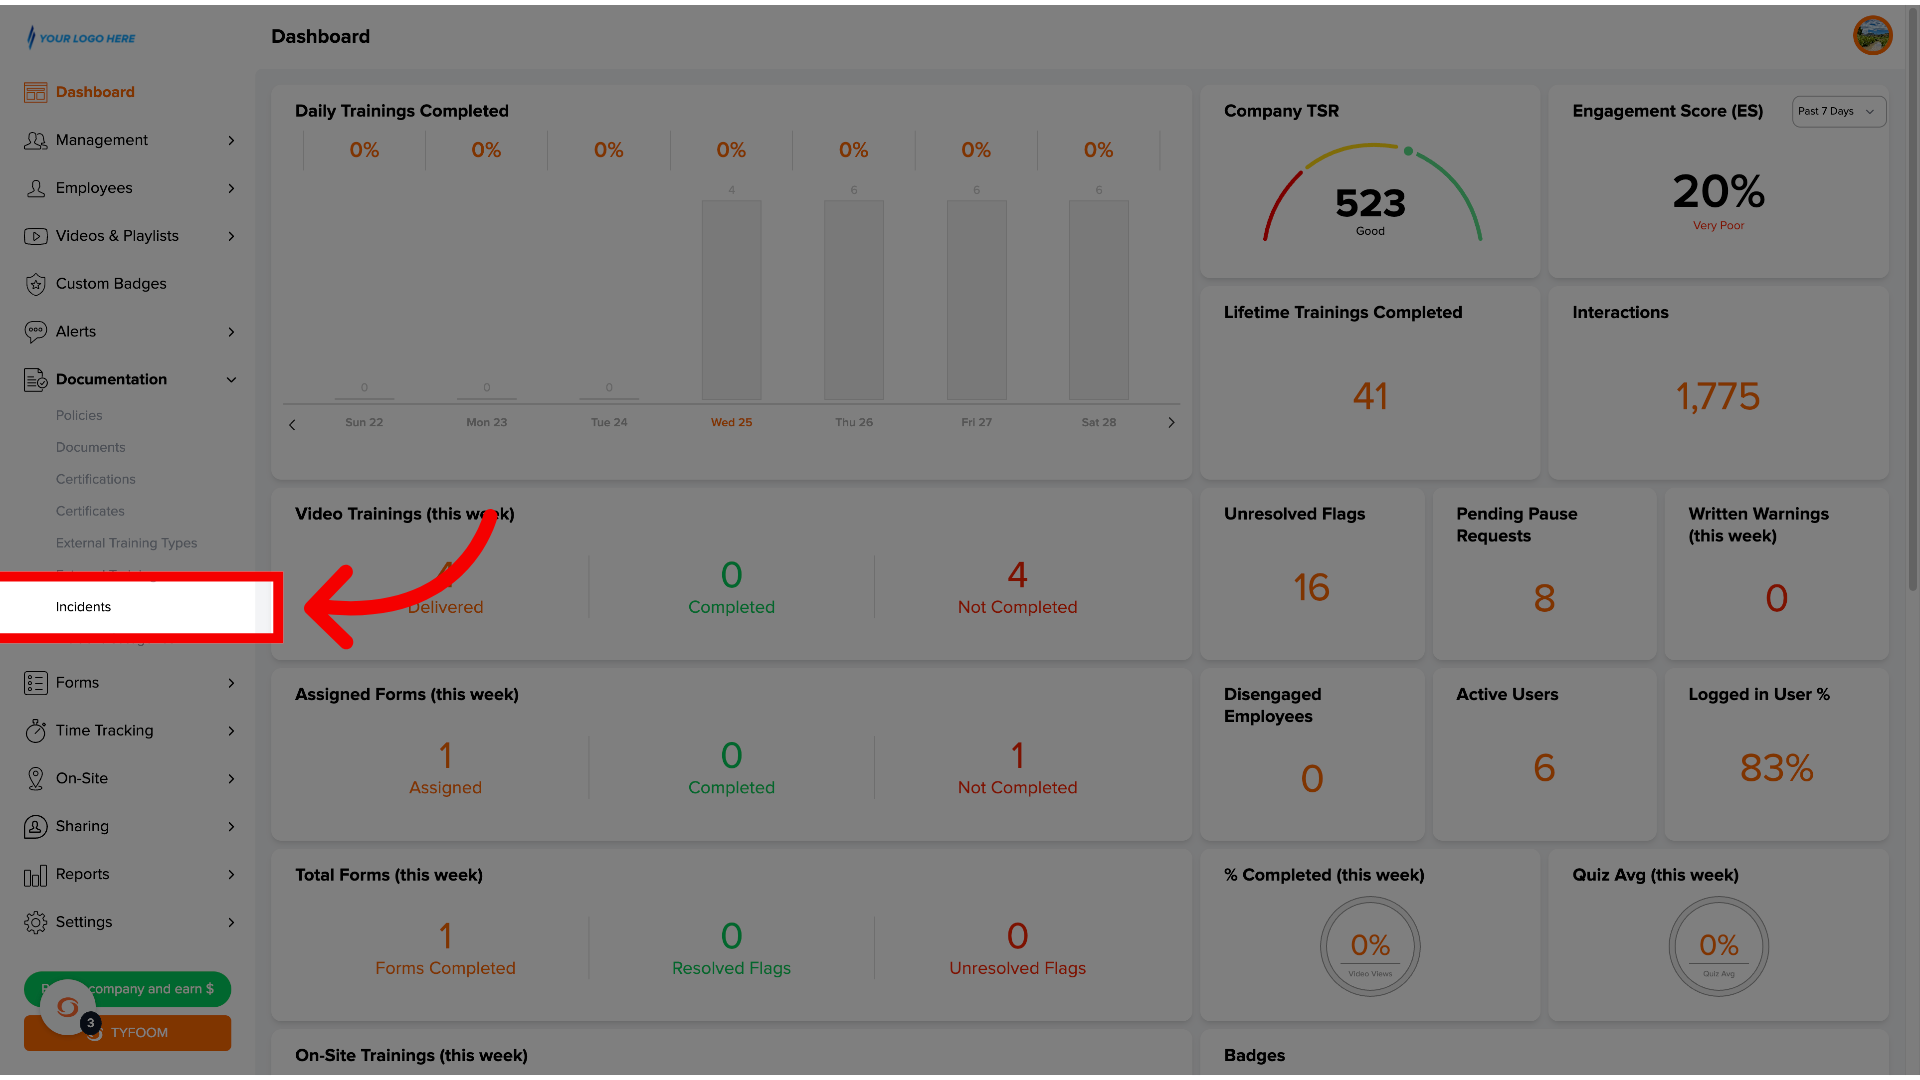
1. Click "Incidents"
To get started, go to the documentation Tab and then click on incidents.
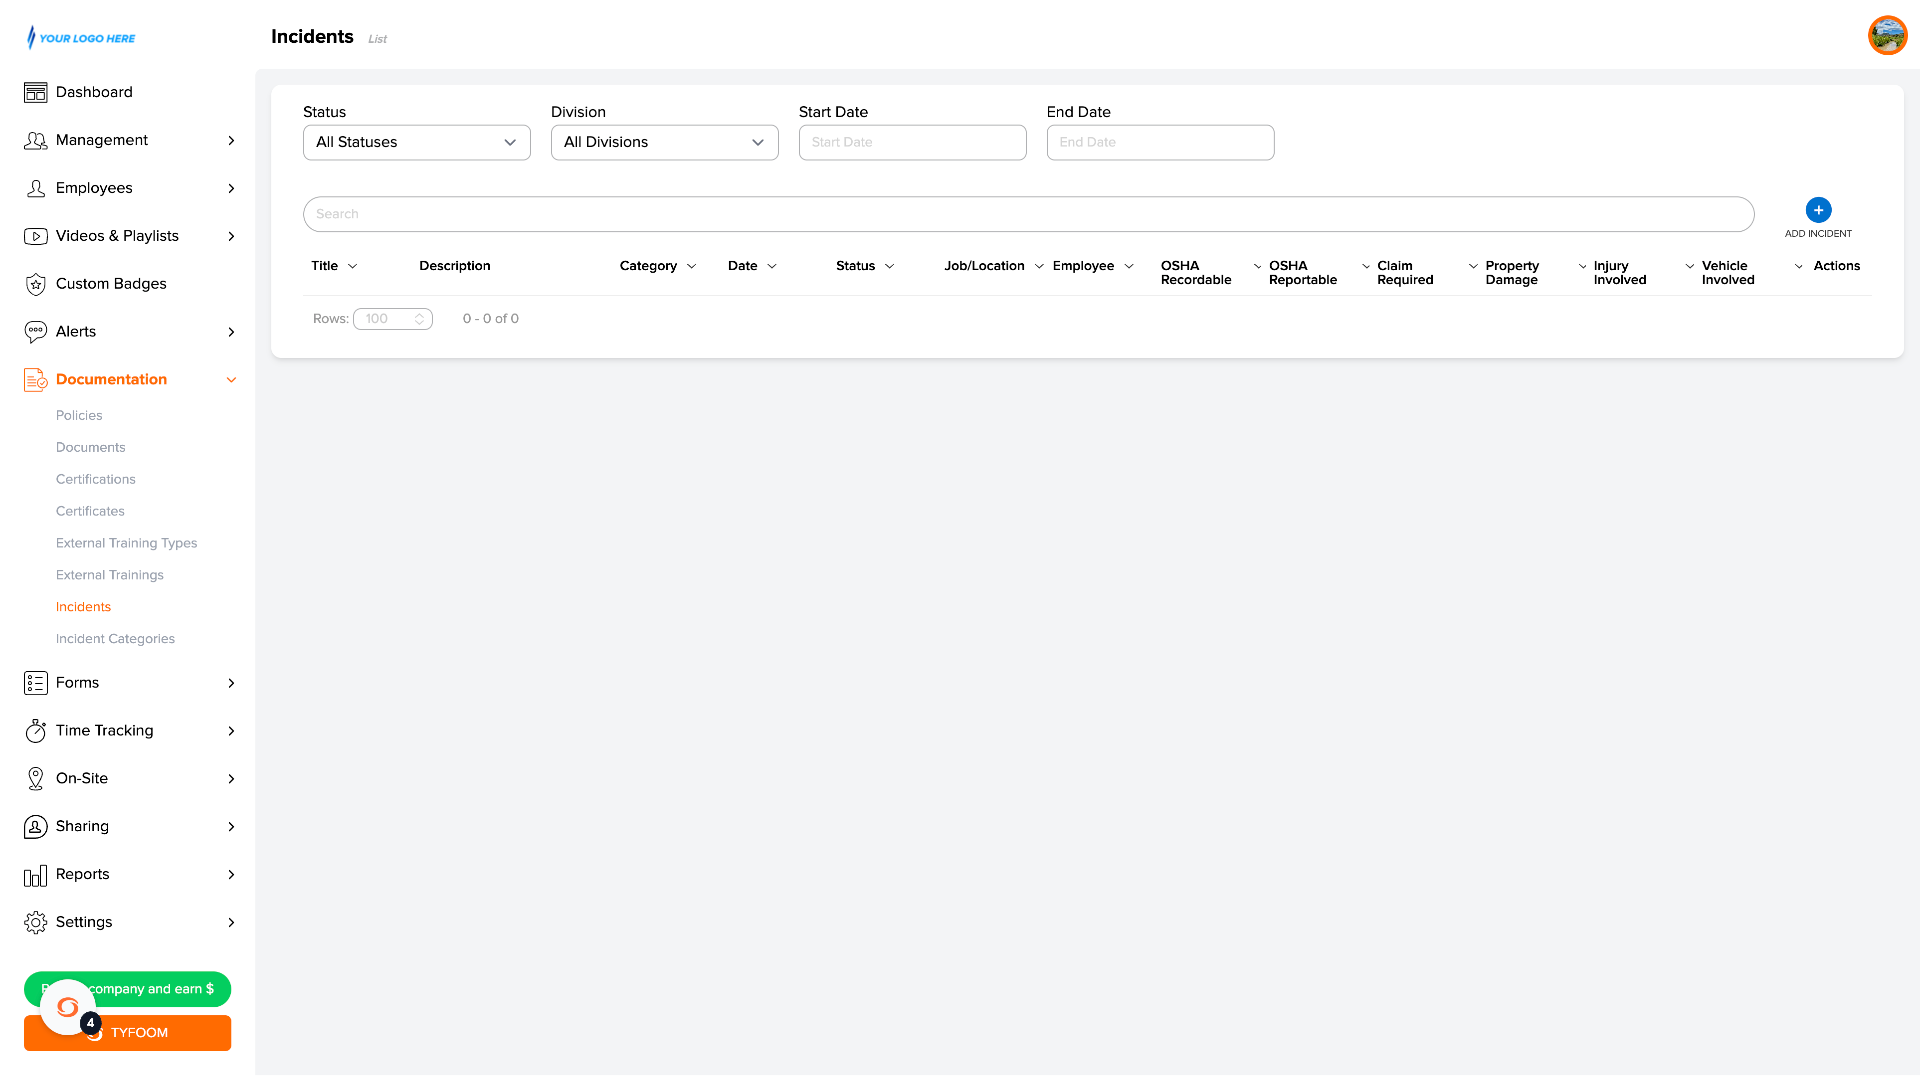
2. Incidents Page
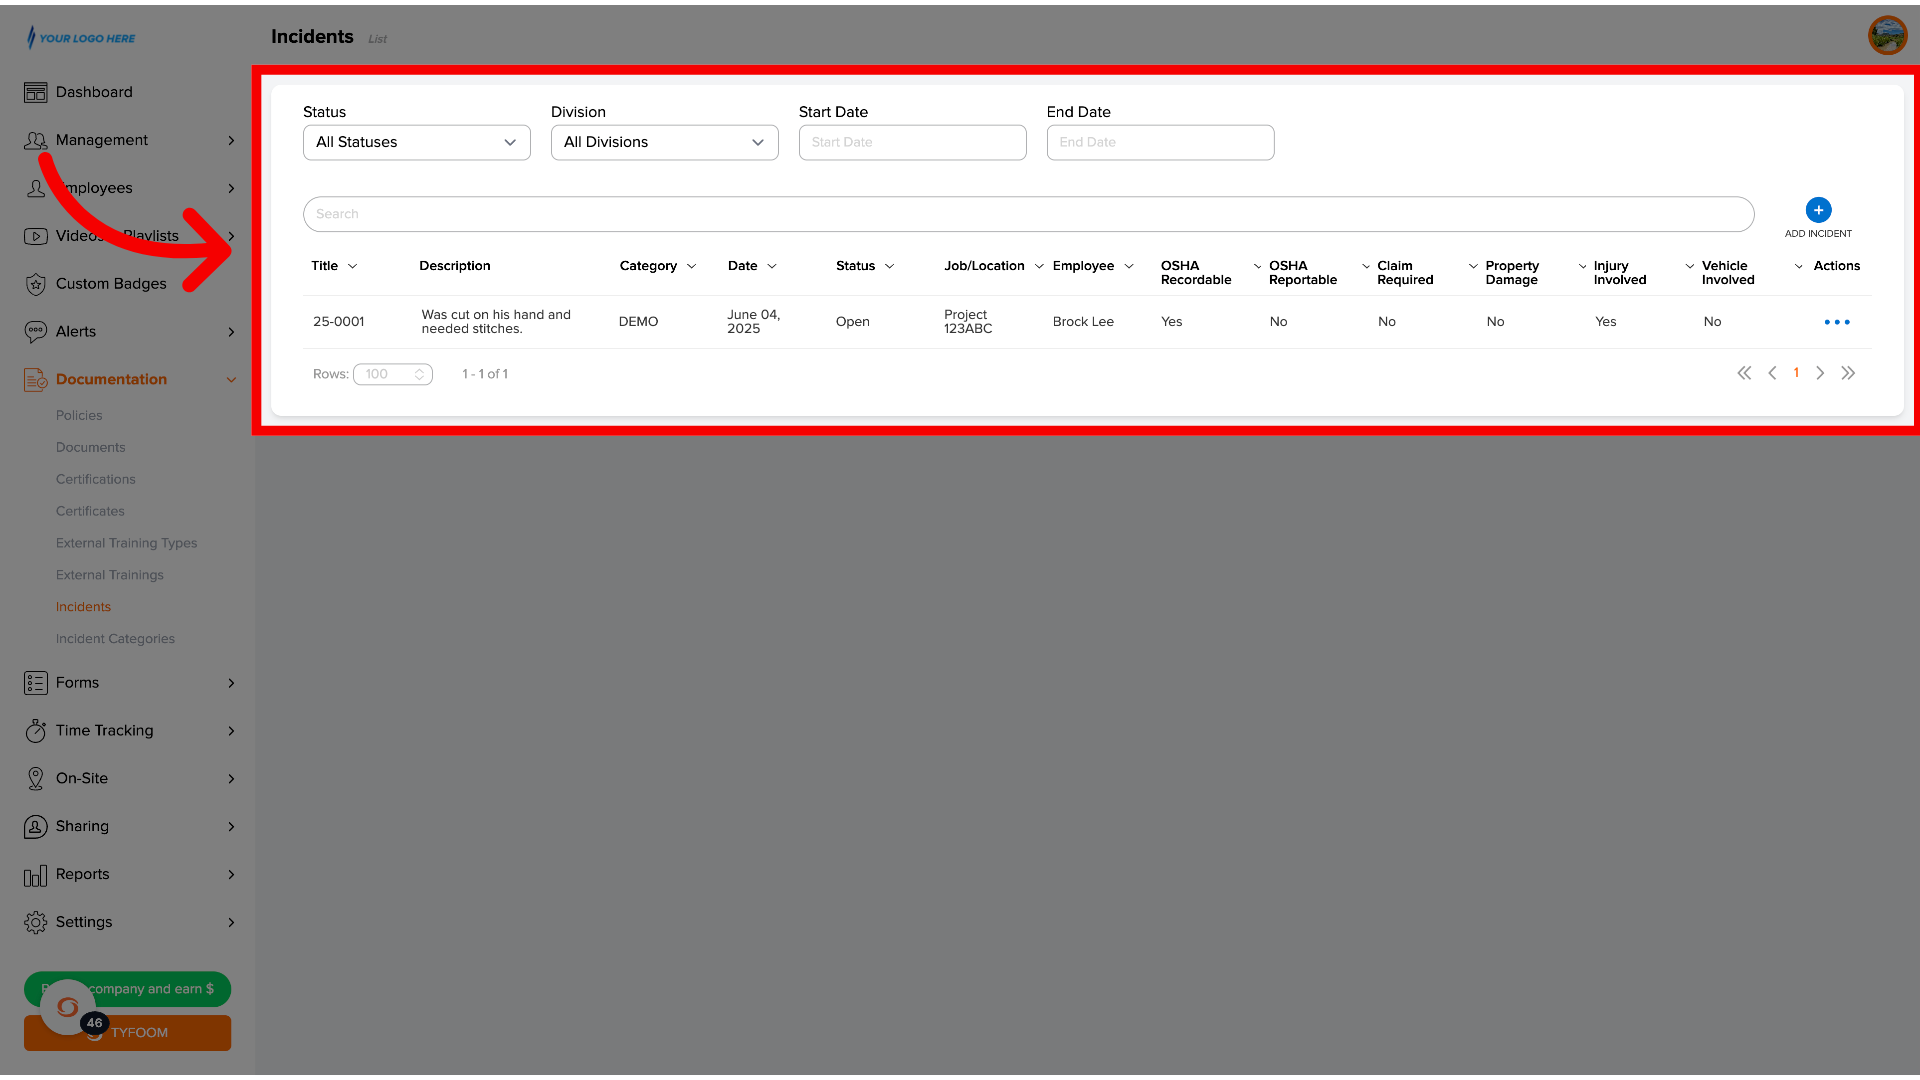
Here, you'll see a list of all incidents.
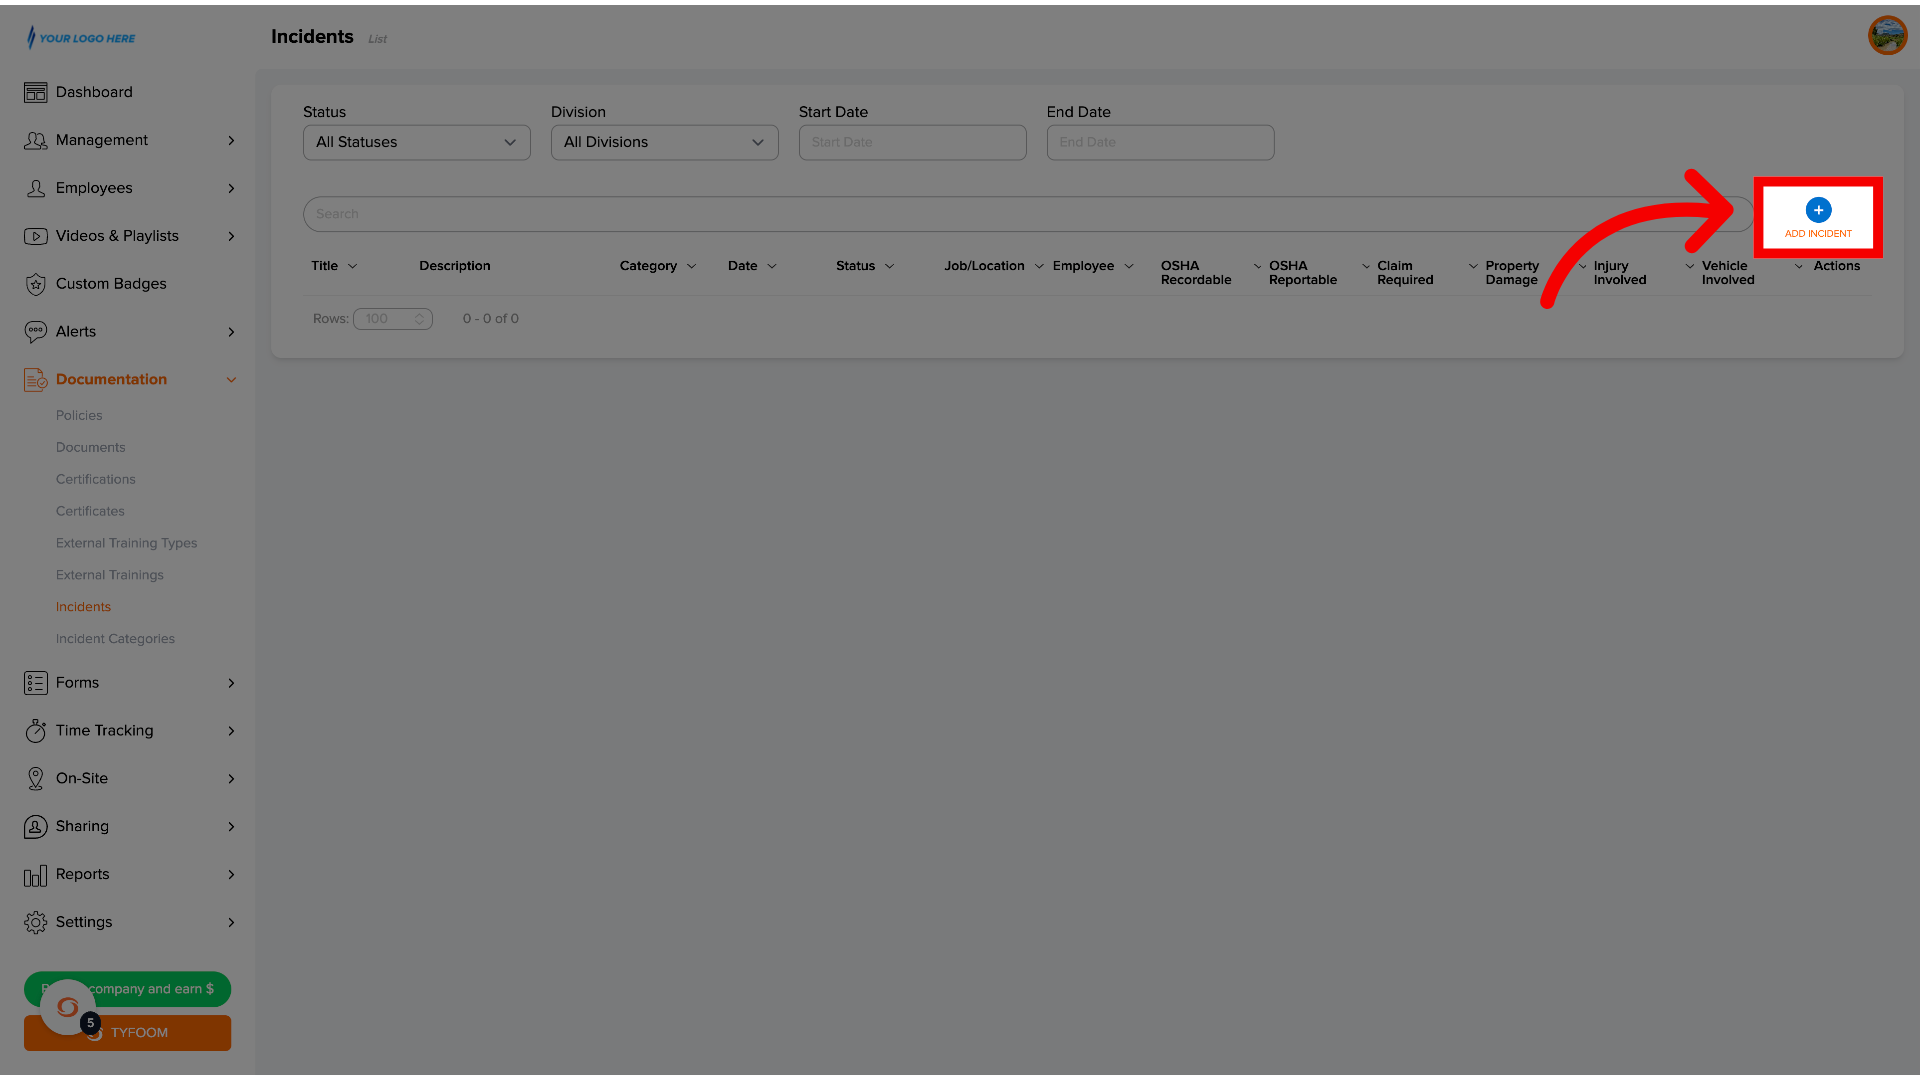
3. Add Incident
You can create a new one by clicking add incident.
4. Create Incident Page
You'll be taken to the new incident page.
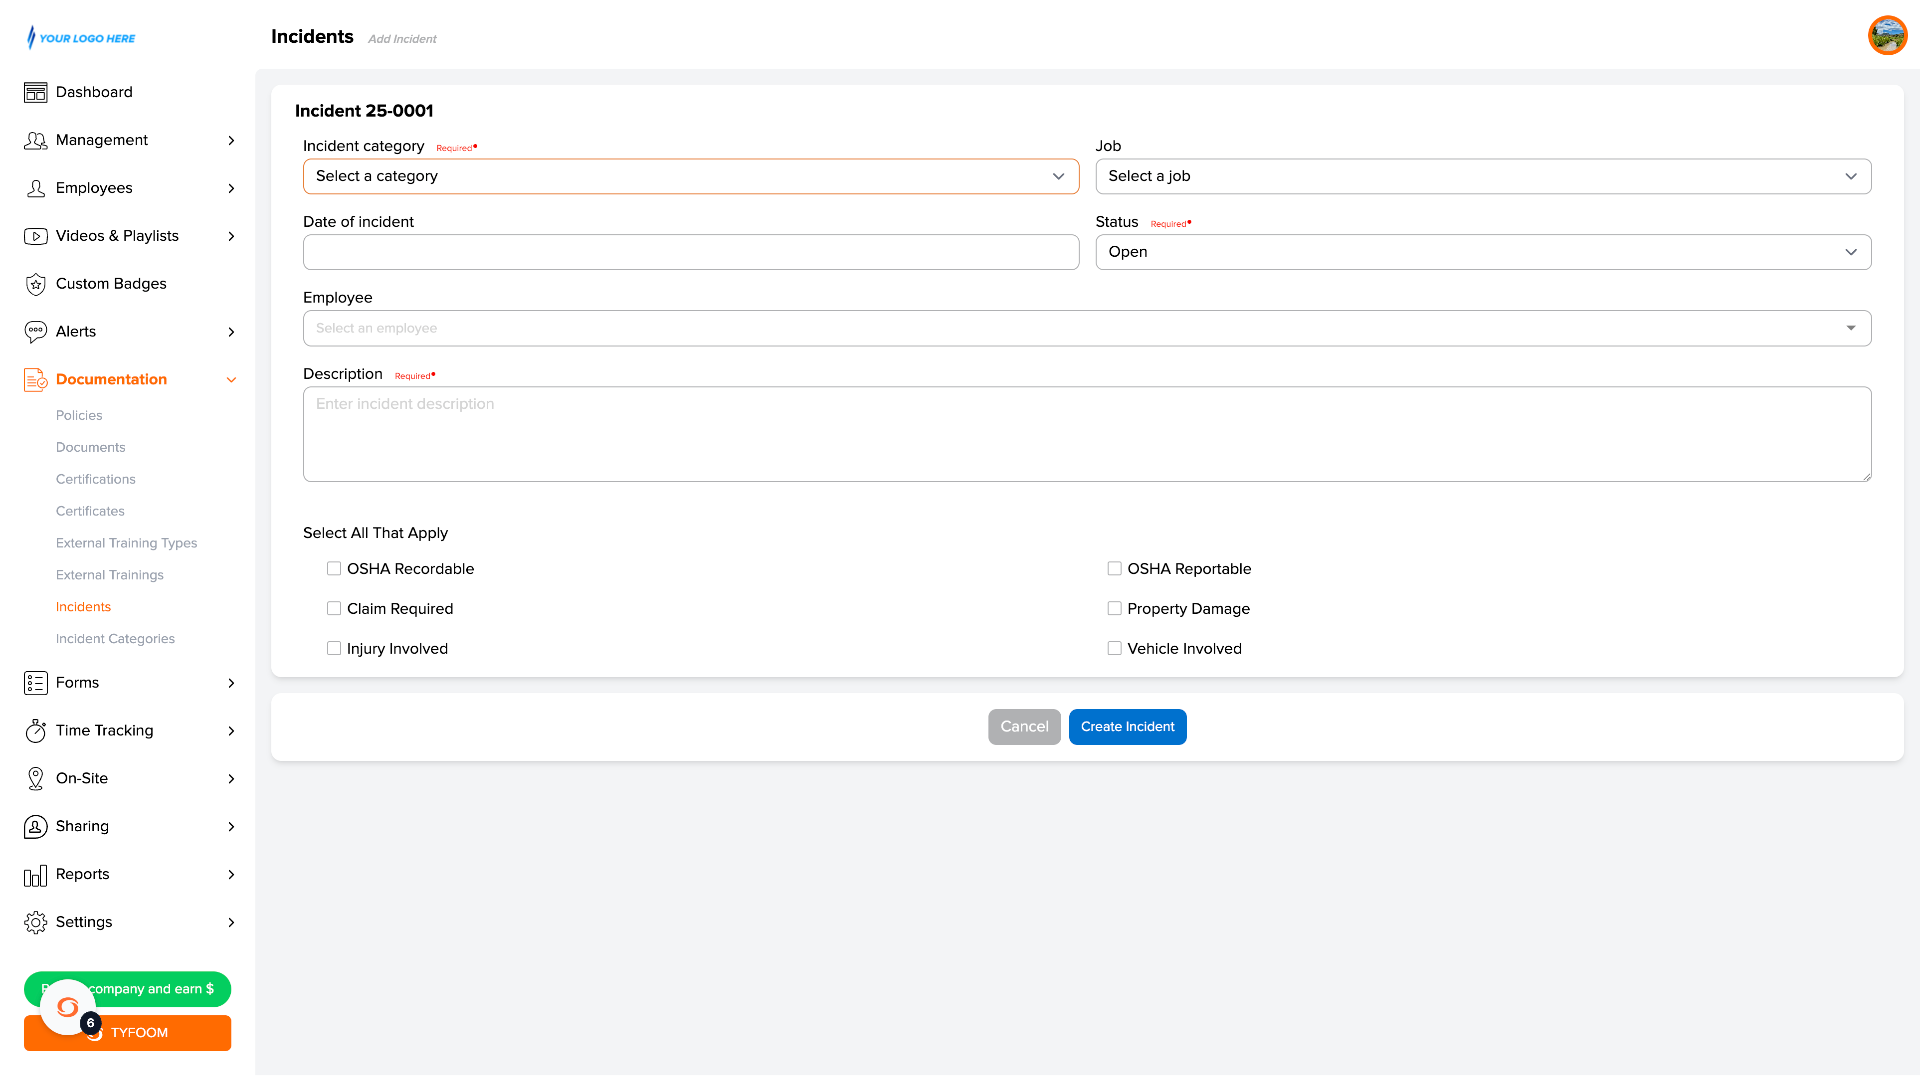
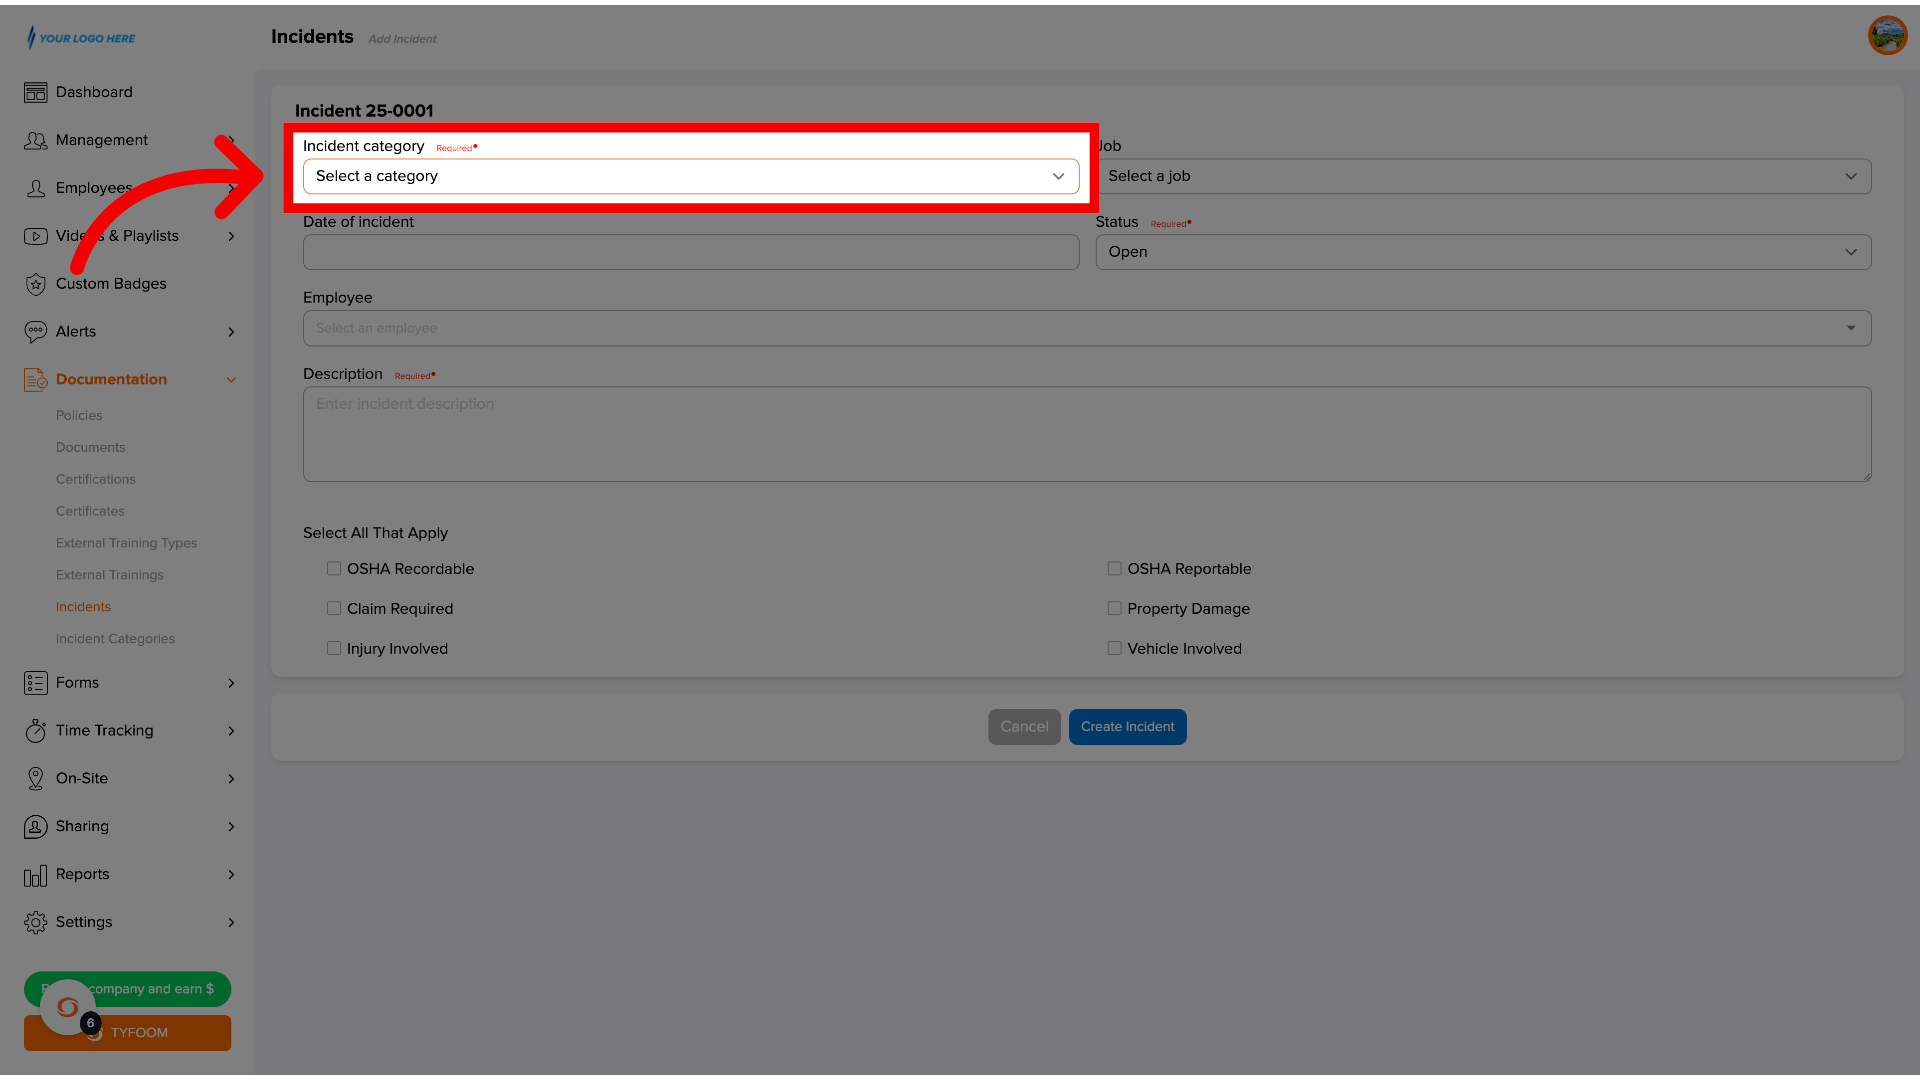
5. Add Category
The first step is adding a category.
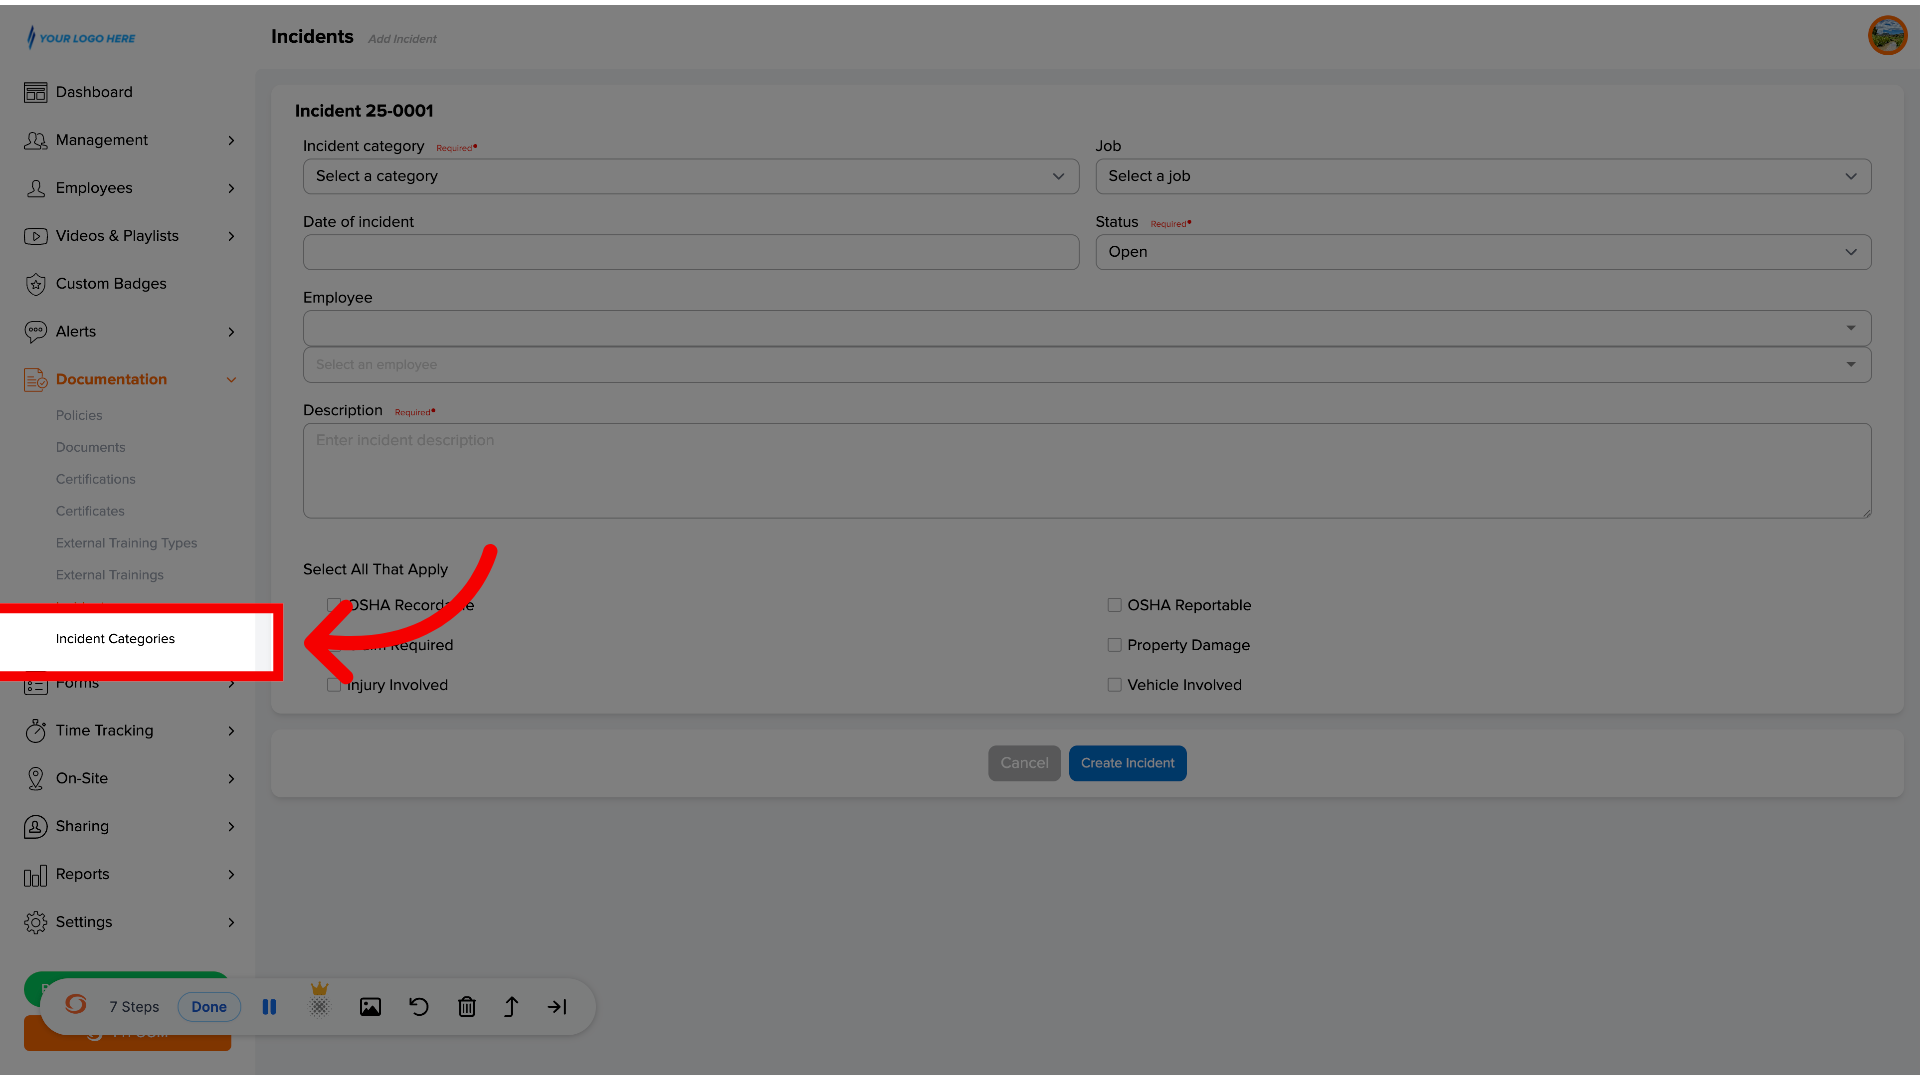
6. Click "Incident Categories"
If you need to add additional categories, you can go to the incident categories page to customize and add whatever you need.
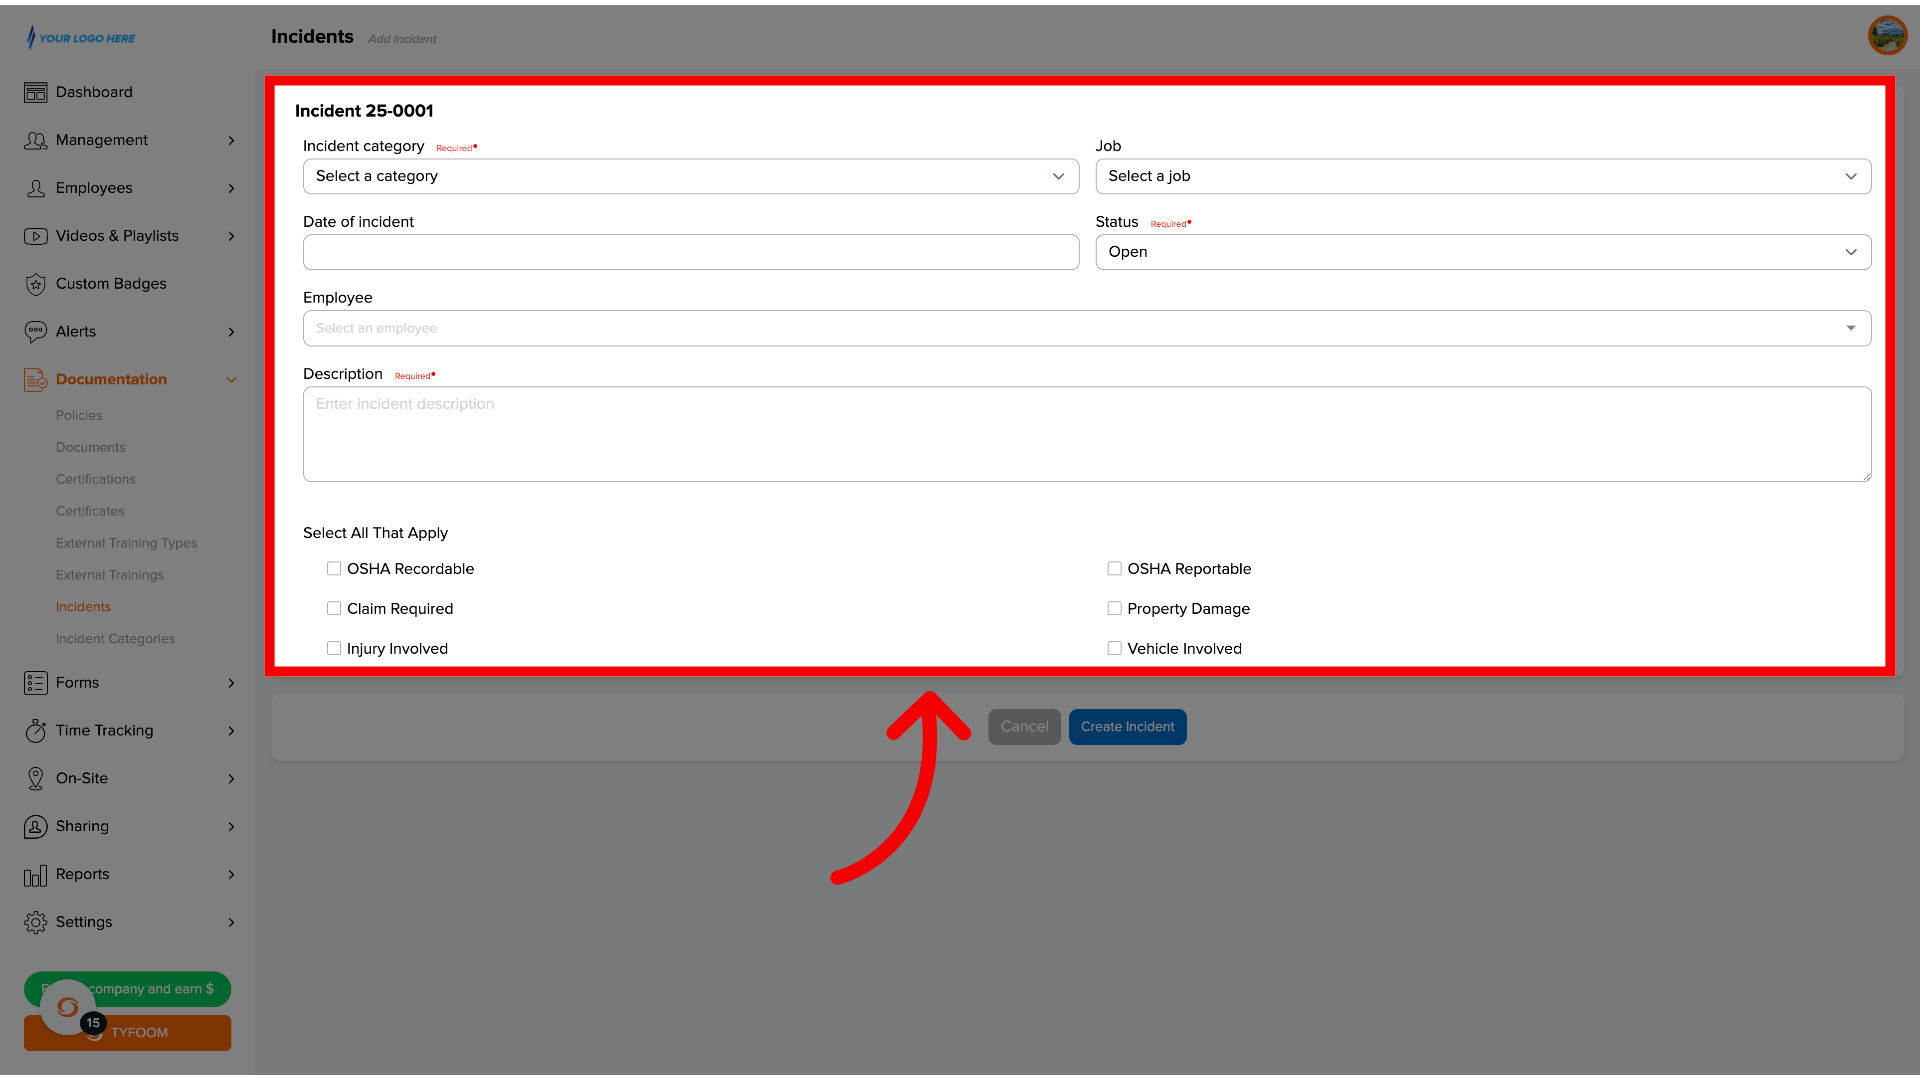
7. Add Incident Details
Once you've added the category, go ahead and fill out the other details on here. Including just a quick description. The full description is going to be in your accent incident report form. This is meant to help tell you what happened at a glance.
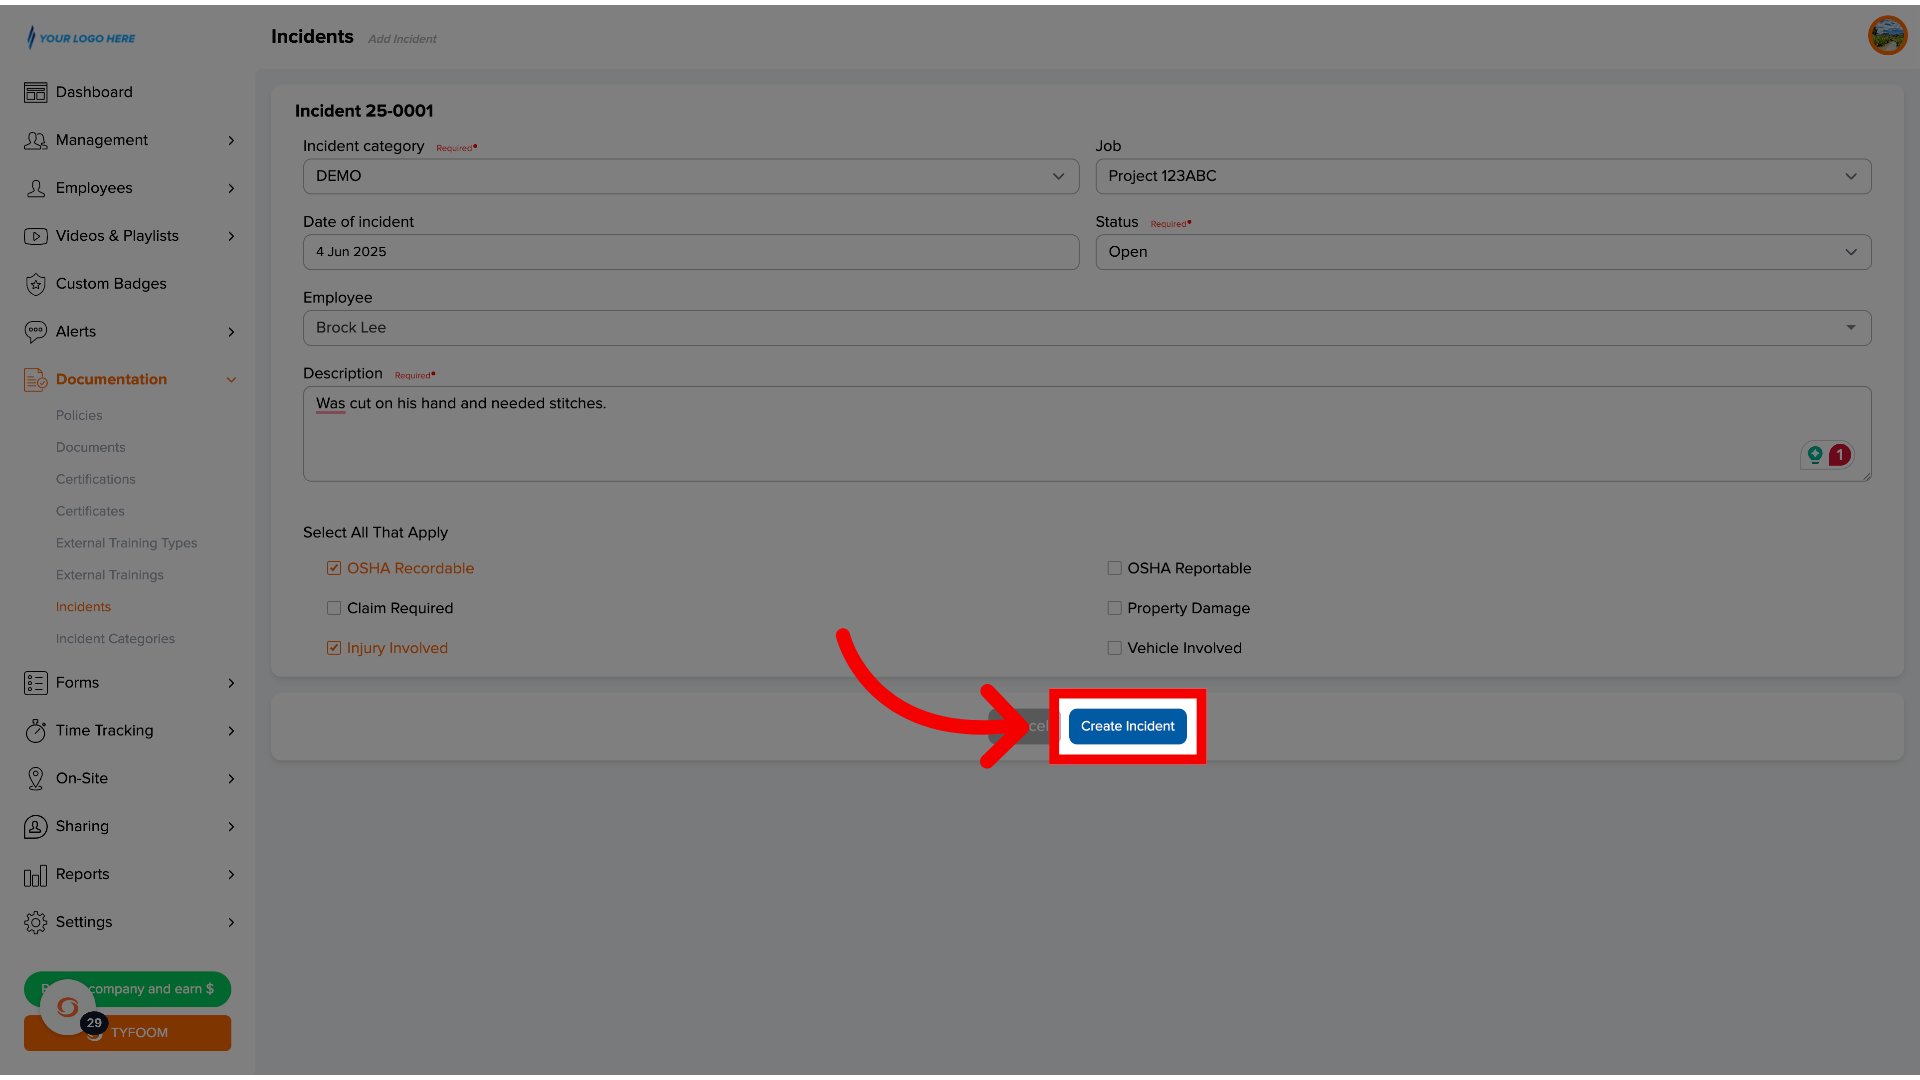
8. Save Incident Details
Once you have added everything, go ahead and click create incident.
9. Incident Details Page
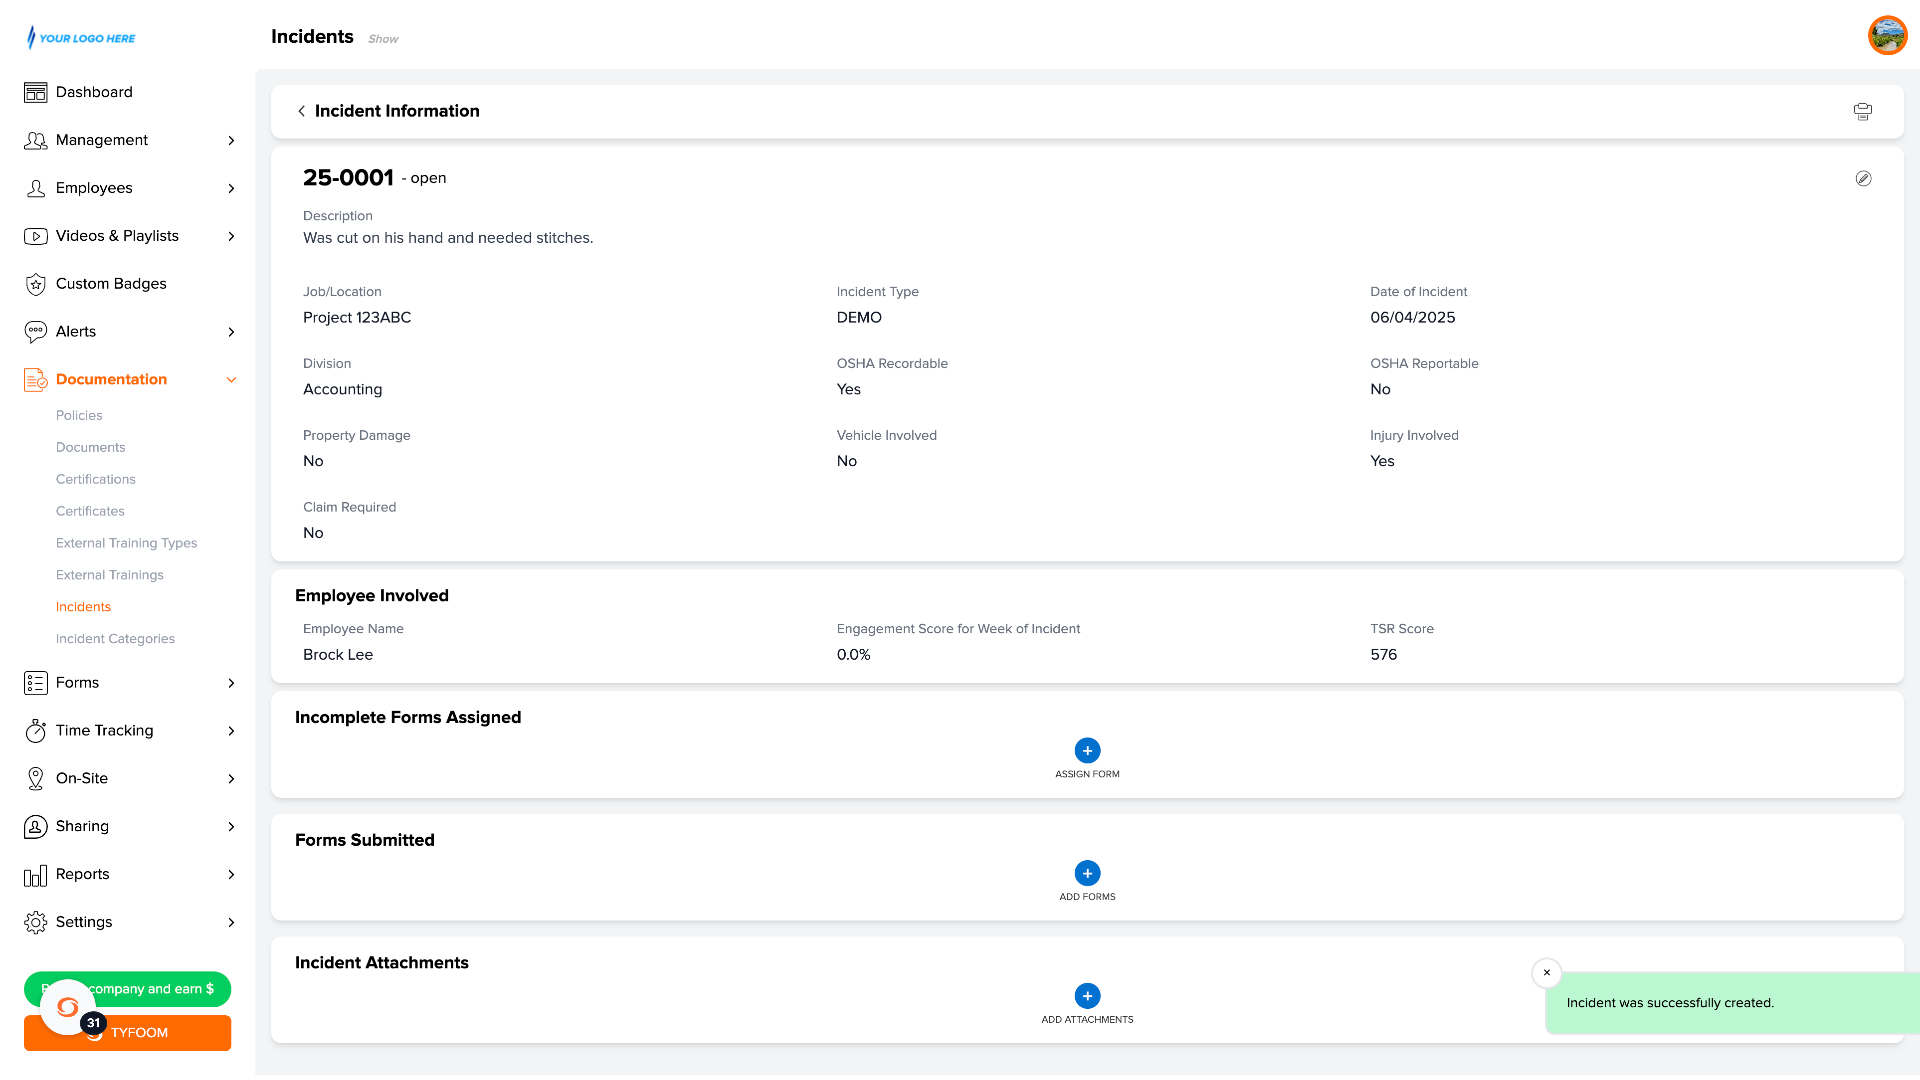
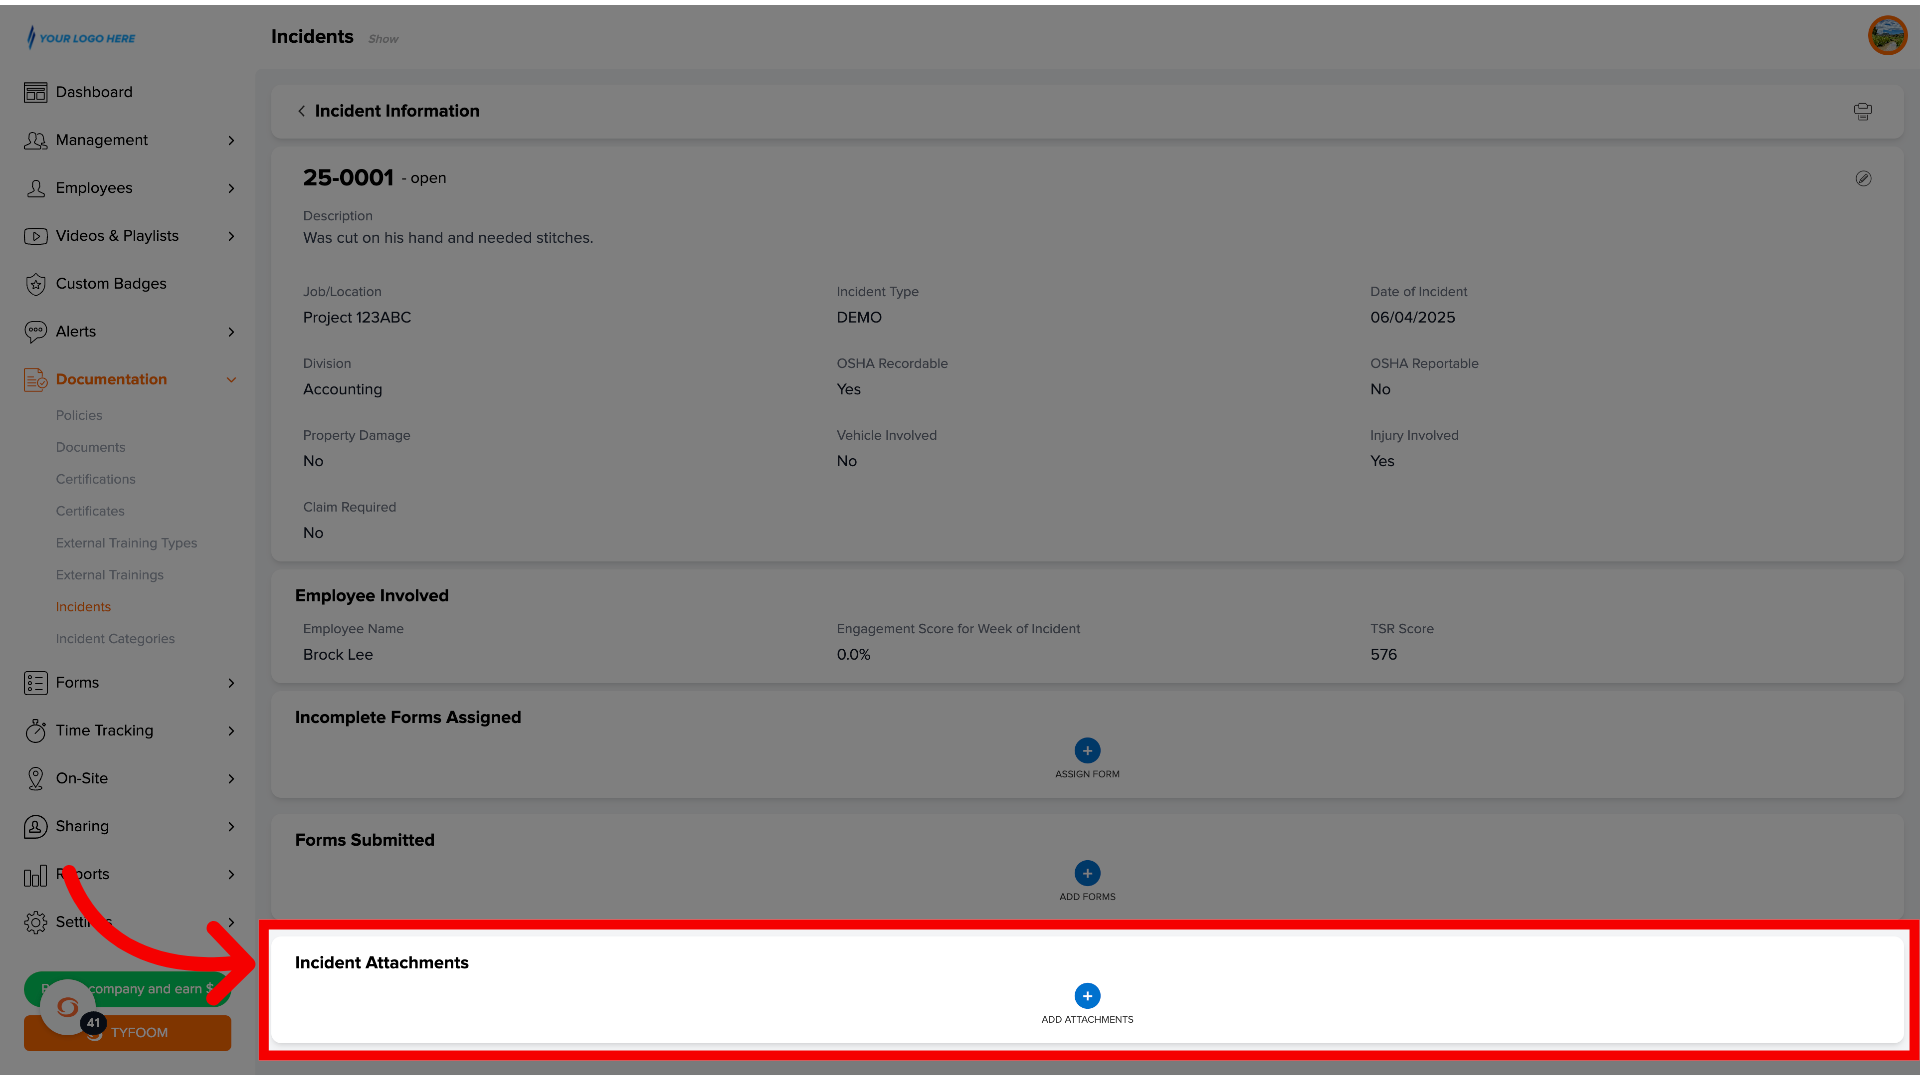
That is going to take you directly to the incident page. This is a spot where you can see all the details about it and start adding things that relate directly to this incident.
10. Incomplete Forms
The first section is incomplete, forms assigned from here. You can choose a form that you have and assign out to someone if you need to do additional forms for this specific incident.
13. Assign Form
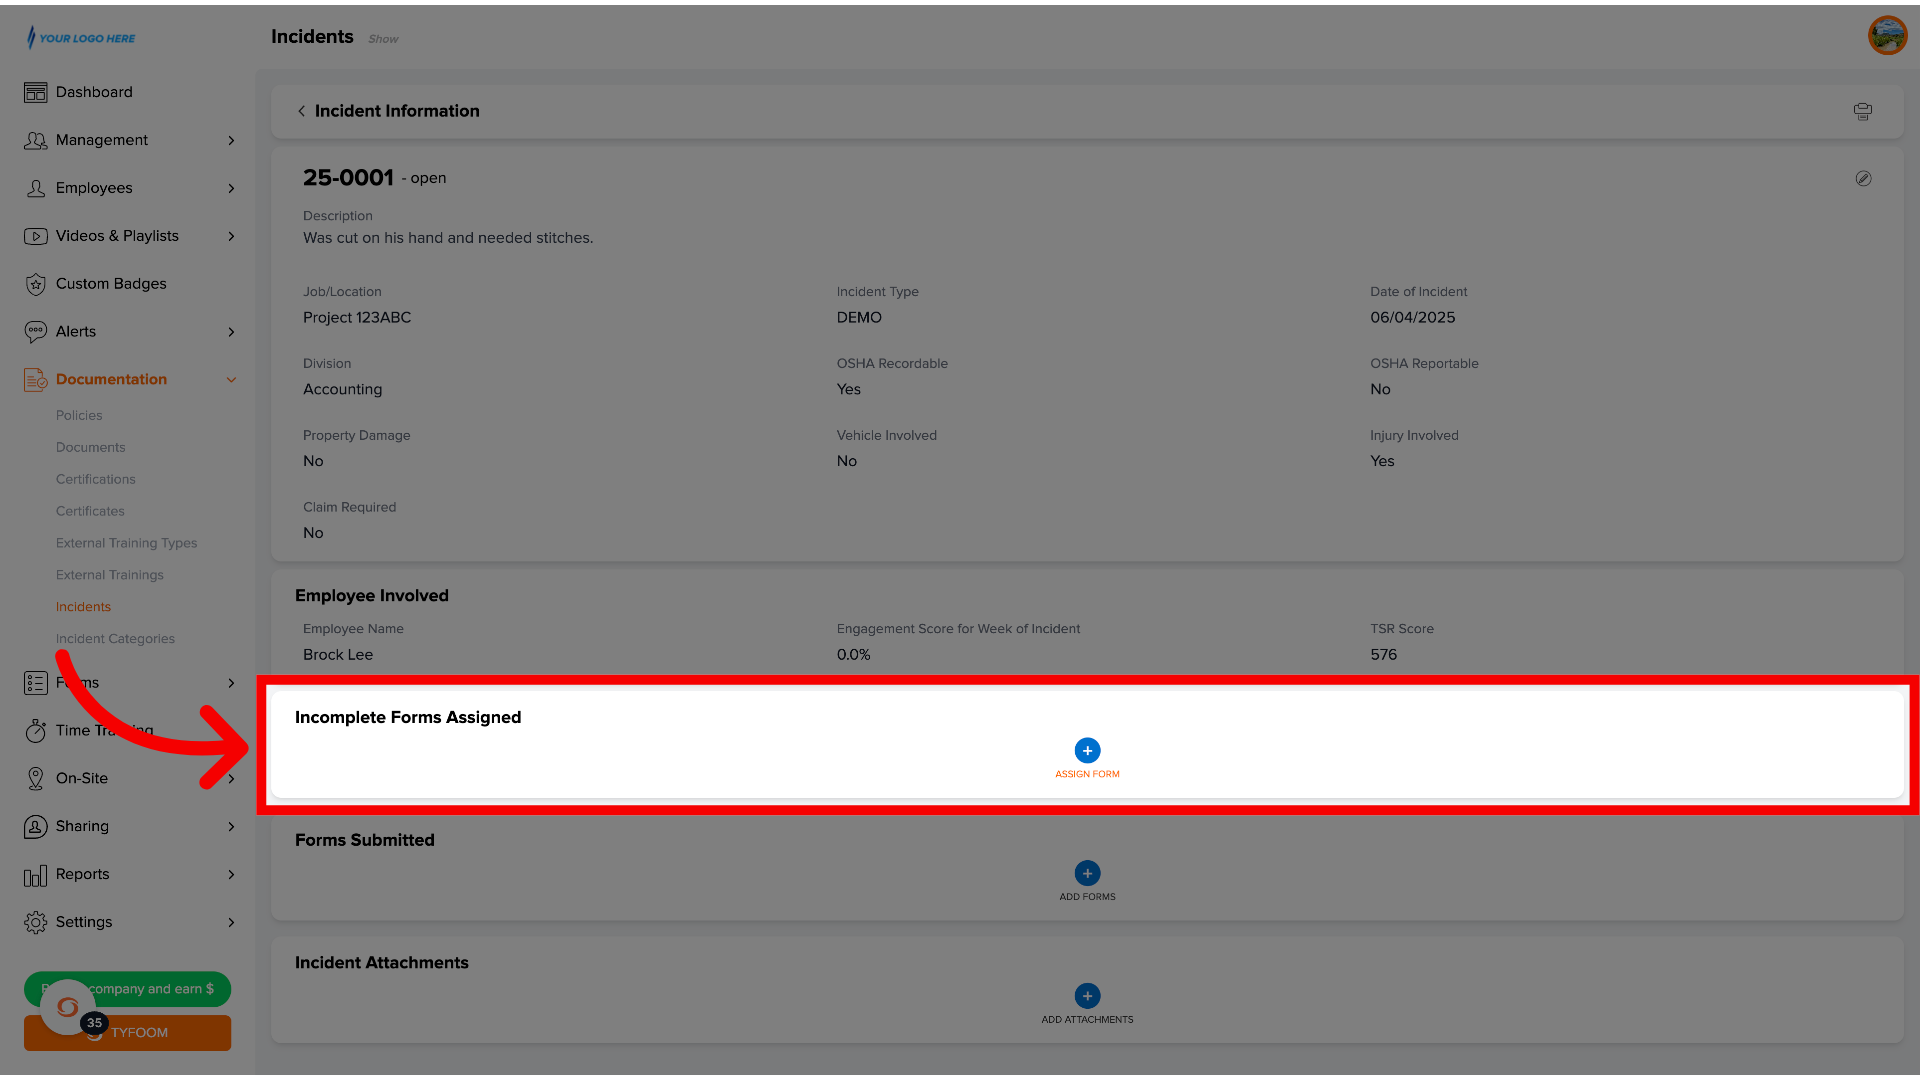
To Assign a form directly to someone, click the assign form button. It will open the box to select an employee and then select a form. When you click assign it will immediately be assigned to that person.
14. Forms Submitted
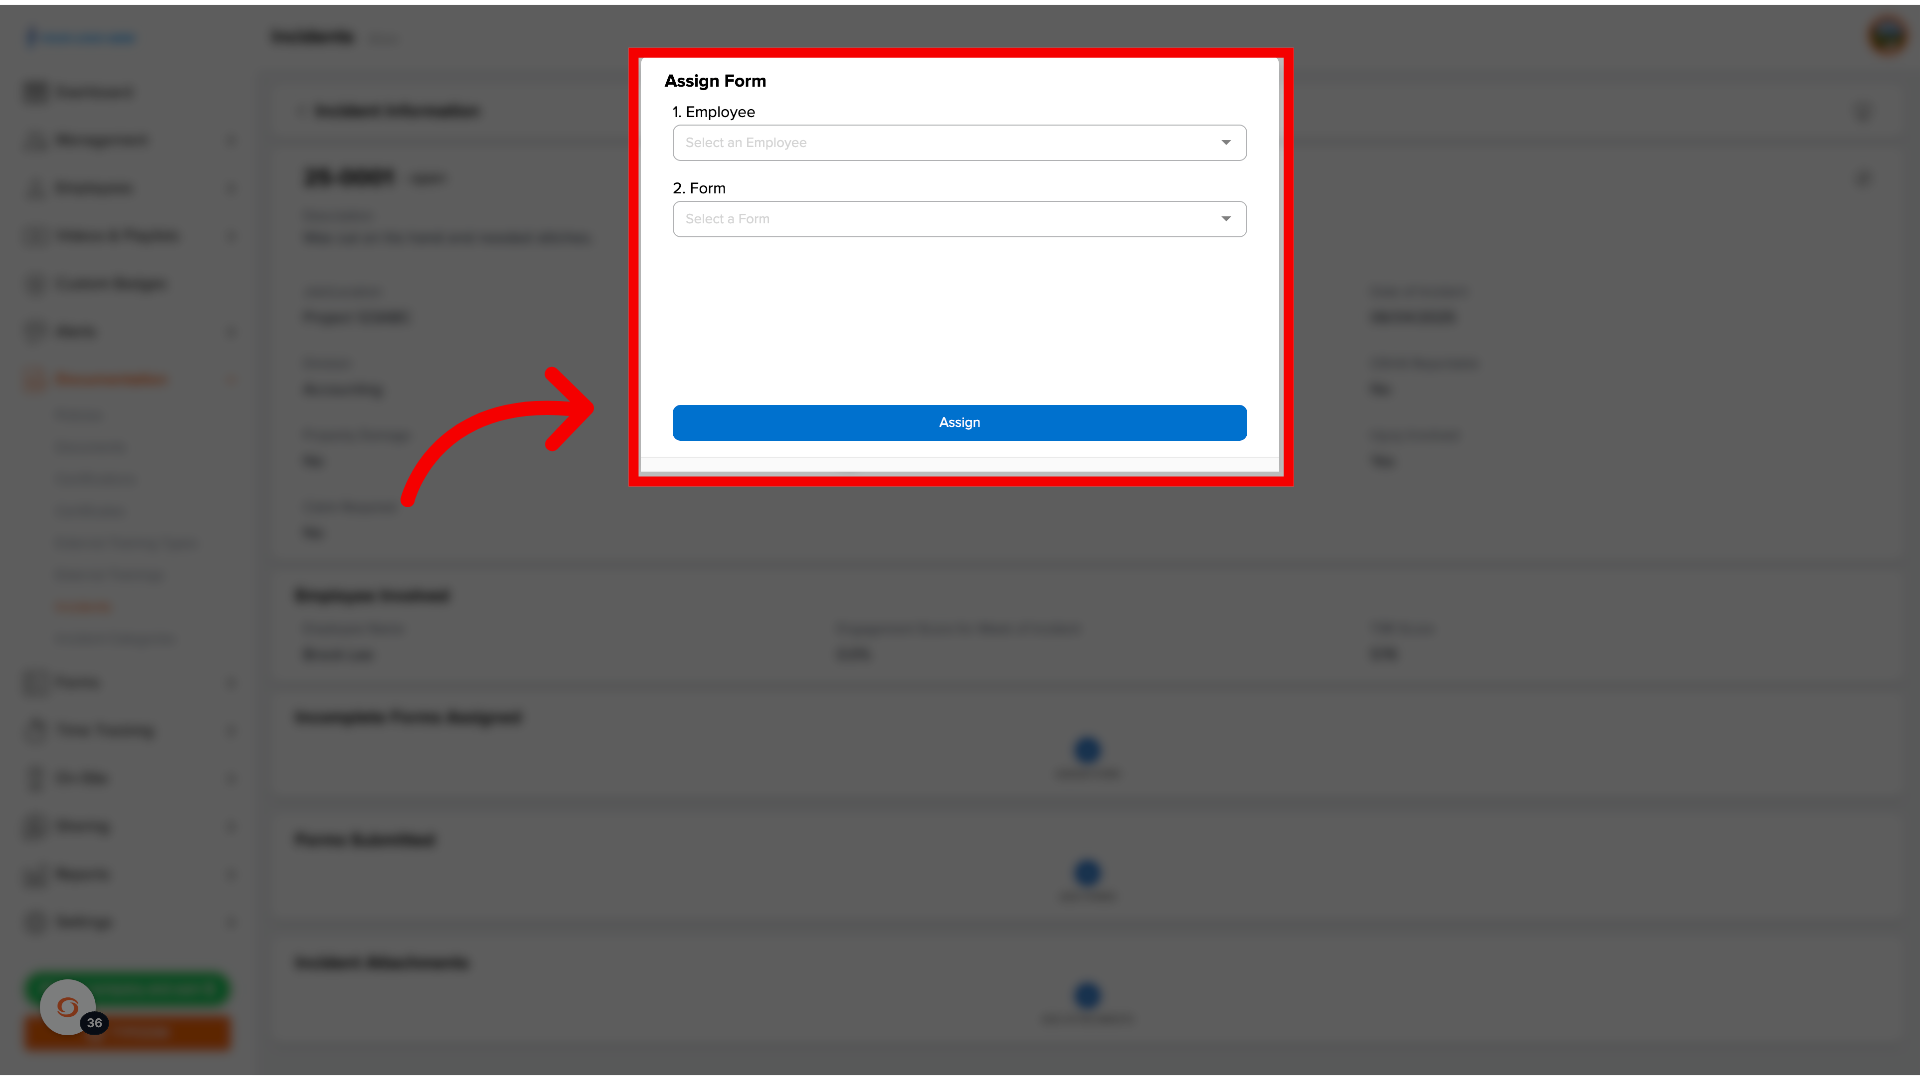
This is where you can go attach a form that is already been submitted to this incident. For example, if someone was involved in a vehicle accident, you might attach the incident report as well as their vehicle inspection for that day.
15. Incident Attachments
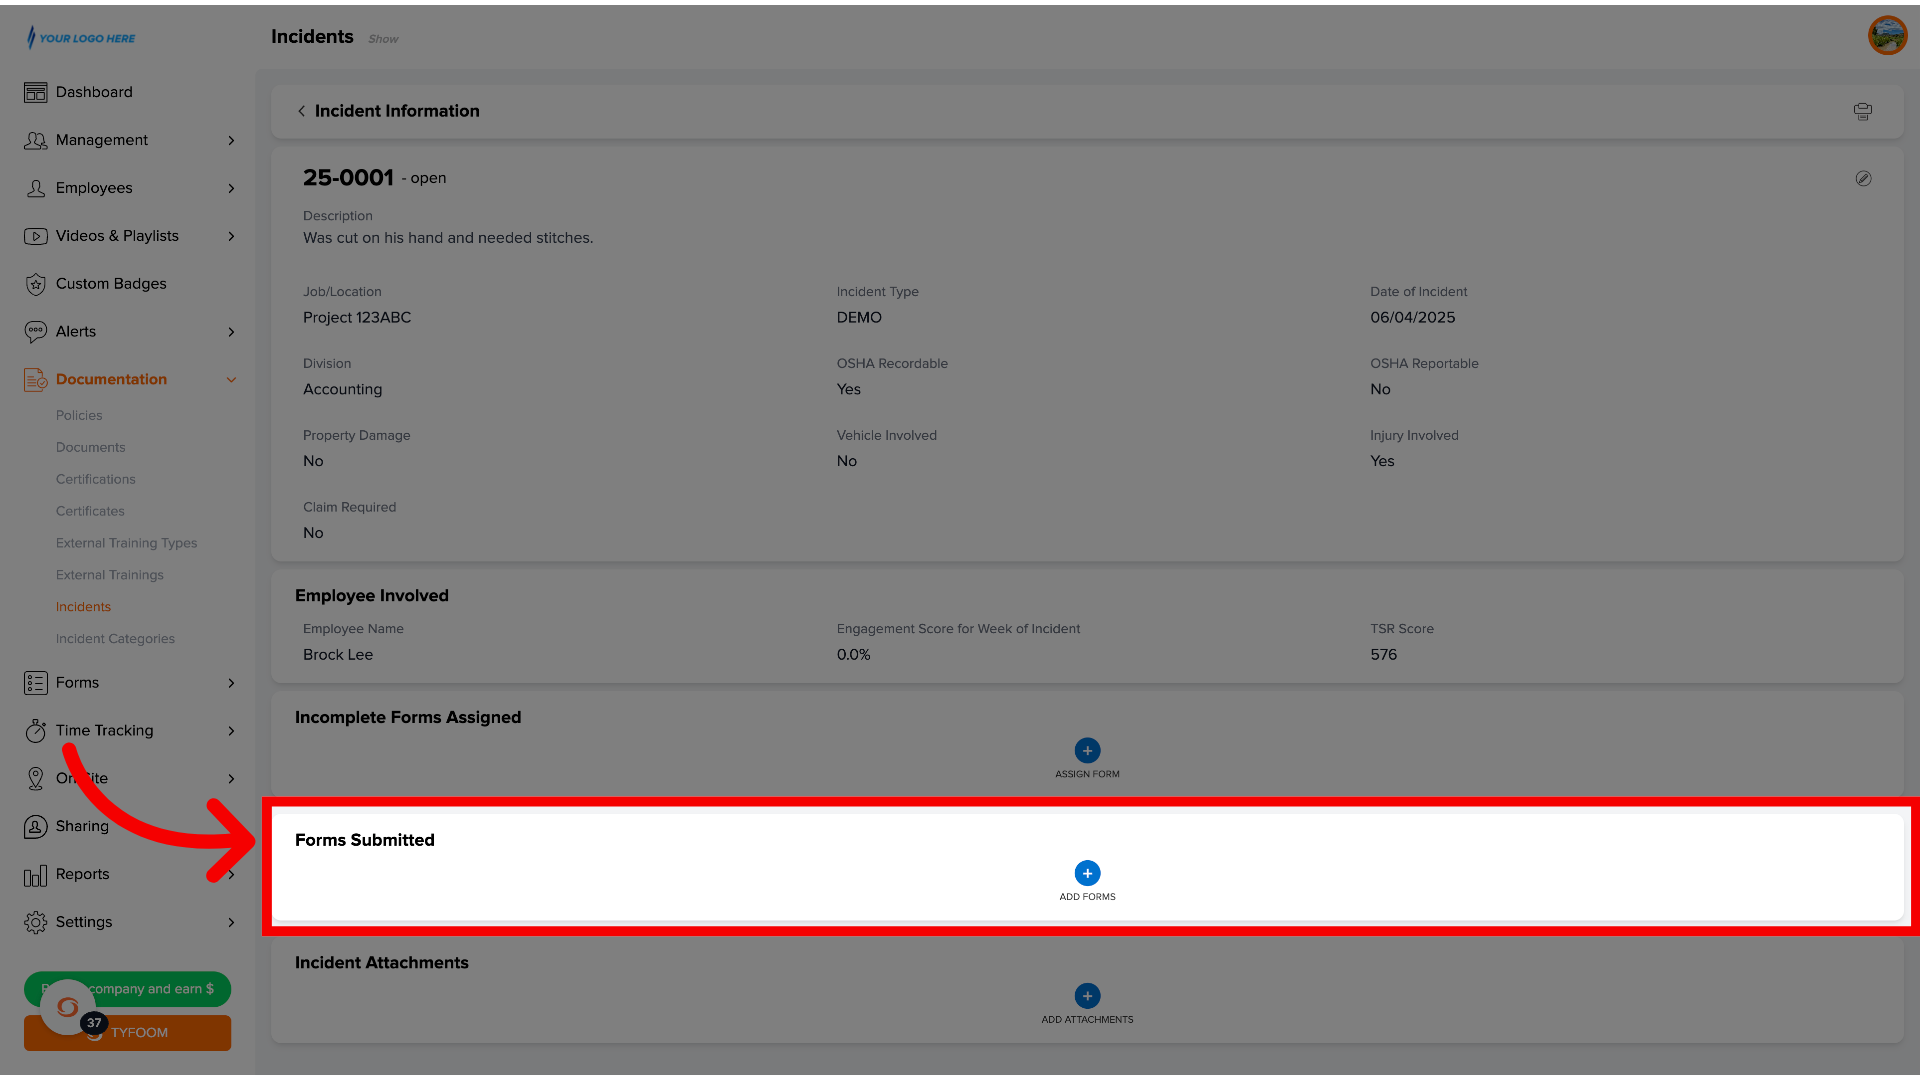
This is where you can attach anything that's related to that incident. This could be a police report, third-party insurance information, dashcam footage, or whatever you want to put here.
16. View Incidents
Once you've added everything to the incident that you need to, you can go back to the all Incidents page.
If you have any questions on how to use incident tracking, please reach out to us at customercare@tyfoom.com.
Related Articles
Incident Tracking - Reporting an Incident
Incident Tracking lets admins and employees track things like injuries, near misses, and more. In this guide, we'll walk you through initial setup, and then how to report an incident through the app. <br> 1. Access Incidents Section 2. Open ...Company Policy Overview and How To
Company Policies A company policy in Tyfoom is any document that you want an employee to read and acknowledge that they've read and will abide by it. Company Policies are found on the Management Tab, and then clicking "Policies" from the sub-menu. ...Create an Incident Notification Rule
Create an Incident Notification Rule Notification rules email people the moment an incident is reported. Here's how to make one. Click Incidents in the left sidebar, then the Notifications tab. Click the blue + ADD RULE button in the upper-right ...Forms Overview Page
In this guide, we'll go over the forms overview page. Go to app.tyfoom.com 1. Overview The forms overview page, allows you to track key data shown, as graphs from various form questions. For example, it could be used to display the number of ...Employee QR Codes Overview
This guide will show you how to create a QR code tied to your employee. Go to app.tyfoom.com 1. Log into Tyfoom 2. Employees Tab To get started. Click on employees. 3. Go to Employee List This will show you a list of all your employees. 4. Select ...